
Some links on this page are affiliate links. This means we may earn a commission at no additional cost to you if you click through and make a purchase, you can check our Affiliate Disclosure. Thank you for your support!
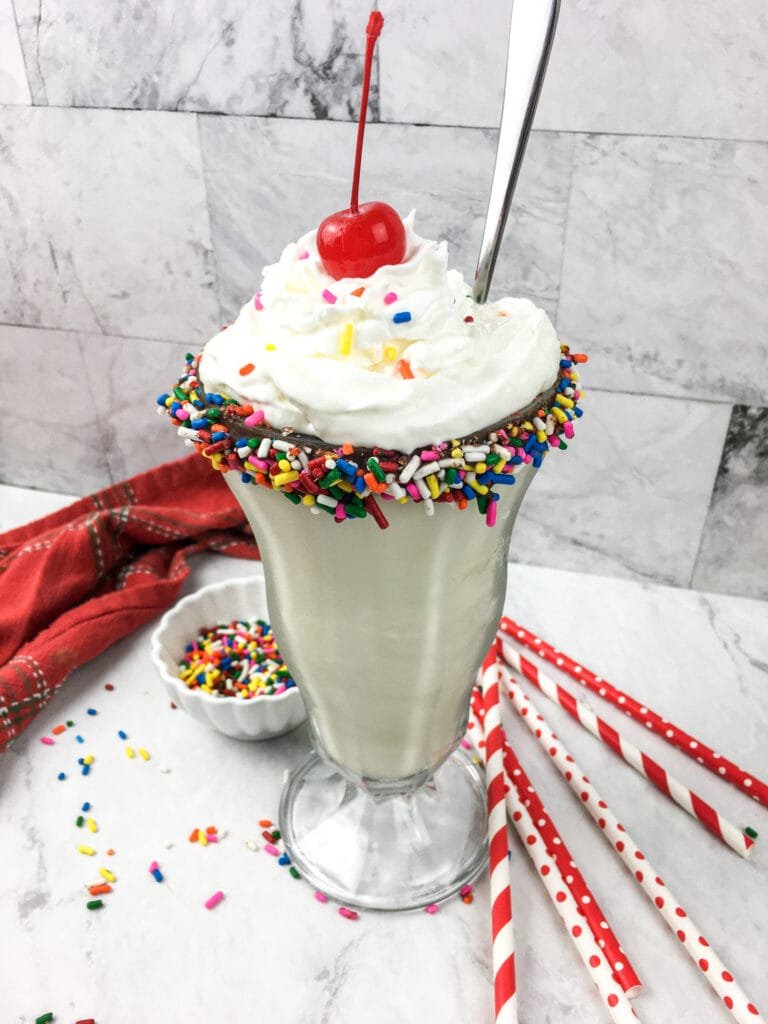
This vanilla milkshake is thick, creamy, and easy to make with just a few ingredients. It comes together in minutes and works well for a quick dessert or a simple treat.
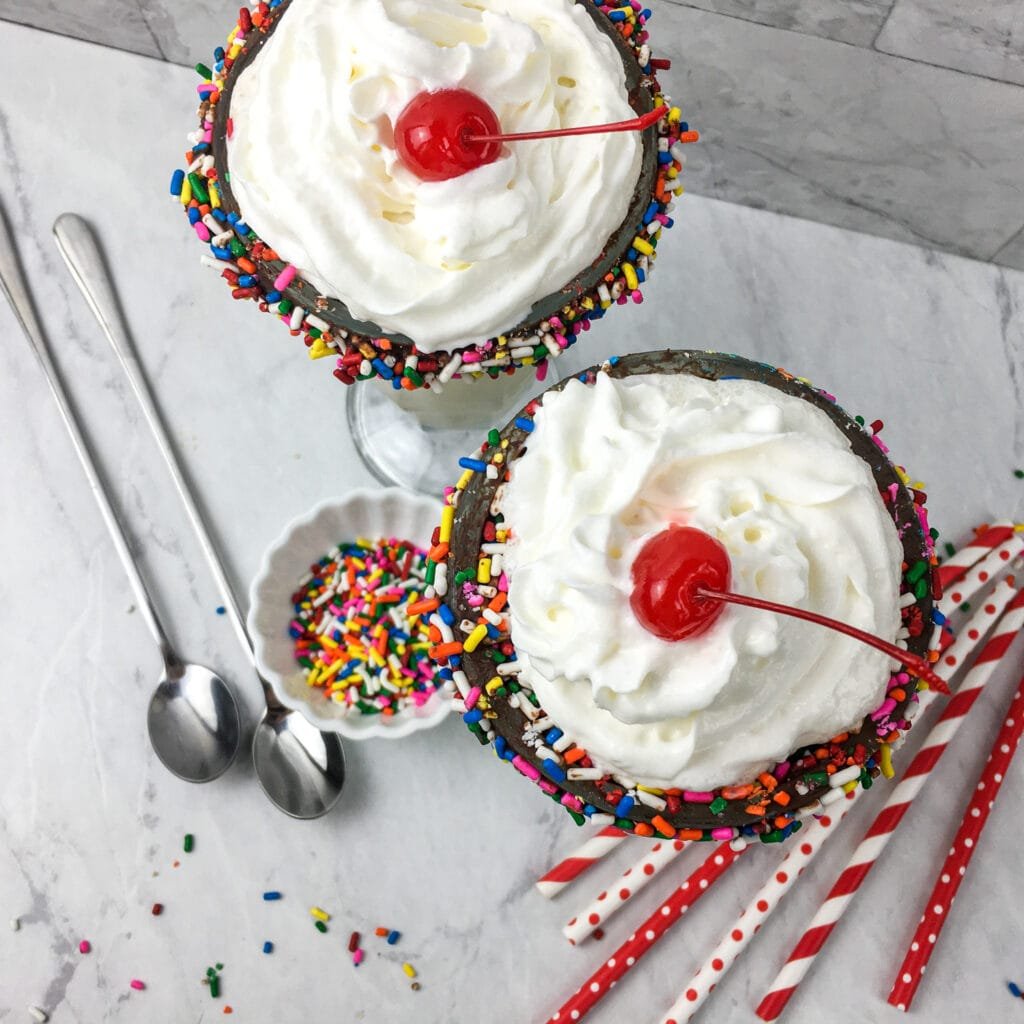
You can keep it classic or add a sprinkle-coated rim for a fun touch. Either way, this is a reliable recipe you can make anytime, even on busy days.

Why this recipe works
This recipe keeps things simple while still giving you a smooth and rich result.
- Uses basic ingredients you likely already have
- Ready in about 5 minutes
- Easy to adjust thickness
- Works with or without toppings
- Good base for other flavors
Because the ratio is simple, you don’t have to guess. You can adjust the texture based on how you like your milkshake.

Ingredients
Here’s what you’ll need:
- 3 cups vanilla ice cream
- 1 teaspoon vanilla extract
- 1/3 cup milk (plus more if needed)
- 1/4 cup chocolate chips (optional, for rim)
- 1/3 cup rainbow sprinkles (optional)
Optional toppings
- Whipped cream
- Extra sprinkles
- Maraschino cherries
Ingredient notes
- Ice cream: Use a good quality vanilla ice cream for better flavor. This is the main ingredient, so it matters
- Milk: Whole milk gives a creamier texture, but any milk will work
- Vanilla extract: Helps boost the flavor and makes the milkshake taste less flat
- Sprinkles: Not required, but they add texture and make the milkshake look better
How to make a vanilla milkshake
Step 1: Prepare the glasses (optional)
If you want the sprinkle rim:
- Melt the chocolate chips until smooth
- Dip the rim of each glass into the melted chocolate
- Then dip into the sprinkles
Let the rim set for a minute before pouring the milkshake.
Step 2: Add ingredients to the blender
Add to a blender:
- Vanilla ice cream
- Vanilla extract
- Milk
Step 3: Blend
Blend until smooth.
If the mixture is too thick, add a small amount of milk and blend again.
If it becomes too thin, add a little more ice cream.
Step 4: Serve
Pour into your prepared glasses.
Top with whipped cream, sprinkles, and a cherry if you want.
Serve right away.
ALSO READ: Dive into 25+ Heavenly Oreo Dessert Recipes
Tips for best results
- Let the ice cream sit for a few minutes before blending
- Start with less milk and adjust slowly
- Avoid over-blending
- Chill your glasses if you want a colder drink
- Taste before serving and adjust if needed
These small steps make a noticeable difference.
How to get the right texture
Texture is one of the most important parts of a milkshake.
If it’s too thick:
- Add milk a little at a time
If it’s too thin:
- Add more ice cream
If you want a thicker, spoonable version:
- Use less milk and more ice cream
If you want it easy to drink:
- Add a bit more milk until it pours easily
If you want a spoonable milkshake, reduce the milk and slightly increase the ice cream.
Variations you can try
This recipe is a base you can build on.
- Add chocolate syrup for a chocolate version
- Add strawberries or bananas for a fruit version
- Mix in crushed cookies
- Add peanut butter for a richer flavor
- Use caramel sauce for a sweeter version
You can also combine flavors depending on what you have.
Simple substitutions
If you don’t have everything, you can still make this work.
- Use any type of milk, including plant-based
- Use dairy-free ice cream if needed
- Skip the sprinkles for a basic version
- Replace chocolate with corn syrup for the rim
The recipe is flexible, so you don’t need to follow it exactly.
When to make this milkshake
This is useful when you want something quick and simple.
- After dinner, when you want dessert
- On warm days
- For a quick treat without baking
- When you have extra ice cream
It also works well for small gatherings since it’s easy to scale.
How to serve
This milkshake works well in different situations:
- As a quick dessert after a meal
- With cookies or brownies
- For movie nights
- As a simple treat on warm days
You can also serve it in smaller portions if you want a lighter option.
Storage and leftovers
Milkshakes are best fresh, but you can store them if needed.
- Place leftovers in an airtight container
- Store in the freezer
- Let it sit for a few minutes before using again
- Stir or blend to restore texture
The texture will change slightly, but it will still be usable.
Common mistakes to avoid
- Adding too much milk at the start
- Over-blending the mixture
- Using low-quality ice cream
- Skipping taste adjustment before serving
These small details can affect the final result more than expected.
Extra tips for better results
- Use cold glasses to keep the milkshake from melting too fast
- Add toppings just before serving
- Keep the recipe simple for the best texture
- Adjust the sweetness by choosing the right ice cream
Frequently asked questions
Can I make this without a blender?
Yes. Let the ice cream soften and mix by hand. It takes more effort, but works.
Can I make this dairy-free?
Yes. Use dairy-free ice cream and milk alternatives like oat or almond milk.
What can I use instead of chocolate for the rim?
You can use corn syrup or skip the rim entirely.
Can I add fruit?
Yes. Bananas, strawberries, or mango work well.
How long does it last?
Best consumed immediately, but can be frozen and reused within a day.
Final Thoughts About Vanilla Milkshake
This vanilla milkshake is simple, flexible, and quick to make. It works whether you want something basic or slightly more detailed with toppings.
You don’t need special ingredients or complicated steps. Just a few simple items and a few minutes are enough.
If you don’t have everything listed, you can adjust the recipe based on what you have. That’s what makes this kind of recipe useful for everyday cooking.
ALSO READ: Easy Peasy Chinese Pork Lettuce Wraps Recipe

Super Luscious Vanilla Milkshakes with a Sprinkle Twist 🌈🥤
Equipment
- Blender
- Microwave-safe bowl
- Glasses for serving
Ingredients
- ⅓ cup rainbow sprinkles
- ¼ cup mini chocolate chips or regular, slightly melted
- 3 cups vanilla ice cream
- 1 teaspoon real vanilla extract
- ⅓ cup whole milk plus more if needed
Garnishes:
- Whipped cream
- Extra rainbow sprinkles
- Maraschino cherries
Instructions
- Prep the Glasses: Spread the rainbow sprinkles on a plate. Melt the chocolate chips in the microwave at 50% power for 2-3 minutes, stirring until smooth. Dip the rim of each glass into the melted chocolate, then into the sprinkles, coating the edges.
- Make the Milkshake: In a blender, combine the vanilla ice cream, vanilla extract, and milk. Blend until smooth and creamy. Add more milk if needed for your preferred consistency.
- Serve: Pour the milkshake into the sprinkle-rimmed glasses. Top with whipped cream, extra sprinkles, and a maraschino cherry for the perfect finishing touch.
- Enjoy: Sip, savor, and let the nostalgia flow with every delicious, creamy sip!
Notes
- For a dairy-free version, substitute with almond, oat, or soy milk, and use dairy-free ice cream.
- If you don’t have mini chocolate chips, use regular ones; they just might take a bit longer to melt.
- Customize by adding fruits like bananas, strawberries, or mango to elevate your milkshake to fruity bliss.
Enjoy these vanilla milkshakes on a hot summer day, or pair them with your favorite cookies for an indulgent treat. They also make the perfect addition to movie nights or birthday celebrations!