
Some links on this page are affiliate links. This means we may earn a commission at no additional cost to you if you click through and make a purchase, you can check our Affiliate Disclosure. Thank you for your support!
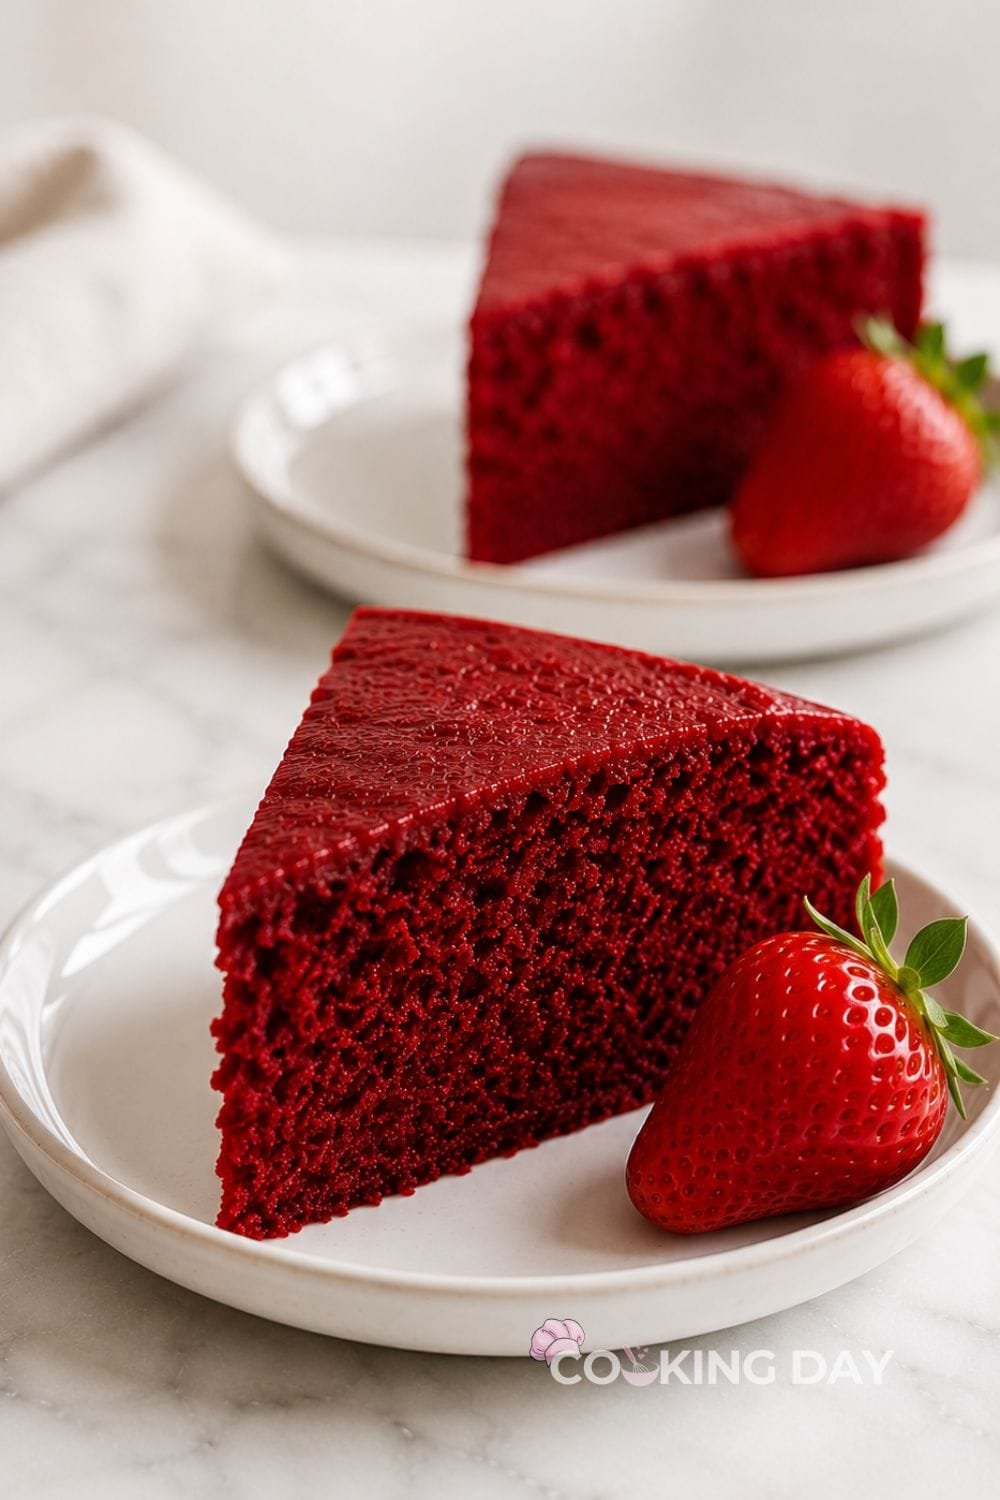
Red Velvet Cake is one of those classic desserts that never goes out of style. With its beautiful deep red color, delicate cocoa flavor, and incredibly soft crumb, it’s a favorite for birthdays, holidays, Valentine’s Day, and countless homemade desserts. This version is intentionally baked without frosting, making it perfect for recipes that call for moist cake crumbs while still being delicious enough to enjoy on its own.
This homemade Red Velvet Cake is soft, moist, and wonderfully tender thanks to cake flour, buttermilk, and whipped egg whites. The subtle cocoa flavor gives it its signature taste without turning it into a traditional chocolate cake, while the vibrant red color makes it instantly recognizable.
What I love most about this recipe is its versatility. It’s the perfect foundation for homemade cake truffles, cake pops, layered parfaits, ice cream desserts, or simply a slice of freshly baked cake with a cup of coffee.
The first time I baked an unfrosted red velvet cake, I planned to turn the entire batch into truffles. After tasting a warm slice straight from the cooling rack, I realized how delicious the cake was on its own. Its soft, velvety texture and gentle cocoa flavor didn’t need frosting to shine.
As the cake bakes, the aroma of vanilla, butter, and light cocoa fills the kitchen, making it difficult to wait for it to cool. Once completely cooled, it crumbles beautifully for dessert recipes while remaining moist and tender.

Whether you’re making homemade cake pops, White Chocolate Red Velvet Truffles, or simply baking a classic cake from scratch, this recipe delivers reliable, bakery-quality results every time.
Why This Recipe Works
Cake flour creates the fine, delicate crumb that gives Red Velvet Cake its signature velvety texture.
Buttermilk adds moisture while reacting with the baking soda to produce a light, tender cake.
A small amount of cocoa provides the traditional red velvet flavor without overpowering the vanilla.
Whipping the egg whites separately creates extra lift and keeps the crumb soft and airy.
Vegetable oil keeps the cake moist for several days, while butter contributes rich flavor.
Gel food coloring creates a vibrant red color without thinning the batter.
The unfrosted cake is sturdy enough for slicing yet soft enough to crumble easily for cake truffles, cake pops, and layered desserts.
Ingredients
- 3 cups cake flour
- 1 teaspoon baking soda
- 2 tablespoons unsweetened natural cocoa powder
- ½ teaspoon salt
- ½ cup unsalted butter, softened
- 2 cups granulated sugar
- 1 cup vegetable or canola oil
- 4 large eggs, separated
- 1 tablespoon pure vanilla extract
- 1 teaspoon distilled white vinegar
- 1 to 2 teaspoons red gel food coloring
- 1 cup buttermilk, room temperature
Equipment
- Two 9-inch round cake pans
- Parchment paper
- Large mixing bowls
- Electric mixer
- Whisk
- Rubber spatula
- Cooling rack
- Measuring cups and spoons
Step-by-Step Instructions
Step 1: Prepare the Cake Pans
Preheat the oven to 350°F (177°C).
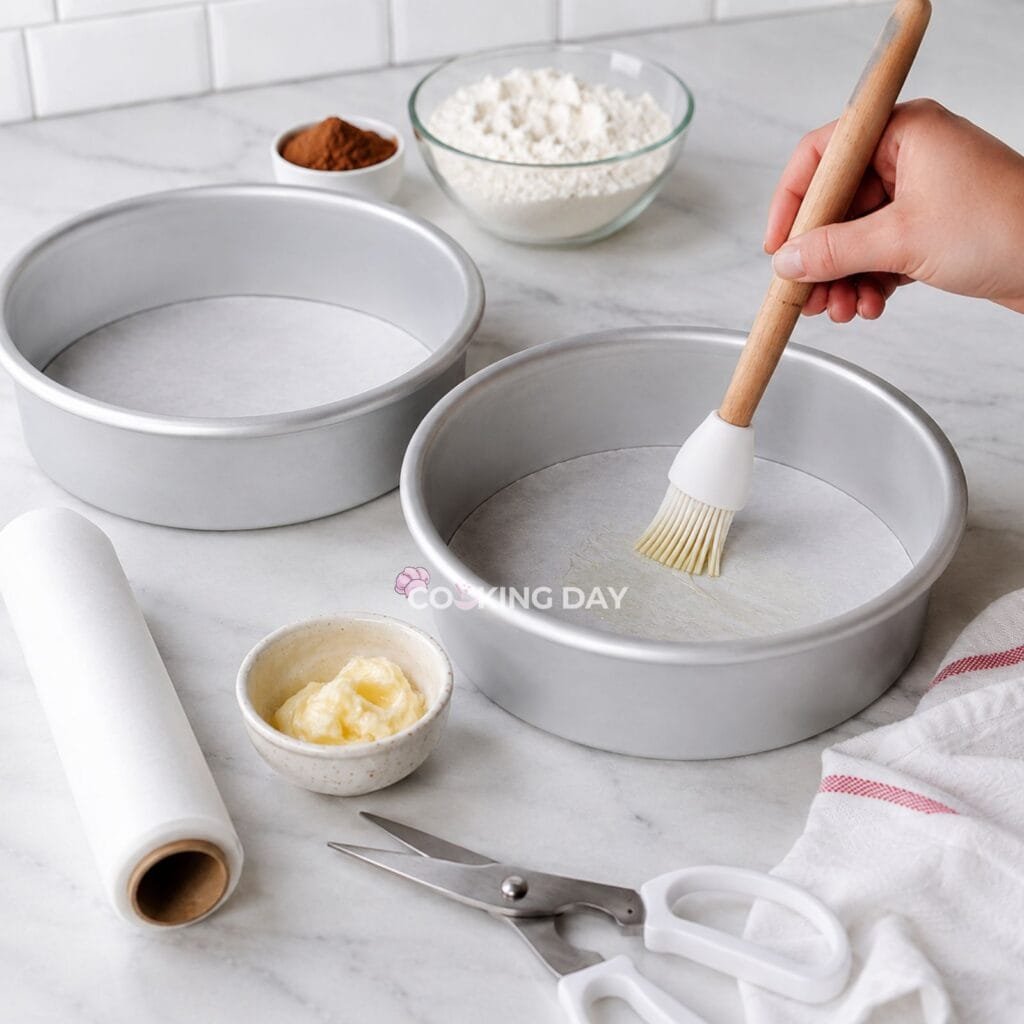
Grease two 9-inch round cake pans and line the bottoms with parchment paper. Lightly grease the parchment paper to ensure easy removal after baking.
Step 2: Mix the Dry Ingredients
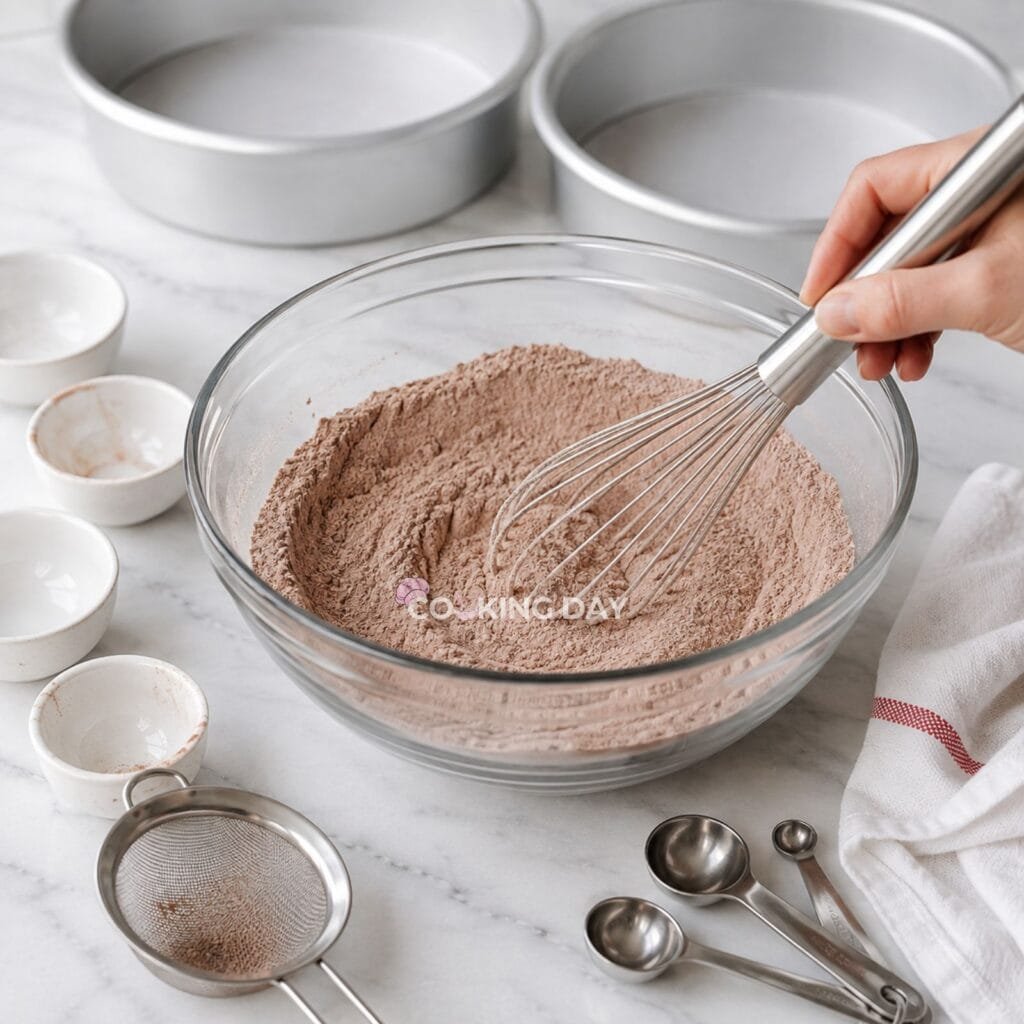
In a medium bowl, whisk together the cake flour, cocoa powder, baking soda, and salt until evenly combined.
Set aside while preparing the wet ingredients.
Step 3: Prepare the Batter
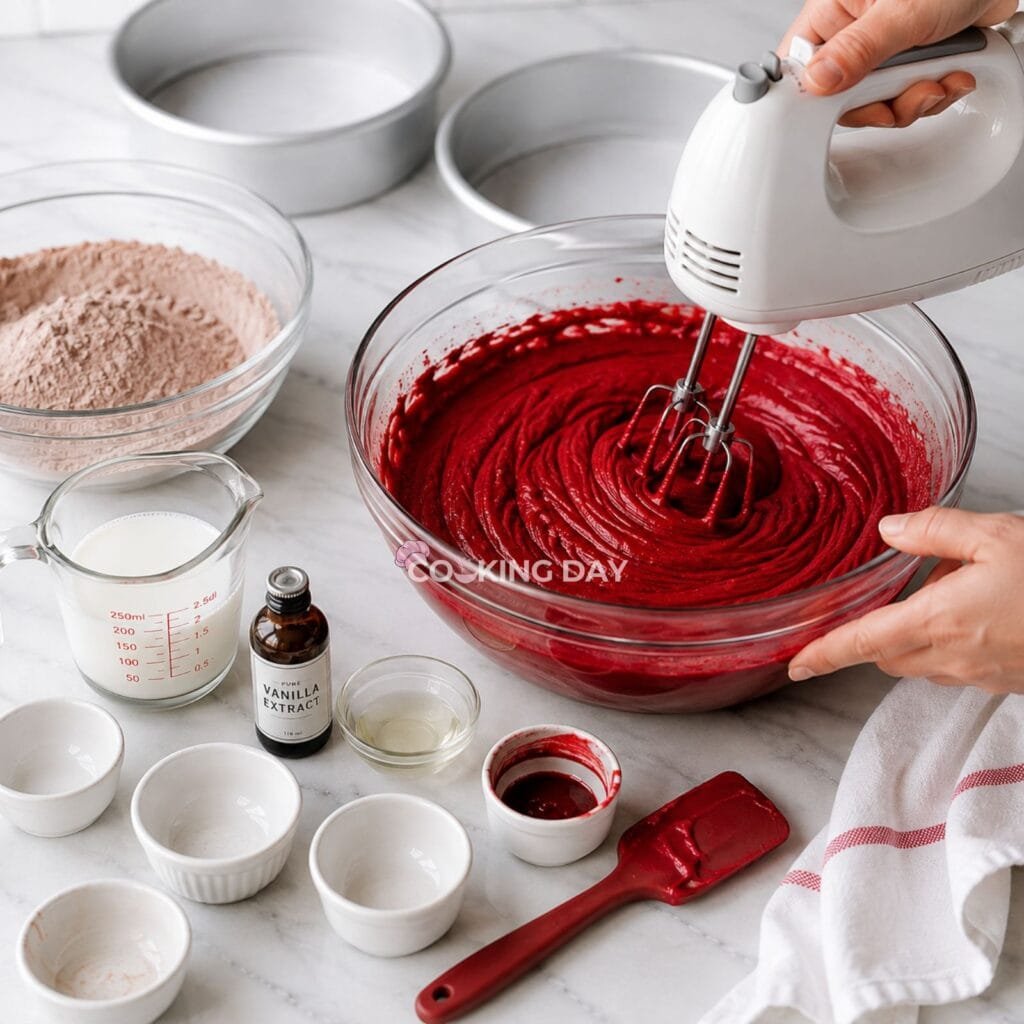
In a large mixing bowl, beat the softened butter and granulated sugar until light and fluffy, about 2 to 3 minutes.
Add the vegetable oil, egg yolks, vanilla extract, and vinegar. Continue mixing until smooth.
Reduce the mixer to low speed.
Gradually add the dry ingredients in three additions, alternating with the buttermilk. Mix only until incorporated after each addition.
Add the red gel food coloring and mix until the batter reaches an even, vibrant red color.
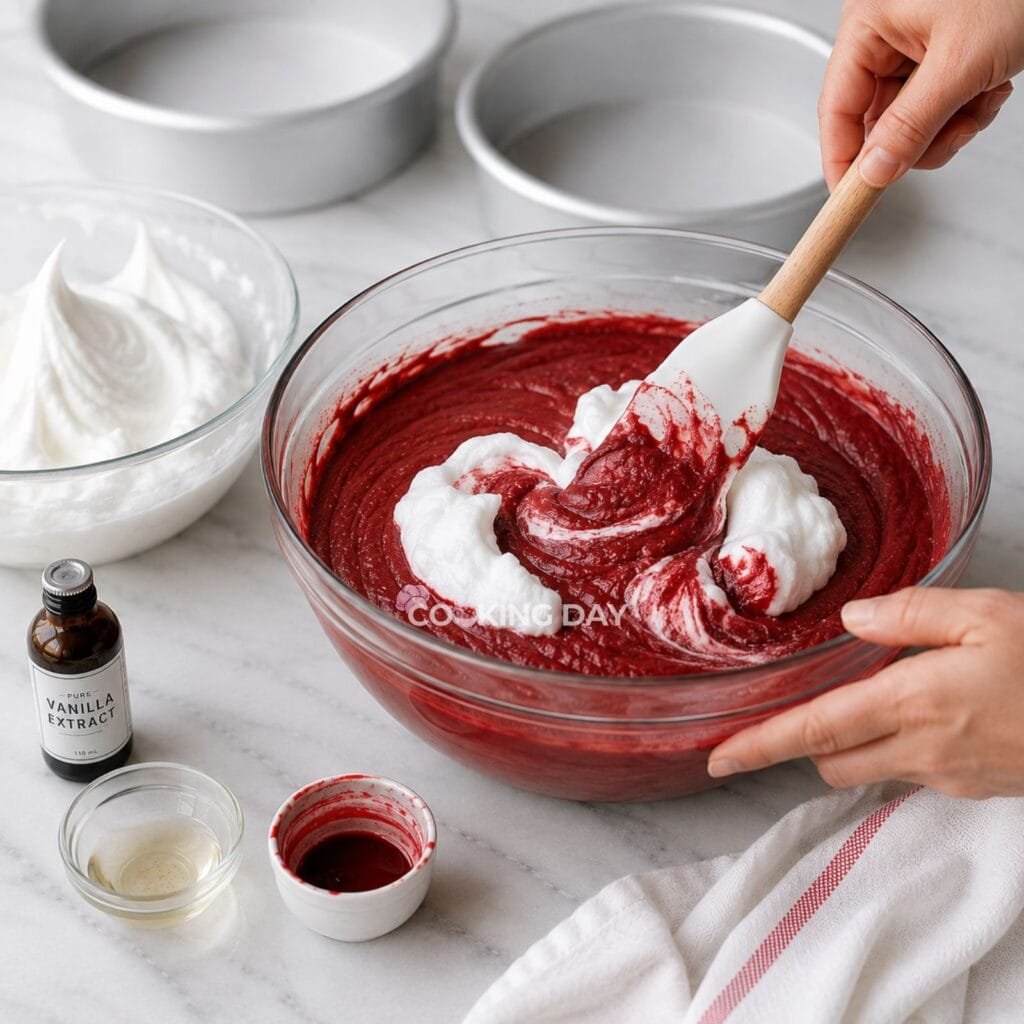
Step 4: Fold in the Egg Whites
In a clean mixing bowl, beat the egg whites until stiff peaks form.
Using a rubber spatula, gently fold the egg whites into the batter until no white streaks remain.
Fold carefully to preserve the air in the egg whites for the lightest texture.
Step 5: Bake the Cakes
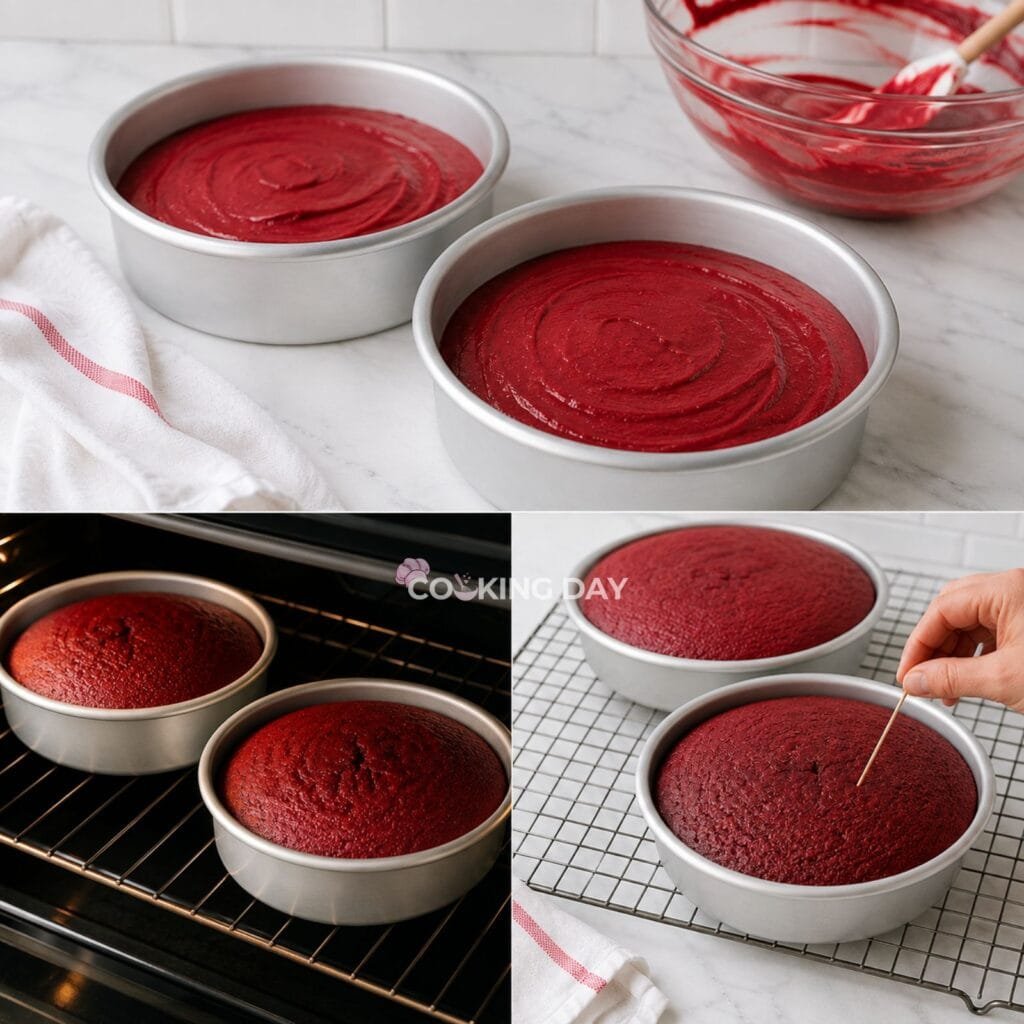
Divide the batter evenly between the prepared pans.
Bake for 30 to 32 minutes, or until a toothpick inserted into the center comes out clean.
Avoid overbaking to maintain a moist crumb.
Step 6: Cool Completely
Allow the cakes to cool in the pans for about 10 minutes.
Transfer them to a wire rack and cool completely before slicing or using in another recipe.
If making cake truffles or cake pops, crumble the cooled cake into fine, even crumbs.
Tips for the Best Red Velvet Cake
Use room-temperature butter, eggs, and buttermilk for a smoother batter.
Measure the flour carefully using the spoon-and-level method.
Use gel food coloring instead of liquid food coloring for the richest color.
Fold the egg whites gently to maintain a light, airy texture.
Allow the cake to cool completely before crumbling for truffles or cake pops.
Bake just until done to keep the cake moist.
Common Mistakes to Avoid
Using All-Purpose Flour
Cake flour produces the signature soft, velvety crumb that makes Red Velvet Cake unique.
Overmixing the Batter
Too much mixing develops gluten and creates a denser cake.
Skipping the Egg Whites
The whipped egg whites are essential for achieving the light texture.
Overbaking
A few extra minutes can dry out the cake.
Remove it from the oven as soon as a toothpick comes out clean.
Crumbling Warm Cake
Warm cake won’t crumble evenly and can become gummy when mixed for cake truffles.
Expert Tips
Weigh the batter before dividing it between the pans to create even cake layers.
Scrape the bowl several times during mixing to ensure all ingredients are fully incorporated.
For cake truffles, use the cake within one day for the freshest flavor.
If freezing the cake for future desserts, wrap each layer individually before freezing.
Reserve a few cake crumbs before using the cake in another recipe for decorating finished desserts.
Variations
Cake Pops
Mix the cooled cake crumbs with cream cheese or frosting before shaping into cake pops.
Red Velvet Cake Truffles
Combine the crumbs with cream cheese and coat with white chocolate.
Layered Dessert Cups
Alternate cake crumbs with whipped cream and berries.
Red Velvet Ice Cream Cake
Layer crumbled cake with softened vanilla ice cream.
Mini Cakes
Bake the batter in muffin tins for individual desserts.
Cupcakes
Divide the batter among cupcake liners and bake for about 18 to 22 minutes.

Ingredient Substitutions
All-purpose flour can be substituted by making a homemade cake flour substitute with cornstarch.
Canola oil works just as well as vegetable oil.
Greek yogurt mixed with milk can replace buttermilk.
Apple cider vinegar may be substituted for distilled white vinegar.
Natural cocoa powder is recommended for traditional Red Velvet Cake.
What to Serve With
This unfrosted Red Velvet Cake is perfect for making:
- White Chocolate Red Velvet Truffles
- Red Velvet Cake Pops
- Red Velvet Parfaits
- Red Velvet Ice Cream Sundaes
- Fresh strawberries
- Vanilla ice cream
- Fresh whipped cream
- Coffee or hot chocolate
Storage Instructions
Wrap the cooled cake tightly in plastic wrap or store it in an airtight container.
It will keep at room temperature for up to 2 days.
Refrigerate for up to 5 days if storing longer.
Freezing
Wrap each cake layer tightly in plastic wrap followed by aluminum foil.
Freeze for up to 3 months.
Thaw overnight in the refrigerator before using.
More Recipes to Try
If you enjoyed this Red Velvet Cake, you may also like:
- Red Velvet Cake with Cream Cheese Frosting
- Strawberry Cheesecake Truffles
- Biscoff Truffles
- Homemade Old-Fashioned Chocolate Fudge
- Easy Strawberry Banana Milkshake
- No-Churn Strawberry Swirl Ice Cream

Final Thoughts
This homemade Red Velvet Cake is proof that a great cake doesn’t always need frosting to stand out. Soft, moist, and beautifully tender, it delivers the classic red velvet flavor and texture that’s perfect for both enjoying on its own and transforming into countless homemade desserts.
Its light, velvety crumb makes it especially well suited for cake truffles, cake pops, parfaits, and layered treats, while the simple ingredient list ensures reliable results every time. Once you’ve baked this versatile Red Velvet Cake from scratch, you’ll find yourself coming back to it whenever a recipe calls for the perfect homemade cake base.
Red Velvet Cake

Equipment
- Two 9-inch round cake pans
- Parchment paper
- Large mixing bowls
- Electric mixer
- Whisk
- Rubber spatula
- Cooling rack
- Measuring cups and spoons
Ingredients
- 3 cups cake flour
- 1 teaspoon baking soda
- 2 tablespoons unsweetened natural cocoa powder
- ½ teaspoon salt
- ½ cup unsalted butter, softened
- 2 cups granulated sugar
- 1 cup vegetable or canola oil
- 4 large eggs, separated
- 1 tablespoon pure vanilla extract
- 1 teaspoon distilled white vinegar
- 1 to 2 teaspoons red gel food coloring
- 1 cup buttermilk, room temperature
Instructions
Step 1: Prepare the Pans
- Preheat the oven to 350°F (177°C).
- Grease two 9-inch round cake pans and line the bottoms with parchment paper. Lightly grease the parchment paper as well.
Step 2: Mix the Dry Ingredients
- In a medium bowl, whisk together the cake flour, cocoa powder, baking soda, and salt until evenly combined.
- Set aside.
Step 3: Prepare the Batter
- In a large mixing bowl, beat the softened butter and granulated sugar on medium speed until light and fluffy, about 2 to 3 minutes.
- Add the vegetable oil, egg yolks, vanilla extract, and vinegar. Beat until smooth and well combined.
- Reduce the mixer to low speed.
- Gradually add the flour mixture in three additions, alternating with the buttermilk. Mix only until combined after each addition.
- Add the red food coloring and mix until evenly incorporated.
Step 4: Fold in the Egg Whites
- In a clean mixing bowl, beat the egg whites until stiff peaks form.
- Using a rubber spatula, gently fold the whipped egg whites into the batter until no white streaks remain.
- Avoid overmixing to keep the cake light and tender.
Step 5: Bake
- Divide the batter evenly between the prepared cake pans.
- Bake for 30 to 32 minutes, or until a toothpick inserted into the center comes out clean.
- Avoid overbaking to keep the cake moist.
Step 6: Cool
- Allow the cakes to cool in the pans for 10 minutes.
- Carefully transfer them to a wire rack and cool completely before serving or using in another recipe.
- For cake truffles, crumble the completely cooled cake into fine crumbs before mixing with cream cheese.
Notes
- Cake flour creates the soft, delicate crumb that red velvet cake is known for.
- Whipping the egg whites separately gives the cake its light, velvety texture.
- Gel food coloring produces a deeper red color without thinning the batter.
- Make sure all refrigerated ingredients are at room temperature before mixing for the smoothest batter.
- Allow the cake to cool completely before slicing or crumbling for cake truffles or cake pops.
- Store the unfrosted cake tightly wrapped at room temperature for up to 2 days, refrigerate for up to 5 days, or freeze for up to 3 months. Thaw overnight in the refrigerator before using.