
Some links on this page are affiliate links. This means we may earn a commission at no additional cost to you if you click through and make a purchase, you can check our Affiliate Disclosure. Thank you for your support!
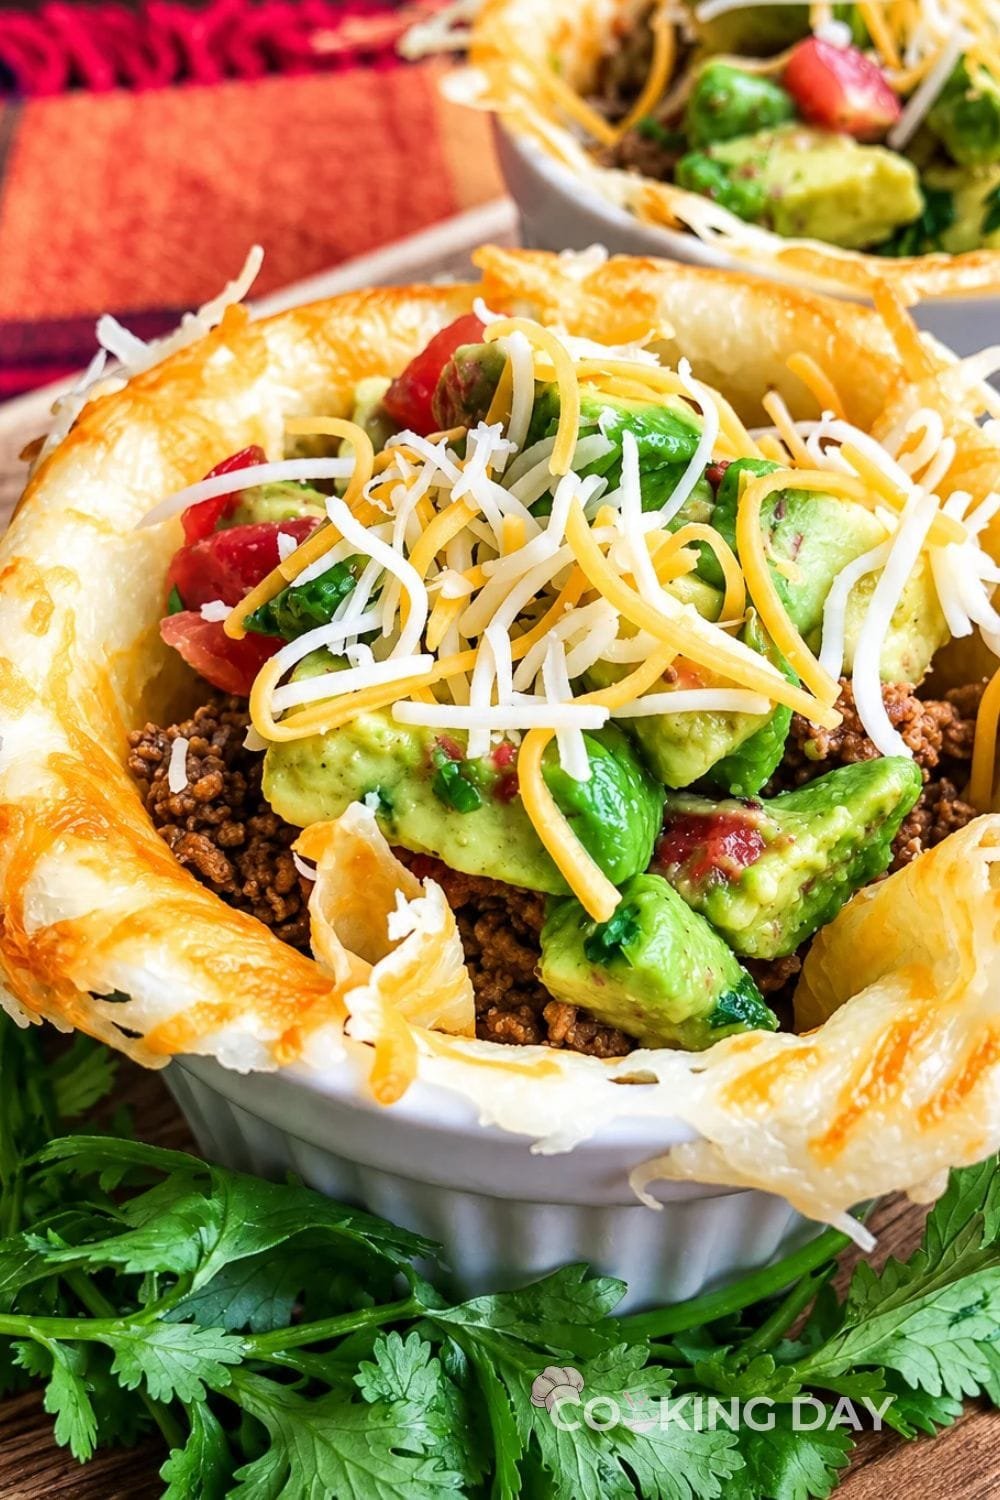
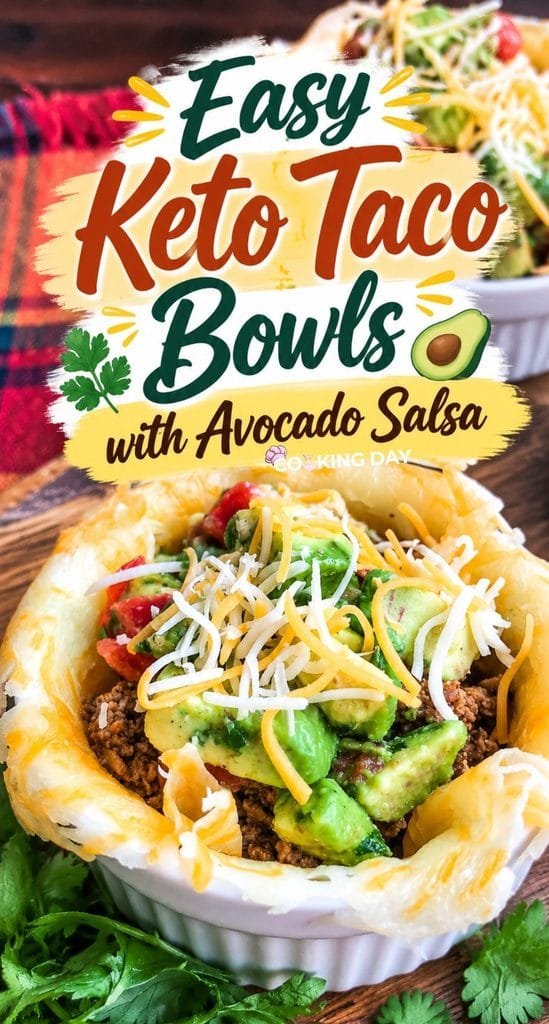
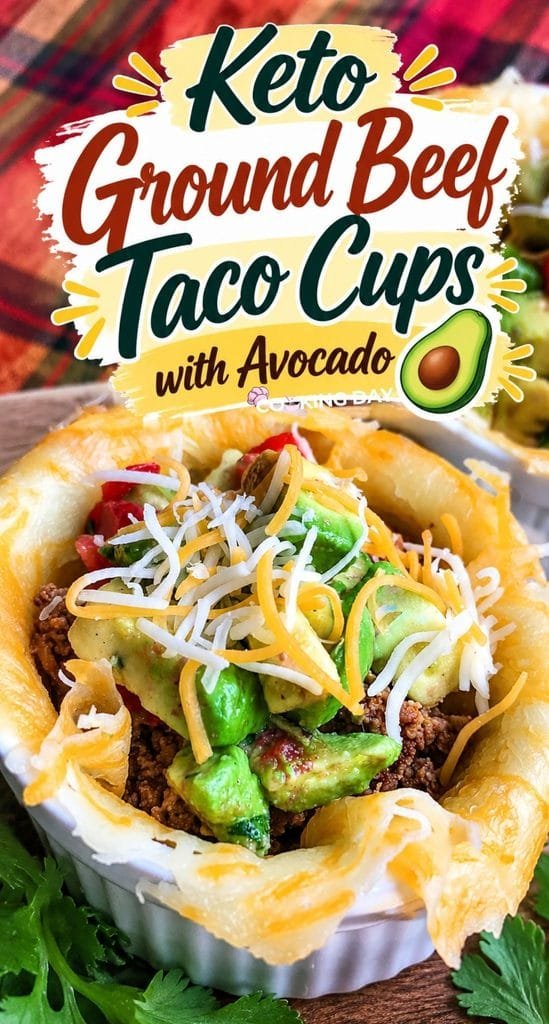
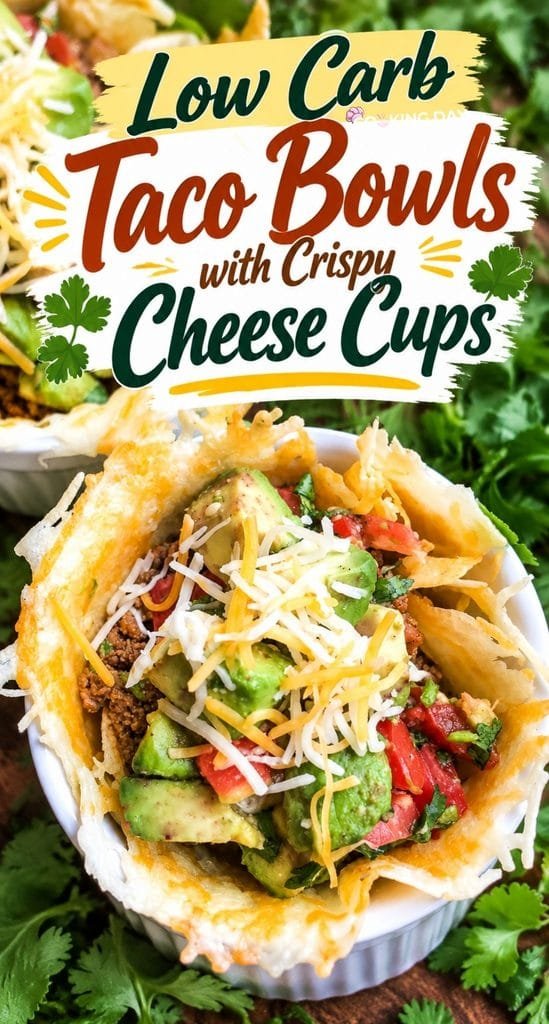
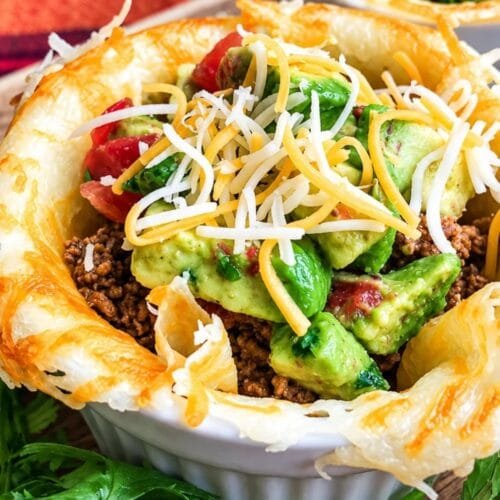
Taco night does not have to mean tortillas. These Keto Taco Bowls with Avocado Salsa turn melted Colby Jack cheese into crispy little edible bowls filled with seasoned ground beef, fresh avocado salsa, more cheese, and, if you like, a spoonful of sour cream.
The cheese cups are what make this recipe especially fun. Once baked, the melted cheese is shaped while still warm and allowed to cool until firm. You end up with a crisp, savory shell that holds all those familiar taco fillings without using tortillas.
I also love the contrast in this recipe. The taco beef is warm, savory, and smoky, while the avocado salsa is cool and fresh with lime and cilantro. Then you get that crisp cheese shell around everything.
They look impressive enough for entertaining, but the entire recipe takes about 30 minutes. Let me show you how to make them.
Why This Recipe Works
Instead of simply removing the tortilla from a taco, this recipe replaces it with something that adds even more flavor.
Colby Jack melts into thin rounds that become crisp as they cool. Shaping those rounds while they are still flexible transforms them into individual taco bowls.
The ground beef gets plenty of flavor from chili powder, cumin, garlic powder, onion powder, and smoked paprika. A small amount of water helps distribute the seasonings throughout the beef rather than leaving dry spices sitting on the surface.
Then there is the avocado salsa. Fresh avocado, tomato, lime, and cilantro cut through the richness of the beef and cheese and keep the bowls from feeling too heavy.
Each serving has approximately 4.55 grams of net carbohydrates, based on the original recipe analysis, making these a flavorful option when you want a lower-carb taco-inspired meal.
Ingredients
For the Cheese Taco Cups
Colby Jack cheese: You will need 2 cups of finely shredded Colby Jack. Most of it is used to create the taco cups, while the remaining cheese is sprinkled over the filling.
Finely shredded cheese works particularly well because it melts quickly and evenly.
For the Seasoned Ground Beef
Ground beef: One pound of 80% lean ground beef creates a flavorful, juicy filling.
Water: A small amount helps distribute the spices and creates a well-seasoned beef mixture.
Chili powder: Provides the main taco-style seasoning.
Ground cumin: Adds earthy warmth.
Garlic powder: Adds savory garlic flavor without requiring additional chopping.
Onion powder: Complements the garlic and beef.
Smoked paprika: Gives the filling a subtle smoky note.
Salt and black pepper: Season according to taste.
For the Avocado Salsa
Avocado: Use a ripe but still firm avocado so the pieces hold their shape when tossed.
Tomato: Seeding the tomato removes excess moisture and keeps the salsa from becoming watery.
Fresh lime juice: Adds acidity and helps balance the richness of the avocado.
Fresh cilantro: Adds a bright, fresh finish.
Salt and black pepper: A small amount brings out the flavors of the avocado and tomato.
Optional for Serving
Sour cream: A spoonful on top adds a cool, creamy finish.
Equipment
You will need a large baking sheet lined with parchment paper or a silicone baking mat.
To shape the cheese cups, use six small 3-inch ramekins or a muffin tin.
You will also need a large skillet for preparing the ground beef, a medium mixing bowl for the avocado salsa, a spatula or wooden spoon, and basic measuring cups and spoons.
Step by Step Instructions
Step 1. Preheat the Oven
Preheat your oven to 200°F (93°C).
Line a large baking sheet with parchment paper or a silicone baking mat.
Set aside ½ cup of the shredded Colby Jack cheese. You will use this later for topping the finished taco bowls.
Step 2. Form the Cheese Rounds
Divide the remaining 1½ cups of cheese into six equal piles on your prepared baking sheet.
Each pile should contain approximately ¼ cup of cheese.
Gently spread each pile into a thin, even circle. Leave plenty of room between the circles because the cheese will spread slightly as it melts.
Step 3. Bake the Cheese
Bake for approximately 5 to 6 minutes, or until the cheese is completely melted and the edges are beginning to brown.
Watch closely toward the end. You want enough browning to help the cups become crisp, but you do not want the cheese to burn.
Step 4. Shape the Taco Cups
Remove the baking sheet from the oven.
Allow the cheese rounds to cool for about 2 to 3 minutes.
This short cooling period is important. Straight from the oven, the cheese can be too soft to handle. If you wait too long, however, it can become firm and crack when shaped.
Carefully lift each warm cheese round and gently press it into a 3-inch ramekin or muffin cup.
Allow the cheese to cool in the mold until firm enough to hold its bowl shape.
If you are using ramekins, you can also leave the cheese cups inside them while serving for additional support.
Step 5. Brown the Ground Beef
While the cheese cups cool, place the ground beef in a large skillet over medium heat.
Cook for approximately 6 to 8 minutes, breaking the beef into small crumbles with a wooden spoon or spatula.
Continue cooking until the meat is browned and completely cooked through.
Carefully drain the excess grease.
Step 6. Season the Beef
Return the skillet to the heat.
Add the water, chili powder, cumin, garlic powder, onion powder, and smoked paprika.
Season with salt and freshly ground black pepper.
Stir thoroughly so the spices evenly coat the beef.
Simmer for another 2 to 3 minutes, or until most of the liquid has been absorbed.
The finished beef should be moist and well seasoned without being watery.
Step 7. Make the Avocado Salsa
Dice the avocado and seeded tomato.
Add them to a medium mixing bowl with the fresh lime juice and chopped cilantro.
Season lightly with salt and black pepper.
Gently toss everything together.
Try not to stir too aggressively because you want distinct pieces of avocado rather than mashed avocado.
Step 8. Fill the Cheese Cups
Carefully remove the cooled cheese cups from their molds.
Divide the warm seasoned ground beef among the six cups.
Avoid overfilling them. The cheese shells are crisp but more delicate than traditional taco shells.
Step 9. Add the Avocado Salsa
Spoon some of the fresh avocado salsa over each portion of ground beef.
The cool avocado and lime are especially good against the warm, smoky beef.
Step 10. Finish and Serve
Sprinkle the reserved shredded Colby Jack over the taco bowls.
Add a dollop of sour cream if desired.
Serve immediately while the beef is warm, the avocado salsa is fresh, and the cheese cups are still crisp.
Tips for the Best Keto Taco Bowls
Watch the cheese carefully. Cheese can brown quickly once it has completely melted. Remove it when the edges are lightly browned.
Shape the cheese at the right moment. This is probably the most important part of the recipe. The rounds need to be warm and flexible, but not so hot that they fall apart.
Use finely shredded cheese. Smaller shreds melt together more evenly and create a more consistent shell.
Drain the ground beef. Too much grease can make the filling heavy and may soften the cheese cups faster.
Seed your tomato. Removing the watery center helps keep the avocado salsa fresh rather than soupy.
Make the salsa close to serving time. Freshly cut avocado has the best color, flavor, and texture.
Assemble at the last minute. Once the warm beef and salsa go into the cheese cups, the shells gradually lose some of their crispness.
Common Mistakes to Avoid
Letting the Cheese Cool Too Long
If the cheese rounds become completely cool before you shape them, they may crack.
Give them just enough time to become safe and manageable, then shape them while they are still flexible.
Shaping the Cheese Too Soon
The opposite problem can happen when the cheese is lifted immediately from the baking sheet.
Very hot melted cheese may stretch or collapse instead of forming a bowl.
The brief 2 to 3 minute cooling period makes a big difference.
Making the Cheese Circles Too Thick
Thick piles of cheese can produce heavy, greasy cups rather than thin, crisp shells.
Spread each ¼-cup portion into a relatively thin, even circle before baking.
Leaving Too Much Liquid in the Beef
Allow the seasoned beef mixture to simmer until most of the added water has been absorbed.
A wet filling will soften your cheese cups quickly.
Mashing the Avocado
This is an avocado salsa rather than guacamole.
Fold the ingredients together gently so the avocado remains in small pieces.
Filling the Bowls Too Early
These are best assembled immediately before eating.
Leaving filled cheese cups sitting for too long allows moisture from the beef and salsa to soften the shells.
Expert Tips
The first cheese round can be your test cup.
Different cheeses, baking sheets, and ovens can affect how quickly the rounds melt and brown. If your first cup feels too soft after cooling, allow the remaining cheese rounds to brown slightly more.
You can also adjust the size of the cups depending on how you plan to serve them. Smaller cheese cups make fun party appetizers, while larger ones work better as an individual meal.
Another important detail is the temperature of your fillings. The ground beef should be warm, but it does not need to be piping hot when it goes into the cheese shell. Extremely hot filling can soften the cup more quickly.
Finally, keep the avocado salsa chunky. The contrast between crumbled beef, crisp cheese, juicy tomato, and creamy pieces of avocado is one of the best parts of this recipe.
Variations
Spicy Keto Taco Bowls
Add cayenne pepper or crushed red pepper flakes to the ground beef.
You can also add finely diced jalapeño to the avocado salsa.
Chicken Taco Bowls
Replace the ground beef with seasoned ground chicken or finely chopped cooked chicken.
Turkey Taco Bowls
Ground turkey is another easy alternative. Because it is leaner than 80% ground beef, you may want to add a little olive oil while browning it.
Extra Cheesy Taco Bowls
Add a little more shredded Colby Jack over the warm beef before adding the avocado salsa.
Pico de Gallo Taco Bowls
Replace the simple avocado salsa with fresh pico de gallo and add sliced avocado separately.
Mini Taco Cups
Make smaller cheese rounds and shape them in a mini muffin tin for bite-sized party appetizers.
Reduce the baking time as needed because smaller portions of cheese will cook more quickly.
Ingredient Substitutions
Colby Jack: Cheddar, Monterey Jack, or a Mexican-style cheese blend can work well. Choose a cheese that melts smoothly and becomes firm as it cools.
Ground beef: Substitute ground turkey, ground chicken, or another ground meat you enjoy.
Fresh tomato: Cherry or grape tomatoes can be diced and used instead.
Fresh cilantro: If you do not enjoy cilantro, simply leave it out or use a small amount of finely sliced green onion.
Lime juice: Fresh lemon juice can work in a pinch, although lime provides the more familiar taco-style flavor.
Sour cream: Plain Greek yogurt is a convenient alternative if you prefer.
What to Serve With Keto Taco Bowls
These taco bowls already contain seasoned beef, cheese, and avocado salsa, so they can easily be served as a complete meal.
For something extra, pair them with cauliflower rice, a crisp green salad, roasted vegetables, or sautéed peppers.
You could also serve additional avocado salsa, sour cream, sliced jalapeños, lime wedges, shredded lettuce, or your favorite taco toppings on the side and let everyone customize their own bowl.
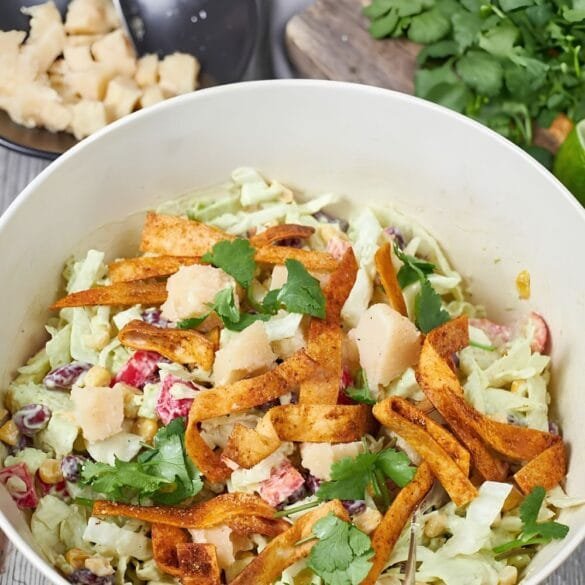
For a larger Mexican-inspired dinner, they also work well alongside your Mexican Black Bean and Corn Salad with Crispy Tortilla Strips for guests who are not strictly following a low-carb diet.
Storage Instructions
These taco bowls are best enjoyed immediately after assembly because moisture from the filling gradually softens the crispy cheese shells.
If you have leftovers, store the components separately.
Keep the cooked ground beef in an airtight container in the refrigerator for up to 3 to 4 days. Reheat it thoroughly before serving.
The avocado salsa is best eaten fresh, although leftovers can be refrigerated in an airtight container for about 1 day. Some browning is normal as the avocado sits.
Keep any unused cheese cups separate from moist ingredients. Once completely cool, place them in an airtight container and use them as soon as possible for the best crispness.
Do not store fully assembled taco bowls if you can avoid it.
More Recipes to Try
If you enjoyed these Keto Taco Bowls, try the Mexican Black Bean and Corn Salad with Crispy Tortilla Strips for another colorful Mexican-inspired meal packed with fresh flavors.
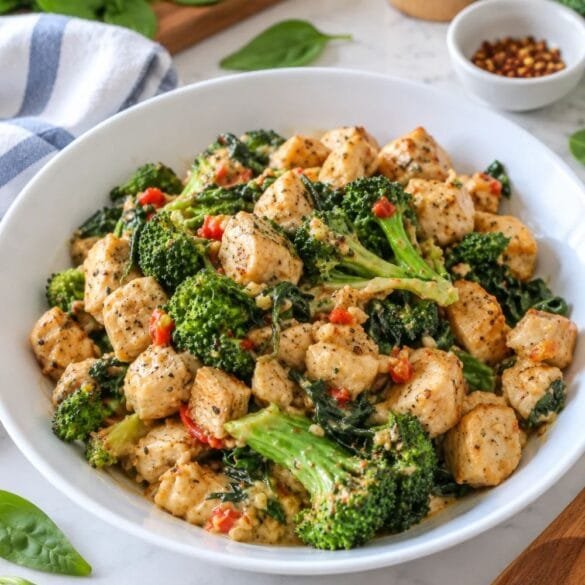
For another easy chicken dinner, the 15-Minute Keto Garlic Chicken with Broccoli and Spinach is a great option when you want something creamy, low carb, and quick.
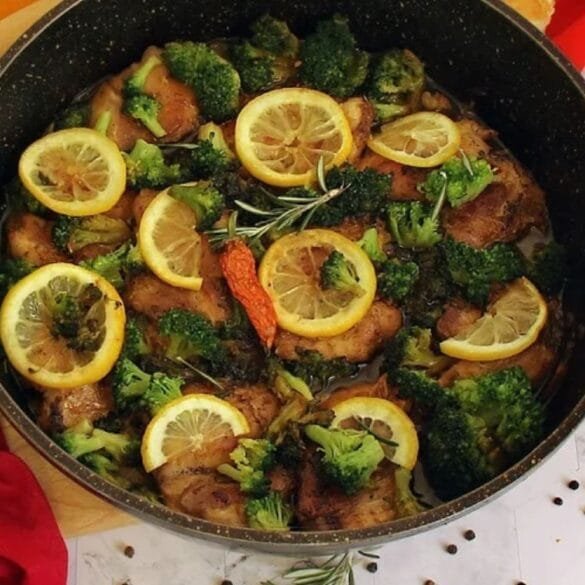
The Lemon Rosemary Chicken Thighs with Broccoli are another satisfying choice when you want a simple skillet meal with plenty of protein and vegetables.
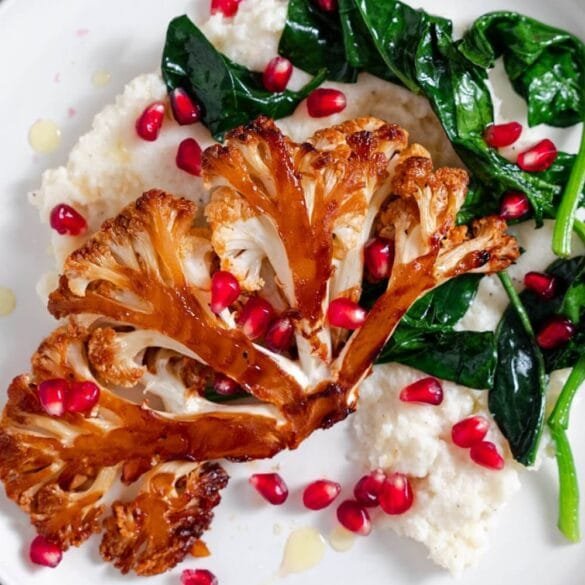
For a vegetarian option, try the Honey Sriracha Cauliflower Steak, served over creamy mashed cauliflower with sautéed spinach.
Final Thoughts
These Keto Taco Bowls with Avocado Salsa take familiar taco flavors and give them a fun low-carb twist.
Instead of simply skipping the tortilla, you turn melted Colby Jack into a crispy edible bowl. Fill it with smoky seasoned beef, spoon over fresh avocado salsa, add a little more cheese, and finish with sour cream if you like.
The best part is the contrast. You get a crisp cheese shell, warm savory beef, creamy avocado, juicy tomato, bright lime, and fresh cilantro in the same bite.
Make the individual components first and assemble everything right before serving. That way, the cheese cups stay crisp and you get exactly the texture that makes these taco bowls worth making.
Keto Taco Bowls with Avocado Salsa

Equipment
- Large baking sheet
- Parchment paper or silicone baking mat
- 6 (3-inch) ramekins or muffin tin
- Large skillet
- Medium mixing bowl
- Spatula or wooden spoon
- Measuring cups and spoonsIngredients
Ingredients
Cheese Taco Cups
- 2 cups finely shredded Colby Jack cheese, divided
Seasoned Ground Beef
- 1 pound ground beef 80% lean
- ¼ cup water
- 1 tablespoon chili powder
- 1 tablespoon ground cumin
- 1 teaspoon garlic powder
- 1 teaspoon onion powder
- 1 teaspoon smoked paprika
- Sea salt and black pepper to taste
Avocado Salsa
- 1 medium avocado diced
- 1 small tomato seeded and diced
- 2 tablespoons fresh lime juice
- 1 tablespoon fresh cilantro chopped
- Sea salt and black pepper to taste
Optional for Serving
- ½ cup sour cream
Instructions
Make the Cheese Taco Cups
- Preheat the oven to 200°F (93°C). Line a large baking sheet with parchment paper or a silicone baking mat.
- Set aside ½ cup of the shredded Colby Jack cheese for serving.
- Divide the remaining 1½ cups of cheese into 6 equal piles on the prepared baking sheet, using approximately ¼ cup for each one.
- Spread each pile into a thin, even circle, leaving enough space between them so the cheese does not melt together.
- Bake for 5 to 6 minutes, or until the cheese is completely melted and beginning to brown around the edges.
- Remove from the oven and allow the cheese rounds to cool for 2 to 3 minutes. They should be cool enough to handle but still flexible.
- Carefully lift each cheese round from the baking sheet and gently press it into a 3-inch ramekin or muffin cup to create a bowl shape.
- Let the cheese cups cool for several minutes until firm enough to hold their shape. Carefully remove them from the molds. If using ramekins, you can leave the cheese cups inside for additional support while serving.
Cook the Taco Beef
- While the cheese cups are cooling, place the ground beef in a large skillet over medium heat.
- Cook for 6 to 8 minutes, breaking the meat into crumbles as it cooks, until browned and completely cooked through.
- Carefully drain the excess grease from the skillet.
- Return the skillet to the heat. Add the water, chili powder, cumin, garlic powder, onion powder, and smoked paprika.
- Season with salt and black pepper to taste. Stir until the beef is evenly coated with the seasonings.
- Simmer for 2 to 3 minutes, or until most of the liquid has been absorbed and the seasoned beef is hot.
Make the Avocado Salsa
- Add the diced avocado, tomato, lime juice, and cilantro to a medium bowl.
- Season lightly with salt and black pepper.
- Gently toss until combined, taking care not to mash the avocado.
Assemble the Taco Bowls
- Divide the seasoned ground beef among the 6 cheese cups.
- Spoon the avocado salsa over the beef.
- Sprinkle with the reserved ½ cup of shredded Colby Jack cheese.
- Add a dollop of sour cream, if desired, and serve immediately.
Notes
- Shape the cheese while it is warm. If you allow the rounds to cool completely before placing them in the molds, they may crack instead of bending into cups.
- Keep an eye on the cheese while it bakes. You want it melted with lightly browned edges, not deeply browned or burnt.
- Seeding the tomato helps prevent excess liquid from making the avocado salsa watery.
- Prepare the avocado salsa shortly before serving for the best color and texture.
- The cheese cups are delicate when warm but become firmer as they cool.
- If you prefer extra support while eating, serve the cheese cups directly in small ramekins.
- Assemble the taco bowls immediately before serving so the cheese cups stay crisp.
- Leftover seasoned beef can be refrigerated in an airtight container for up to 3 to 4 days. Store the beef, salsa, and cheese cups separately for the best texture.