
Some links on this page are affiliate links. This means we may earn a commission at no additional cost to you if you click through and make a purchase, you can check our Affiliate Disclosure. Thank you for your support!
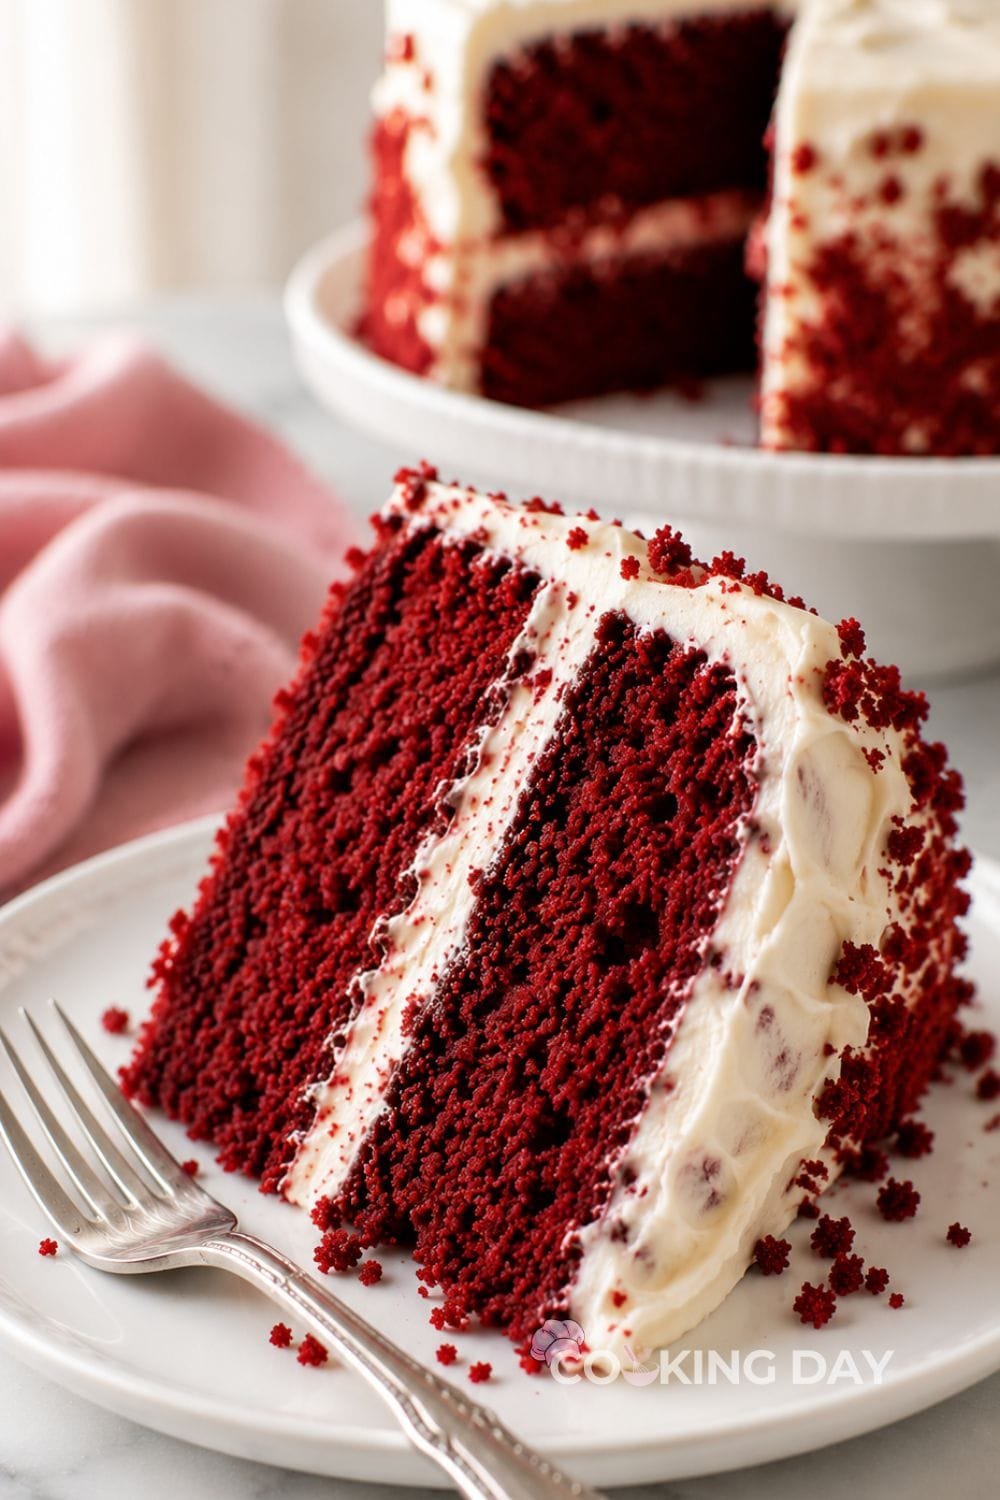
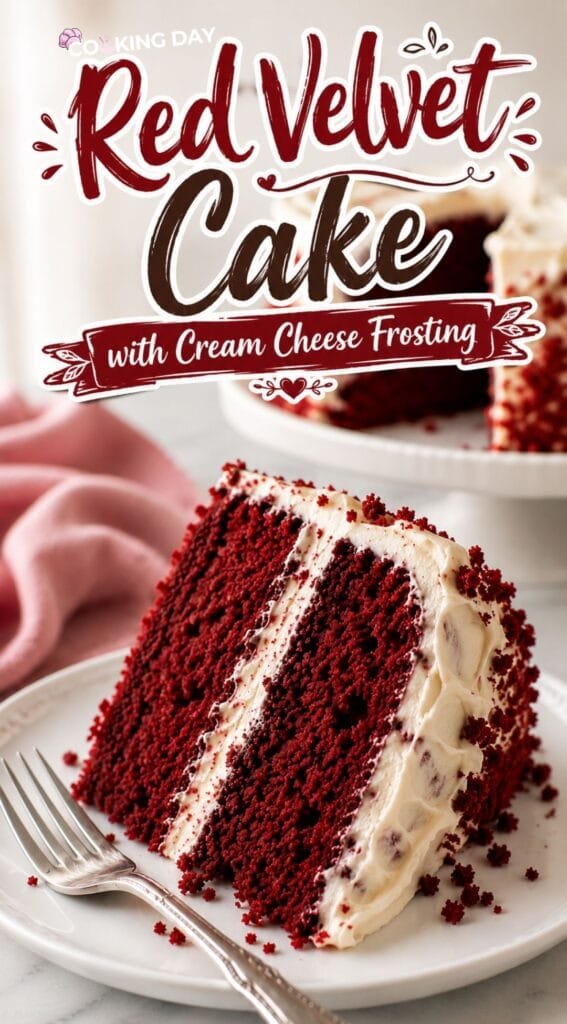
Red Velvet Cake is one of those desserts that always feels a little more special than an ordinary chocolate cake. Its beautiful deep red color, incredibly soft crumb, and rich cream cheese frosting make it a favorite for birthdays, holidays, Valentine’s Day, and family celebrations.
This Red Velvet Cake with Cream Cheese Frosting is wonderfully moist, tender, and light with just a hint of cocoa and vanilla. The tangy frosting perfectly balances the sweetness of the cake, creating the classic flavor people expect from a homemade red velvet cake.
What I love most about this recipe is its texture. Many people assume Red Velvet Cake is simply chocolate cake dyed red, but that’s not the case. The combination of cake flour, buttermilk, whipped egg whites, and just a small amount of cocoa creates a delicate, velvety crumb that makes every slice incredibly soft.
The first time I baked a homemade red velvet cake, I expected the bright color to be the biggest difference. Instead, it was the texture that surprised me. The whipped egg whites made the cake noticeably lighter than traditional butter cakes, while the cream cheese frosting added just enough richness without overpowering the delicate cocoa flavor.
As the cake bakes, the kitchen fills with the comforting aroma of vanilla, butter, and delicate cocoa, making it almost impossible not to peek through the oven door. Once frosted, it becomes the kind of dessert that instantly draws everyone’s attention at the table.
Whether you’re celebrating a birthday, baking for the holidays, or simply treating your family to a homemade dessert, this classic Red Velvet Cake is always an impressive choice.
Why This Recipe Works
Cake flour produces the fine, delicate crumb that gives Red Velvet Cake its signature soft texture.
A small amount of cocoa provides subtle chocolate flavor without making the cake taste like a traditional chocolate cake.
Buttermilk reacts with the baking soda and vinegar to create a lighter, more tender cake while adding a slight tang that balances the sweetness.
Whipping the egg whites separately creates extra lift, giving the cake its famous velvety texture.
Vegetable oil keeps the cake moist for several days, while butter adds richness and flavor. Using both butter and oil gives you the best of both worlds. Butter adds flavor while oil keeps the cake soft for days.
Cream cheese frosting complements the mild cocoa flavor perfectly, creating the classic pairing that makes Red Velvet Cake so recognizable.
Gel food coloring creates a vibrant red color without adding excess liquid to the batter.
Allowing the finished cake to chill before slicing produces cleaner, bakery-style layers.
Ingredients
For the Red Velvet Cake
- 3 cups cake flour
- 1 teaspoon baking soda
- 2 tablespoons unsweetened natural cocoa powder
- ½ teaspoon salt
- ½ cup unsalted butter, softened
- 2 cups granulated sugar
- 1 cup vegetable or canola oil
- 4 large eggs, separated
- 1 tablespoon pure vanilla extract
- 1 teaspoon distilled white vinegar
- 1 to 2 teaspoons red gel food coloring
- 1 cup buttermilk, room temperature
For the Cream Cheese Frosting
- 16 ounces full-fat cream cheese, softened
- ¾ cup unsalted butter, softened
- 5 cups powdered sugar
- 1½ teaspoons vanilla extract
- Pinch of salt
Equipment
- Two 9-inch round cake pans
- Parchment paper
- Large mixing bowls
- Electric mixer
- Rubber spatula
- Whisk
- Cooling rack
- Offset spatula or icing spatula
- Serrated knife
Step-by-Step Instructions
Step 1: Prepare the Cake Pans
Preheat the oven to 350°F (177°C).
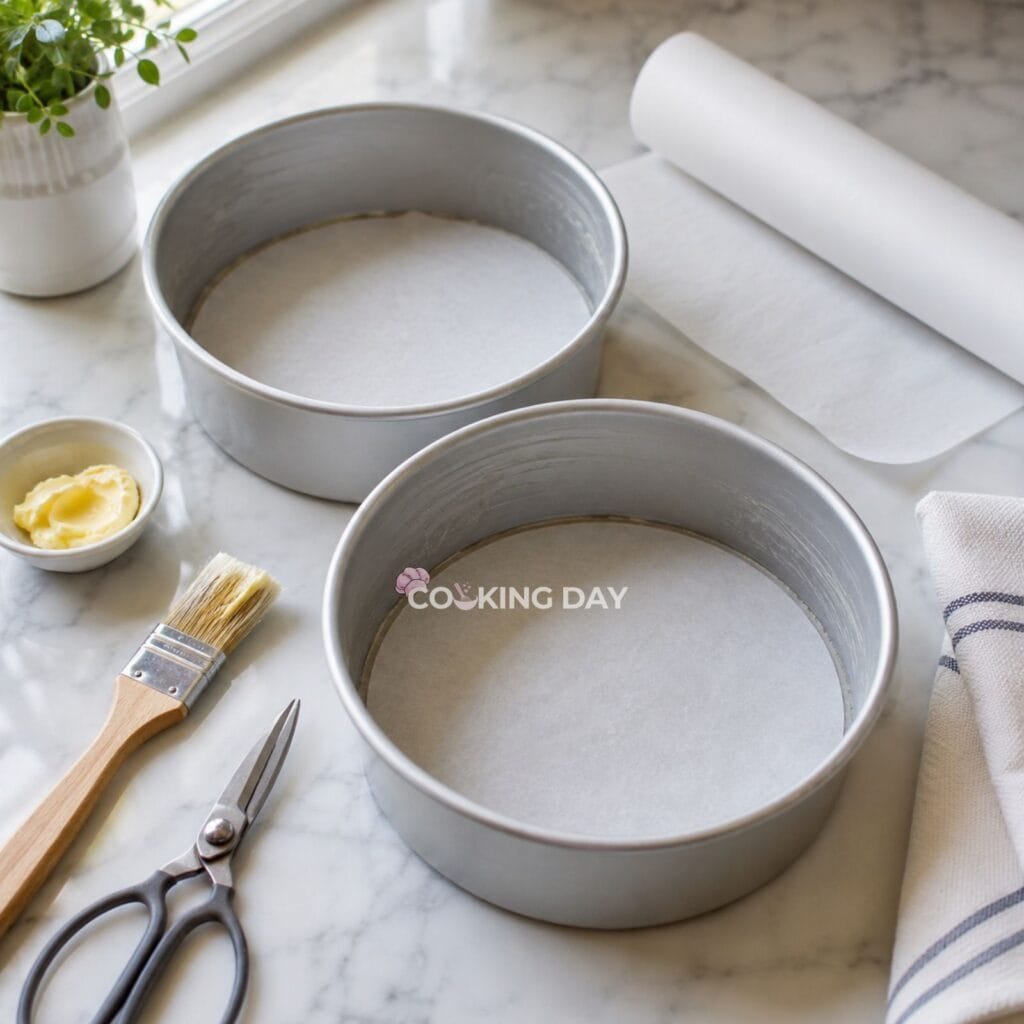
Grease two 9-inch round cake pans and line the bottoms with parchment paper.
The parchment makes removing the cakes much easier after baking.
Step 2: Combine the Dry Ingredients
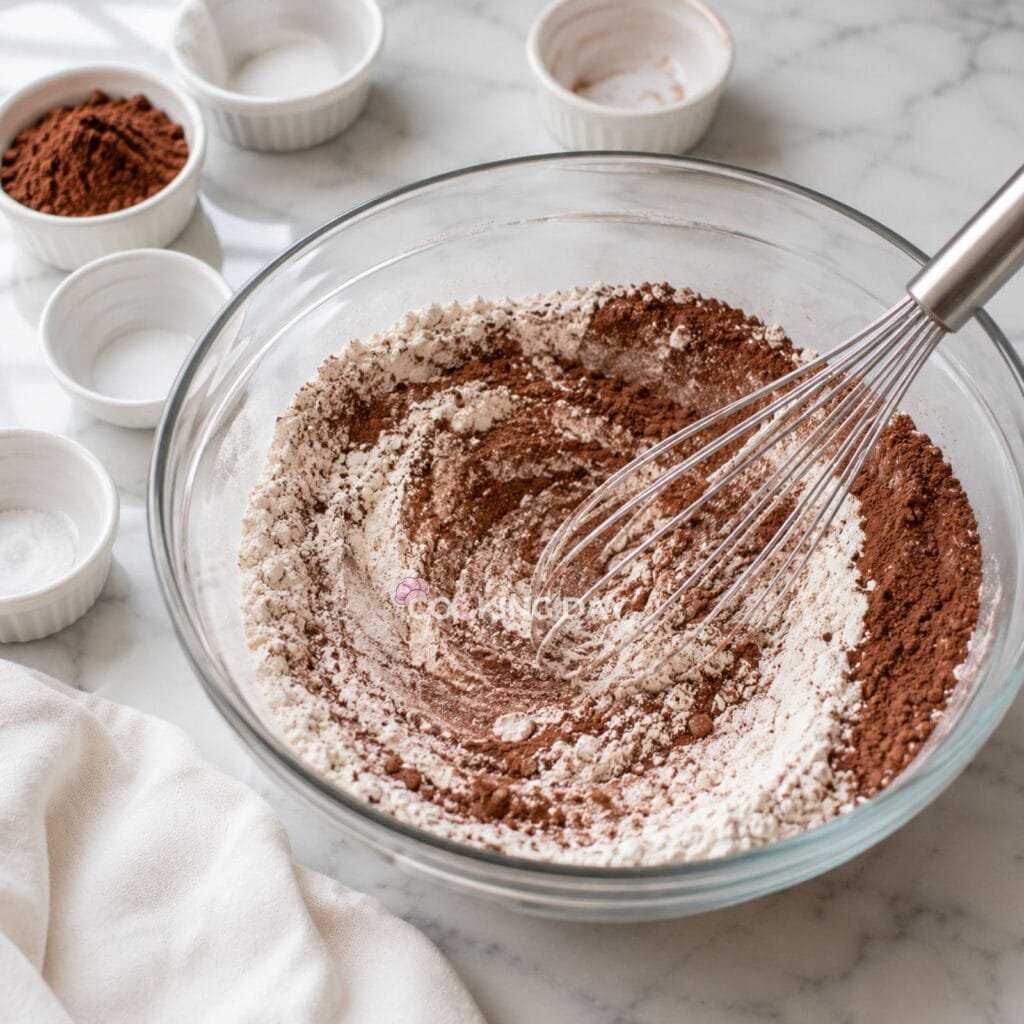
Whisk together the cake flour, cocoa powder, baking soda, and salt until evenly combined.
This helps distribute the cocoa and baking soda throughout the flour.
Step 3: Cream the Butter and Sugar
Beat the softened butter and sugar until the mixture becomes pale and fluffy.
Proper creaming incorporates air that contributes to a lighter cake.
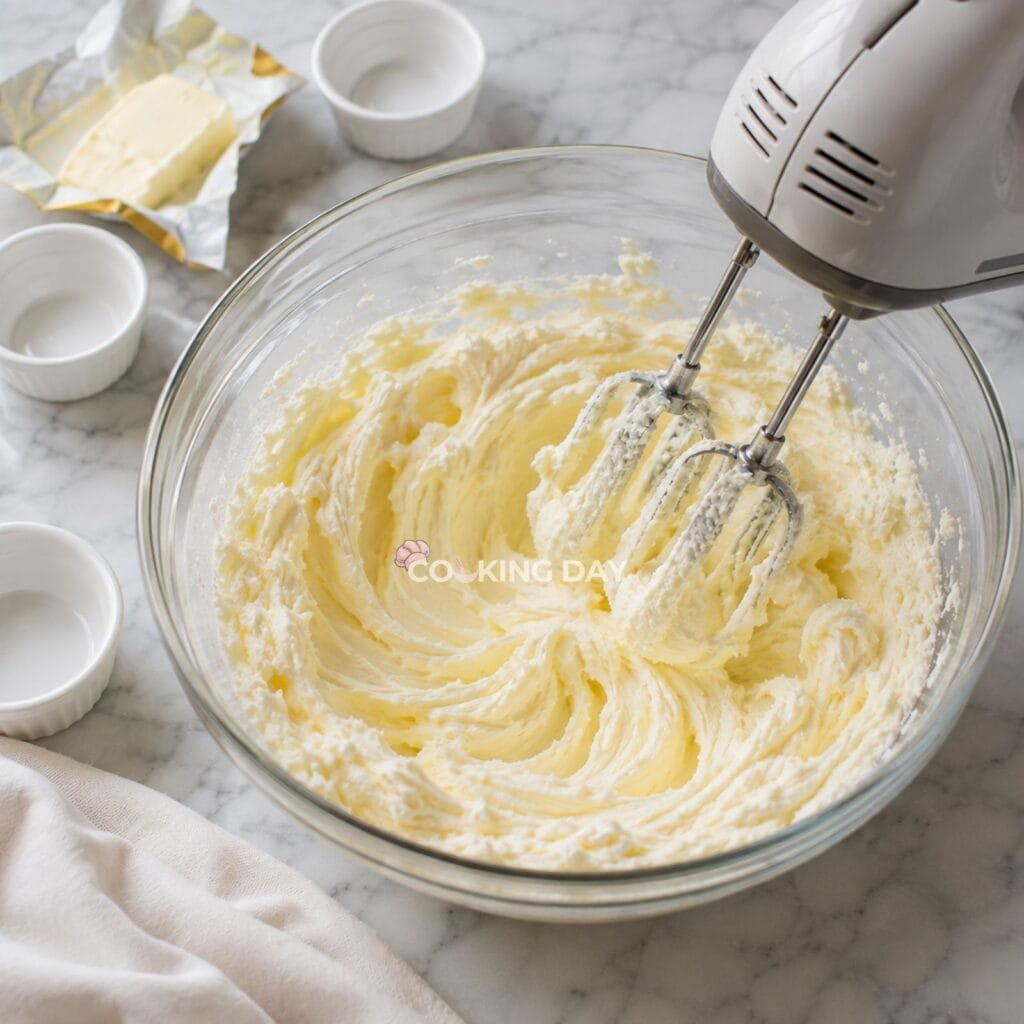
Step 4: Add the Remaining Wet Ingredients
Mix in the vegetable oil, egg yolks, vanilla extract, and vinegar until smooth.
The batter should become silky and well combined.
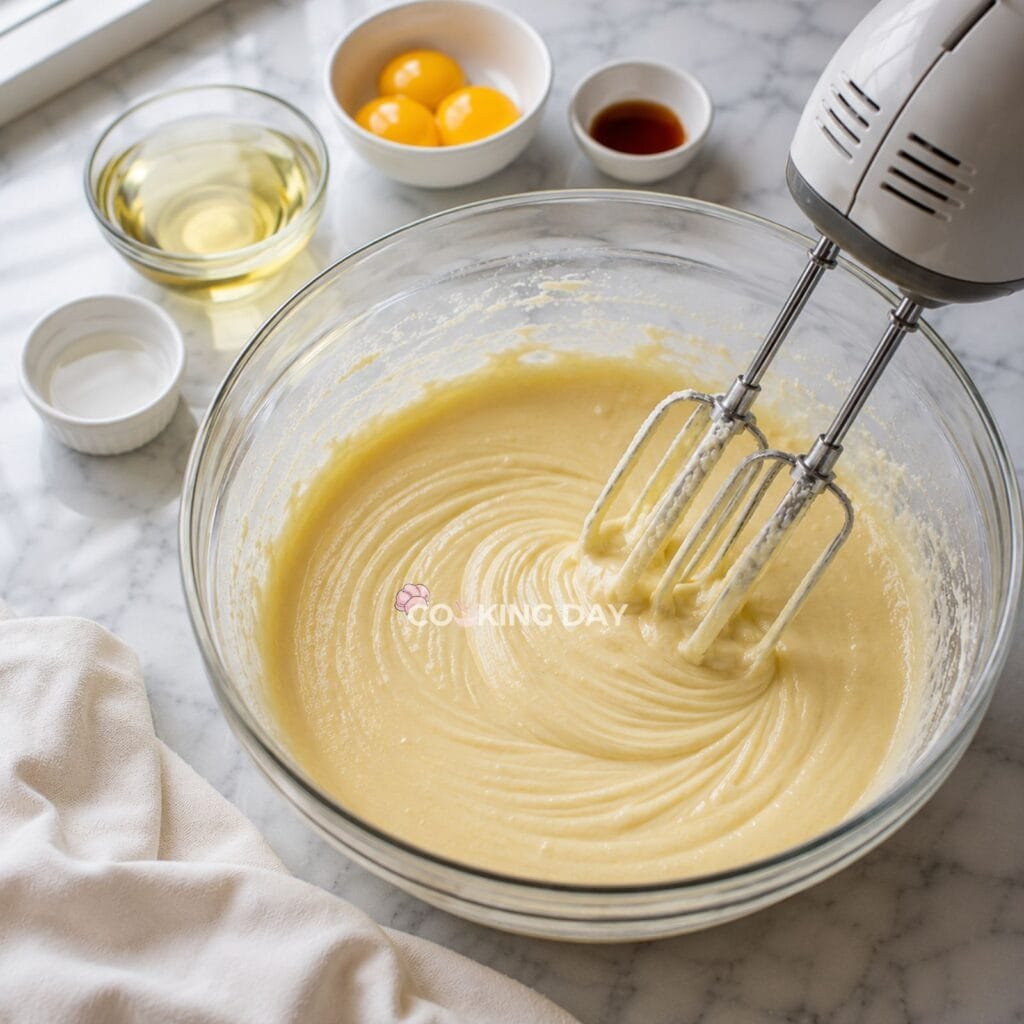
Step 5: Alternate the Dry Ingredients and Buttermilk
Add the flour mixture in three additions, alternating with the buttermilk.
Mix only until the flour disappears. Overmixing develops gluten, which can make the cake less tender.
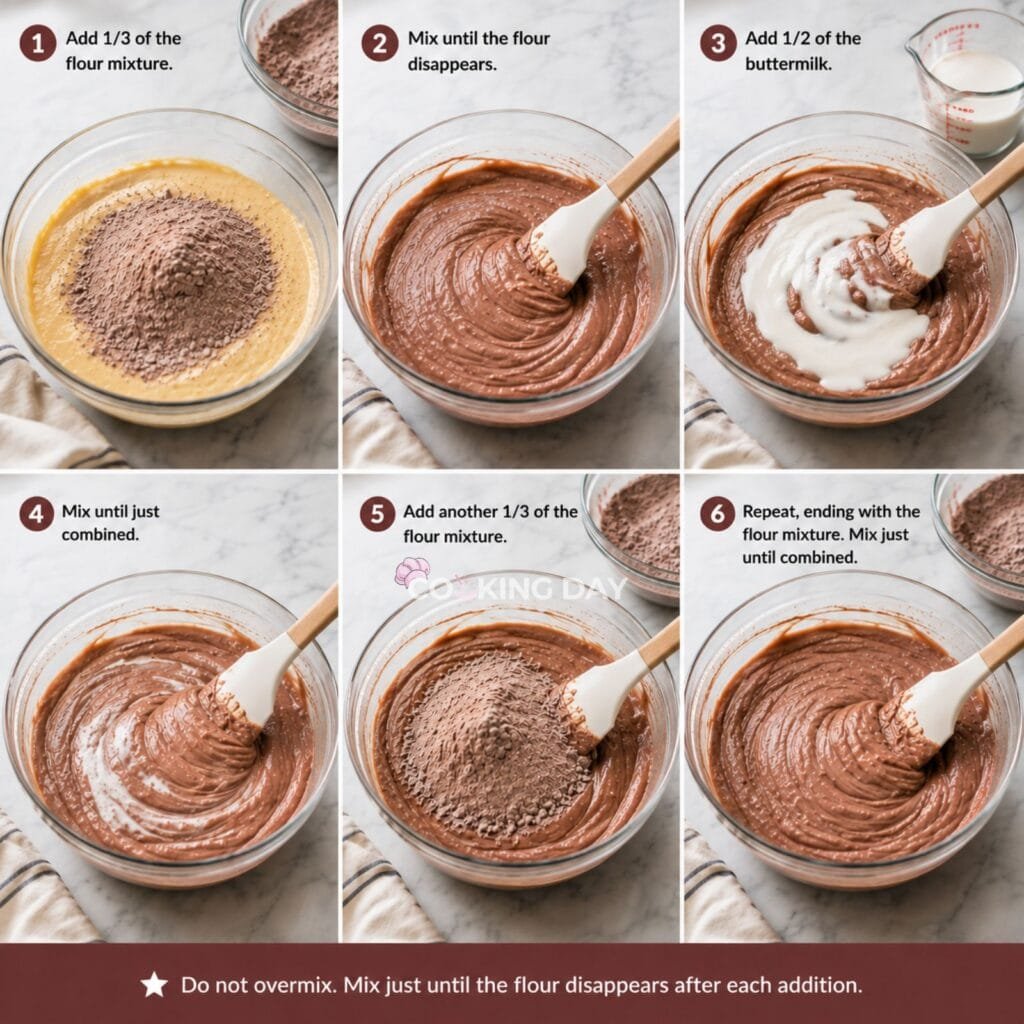
Overmixing can create a tougher cake.
Step 6: Add the Food Coloring
Mix in the red gel food coloring until the batter reaches a rich, even red color.
Gel coloring produces vibrant color without thinning the batter.
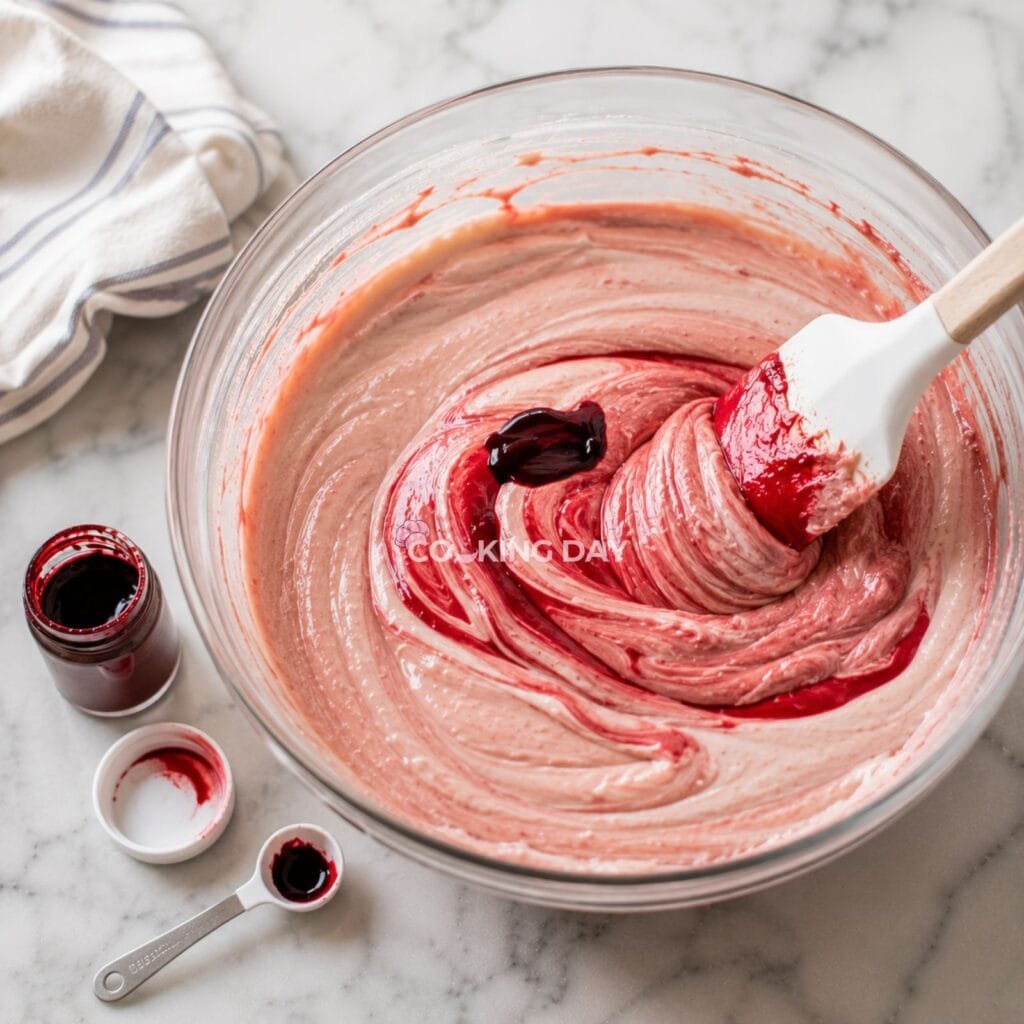
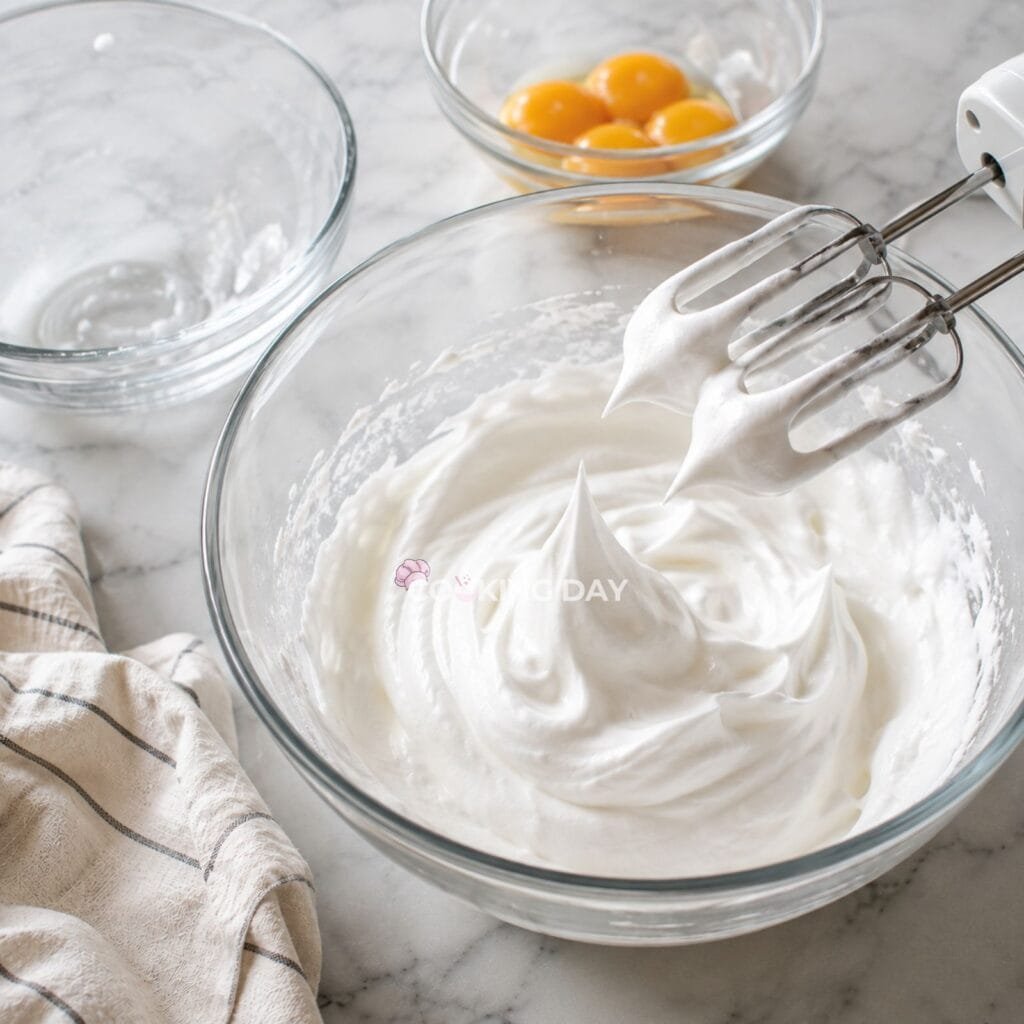
Step 7: Whip the Egg Whites
In a clean mixing bowl, beat the egg whites until stiff peaks form.
The egg whites should hold their shape when the beaters are lifted.
Step 8: Fold the Egg Whites into the Batter
Using a rubber spatula, gently fold the whipped egg whites into the batter.
Continue folding just until no white streaks remain.
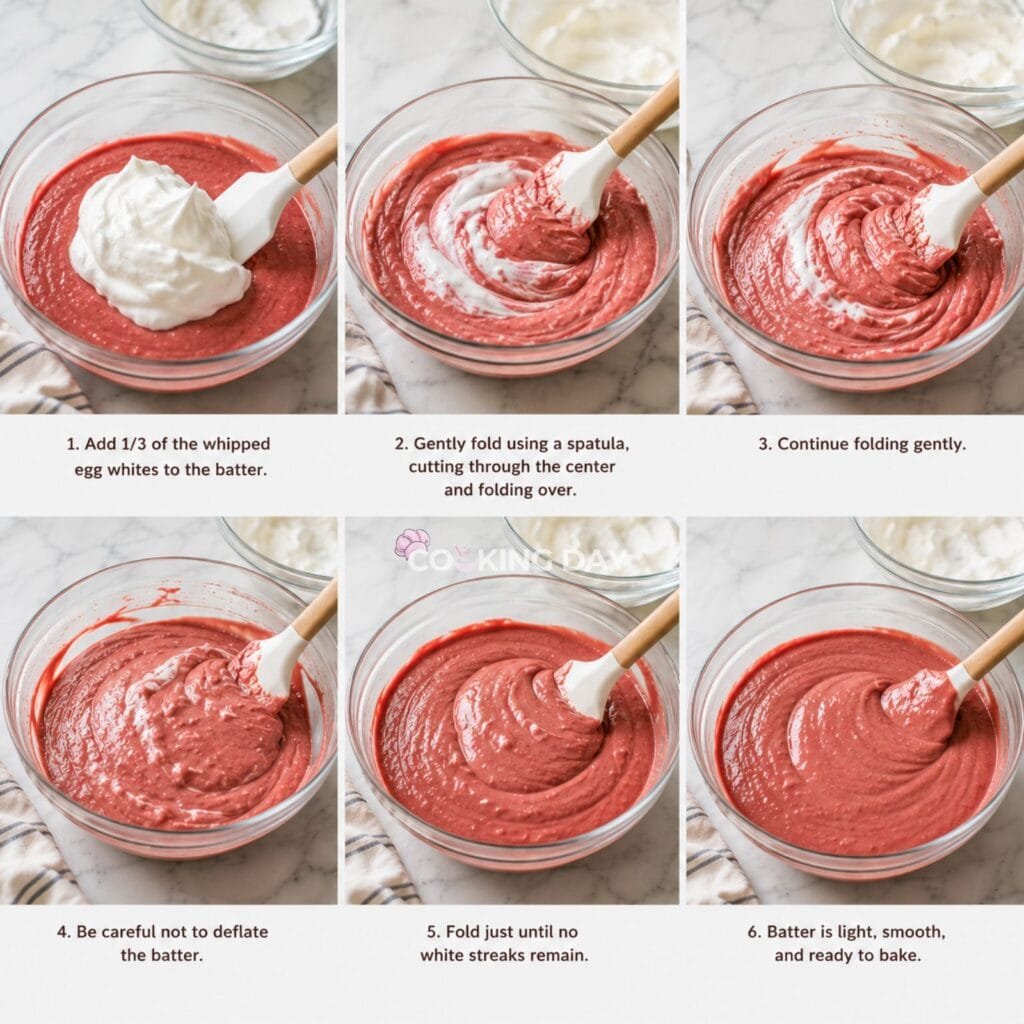
Avoid stirring vigorously to preserve the air incorporated into the egg whites.
Step 9: Bake the Cakes
Divide the batter evenly between the prepared pans.
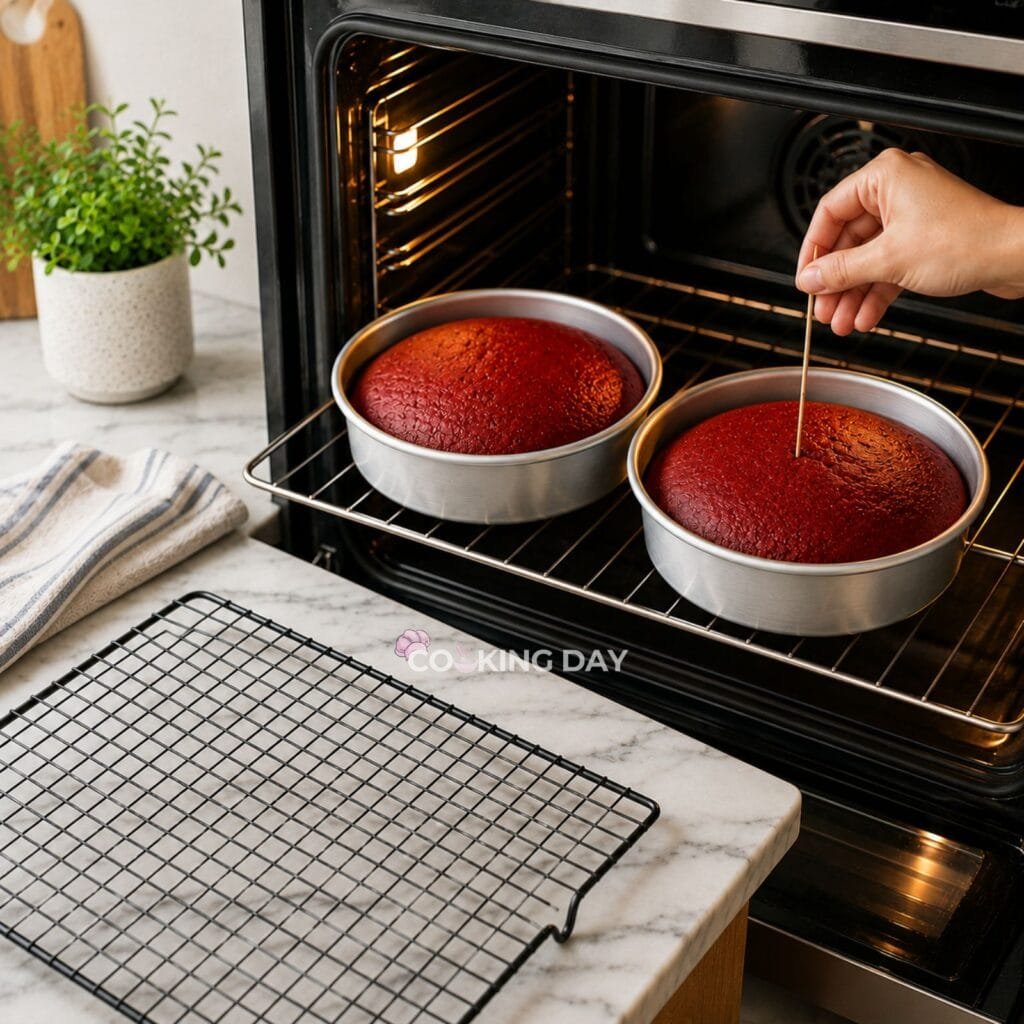
Bake for 30 to 32 minutes or until a toothpick inserted into the center comes out clean.
Allow the cakes to cool in their pans for about 10 minutes before transferring them to a cooling rack.
Cool completely before frosting.
Step 10: Prepare the Cream Cheese Frosting
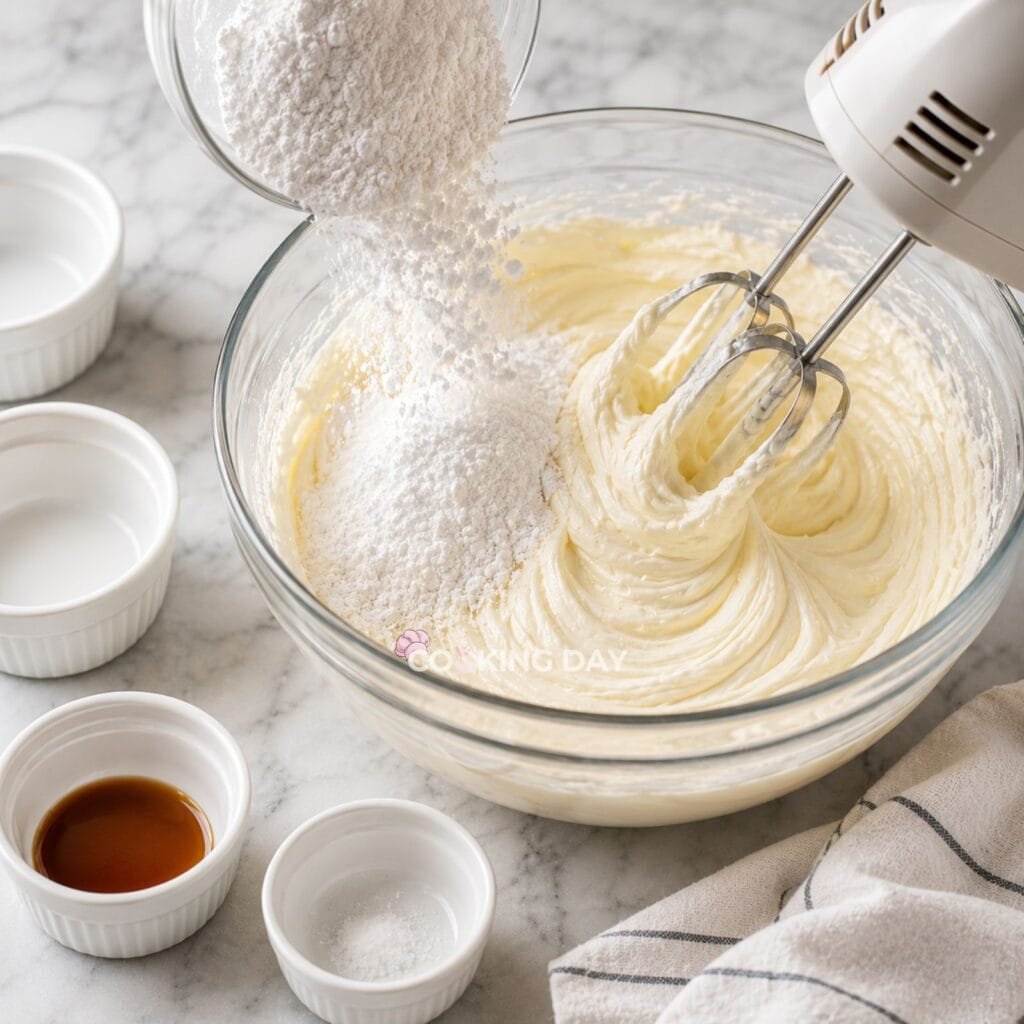
Beat the softened cream cheese and butter until smooth.
Gradually add the powdered sugar.
Mix in the vanilla extract and salt.
Continue beating for 2 to 3 minutes until light, fluffy, and creamy.
Step 11: Assemble the Cake
If necessary, level the cake layers using a serrated knife.
Spread frosting over the first cake layer.
Place the second layer on top.
Frost the top and sides evenly using an offset spatula. If any crumbs begin mixing into the frosting, chill the cake for 15 to 20 minutes before applying the final layer.
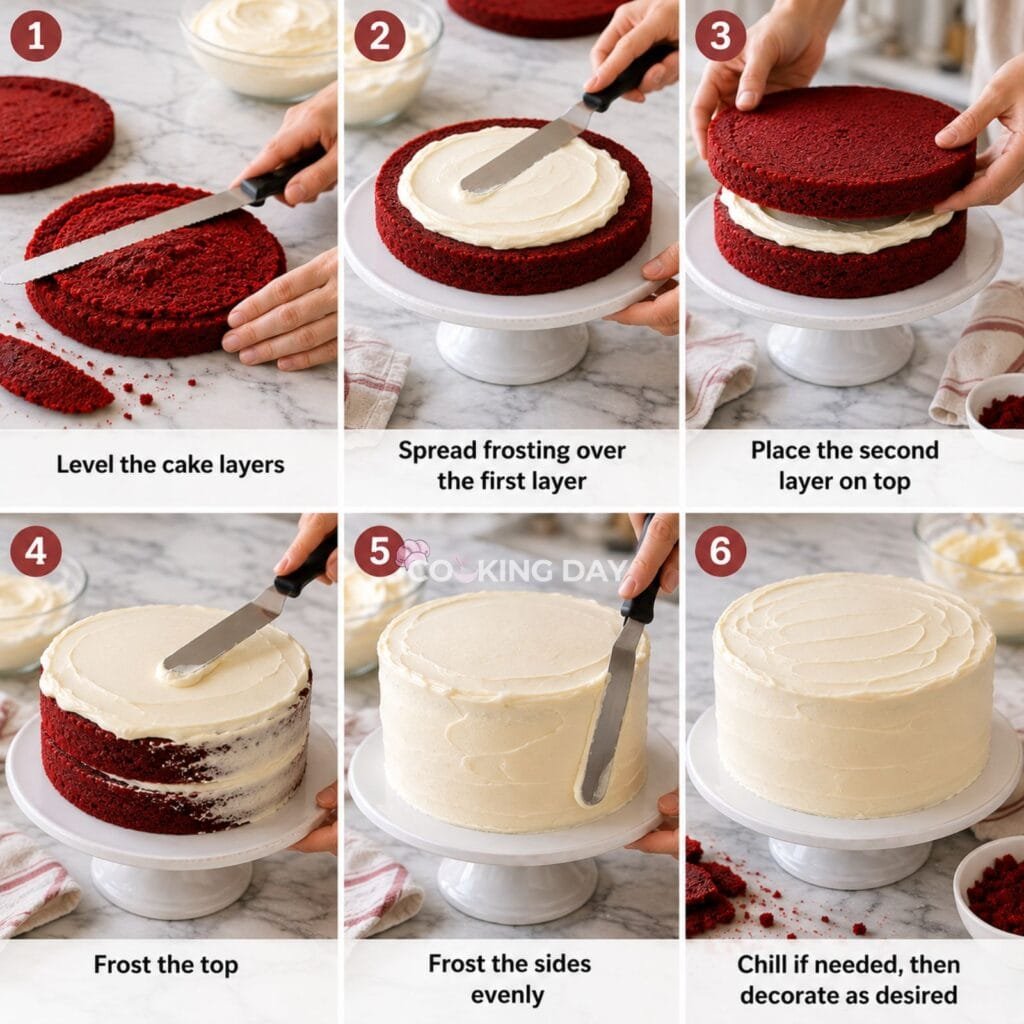
Decorate as desired.
Step 12: Chill Before Serving
Refrigerate the finished cake for about 30 minutes.
This helps the frosting firm up and produces cleaner slices.
Tips for the Best Red Velvet Cake
Use room-temperature butter, eggs, cream cheese, and buttermilk for smoother mixing.
Measure the flour carefully using the spoon-and-level method.
Use gel food coloring for a vibrant color without affecting the batter consistency.
Fold the whipped egg whites gently to maintain their volume. Rotate the bowl as you fold to keep as much air in the batter as possible.
Allow the cake layers to cool completely before frosting.
Chill the finished cake briefly before slicing.
Common Mistakes to Avoid
Using All-Purpose Flour
Cake flour creates the soft, velvety crumb that makes Red Velvet Cake unique.
Overmixing the Batter
Too much mixing develops gluten and produces a denser cake.
Skipping the Egg Whites
Whipped egg whites help create the cake’s signature light texture.
Frosting Warm Cake Layers
Warm cakes melt the frosting and make assembly difficult.
Overbaking
Bake only until a toothpick comes out clean.
Even a few extra minutes can dry out the cake.
Expert Tips
Weigh the cake batter before dividing it between the pans for even layers.
Scrape the mixing bowl several times during mixing to ensure everything is fully incorporated.
Use a rotating cake stand while frosting for smoother sides.
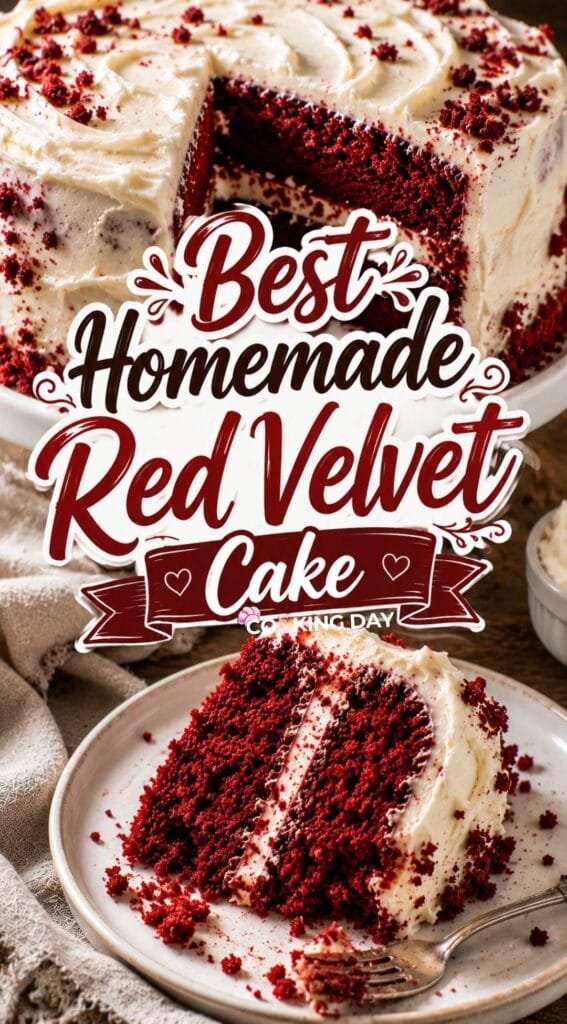
For bakery-style decoration, reserve cake crumbs and sprinkle them around the sides or top.
Chill the cake after applying a thin crumb coat before adding the final layer of frosting.
For the cleanest slices, wipe the knife clean between each cut.
Variations
Chocolate Red Velvet Cake
Increase the cocoa slightly for a richer chocolate flavor while maintaining the signature red color.
Raspberry Red Velvet Cake
Spread raspberry preserves between the cake layers before frosting.
Red Velvet Cupcakes
Bake the batter in cupcake liners for about 18 to 22 minutes.
White Chocolate Red Velvet Cake
Add white chocolate curls over the finished frosting.
Red Velvet Sheet Cake
Bake the batter in a 9×13-inch pan instead of two round pans.
Holiday Red Velvet Cake
Decorate with festive sprinkles or piped frosting designs for Christmas or Valentine’s Day.
Ingredient Substitutions
Cake flour can be made using all-purpose flour and cornstarch if necessary.
Canola oil can replace vegetable oil.
Mix plain Greek yogurt with a little milk until it reaches the consistency of buttermilk.
Cream cheese frosting can be replaced with stabilized whipped cream frosting for a lighter dessert.
Natural cocoa powder works better than Dutch-process cocoa for traditional Red Velvet Cake.
What to Serve With
Fresh strawberries pair beautifully with the tangy cream cheese frosting.
Serve with fresh raspberries or blueberries for extra freshness.
Vanilla ice cream makes an excellent accompaniment.
Coffee balances the sweetness of the cake wonderfully.
A cold glass of milk is always a classic choice.
For dessert tables, pair this cake with Peanut Butter Truffles, Strawberry Cheesecake Truffles, Biscoff Truffles, Cookies and Cream Fudge, or Cherries Jubilee.
Storage Instructions
Cover the cake tightly and refrigerate for up to 5 days.
The flavor actually becomes even better after the first day as the cake continues to absorb moisture from the frosting.
Allow refrigerated slices to sit at room temperature for about 20 to 30 minutes before serving for the softest texture.
Freezing
Unfrosted cake layers can be wrapped tightly in plastic wrap and aluminum foil before freezing for up to 3 months.
Thaw overnight in the refrigerator before frosting.
Individual frosted slices can also be frozen in airtight containers.
More Recipes to Try
If you enjoyed this Red Velvet Cake with Cream Cheese Frosting, you may also like:
- No-Churn Cookies and Cream Ice Cream
- Cookies and Cream Fudge Recipe
- Homemade Old-Fashioned Chocolate Fudge
- Ferrero Rocher Milkshake Recipe
Final Thoughts
This Red Velvet Cake with Cream Cheese Frosting is everything a classic celebration cake should be. It’s soft, moist, beautifully tender, and finished with a rich cream cheese frosting that perfectly complements the delicate cocoa flavor.
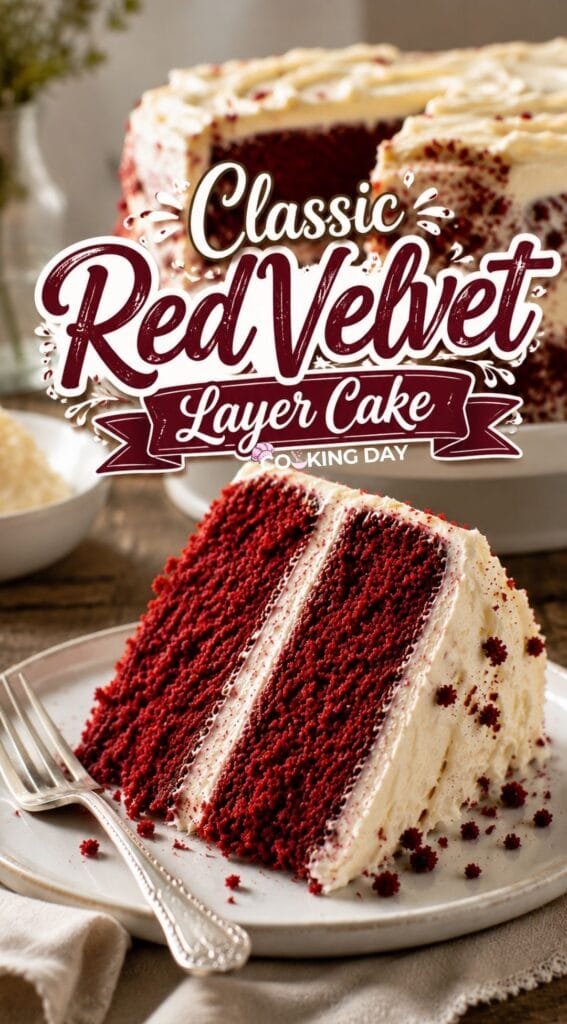
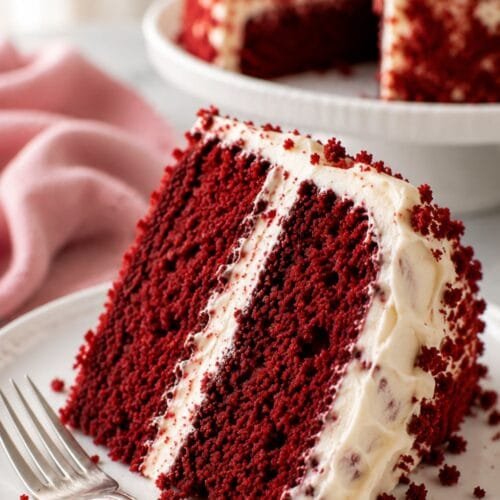
What makes this recipe stand out is its signature velvety texture. The combination of cake flour, buttermilk, and whipped egg whites creates a light crumb that’s noticeably different from a traditional chocolate cake. Every slice feels soft, rich, and perfectly balanced without being overly sweet.
Whether you’re baking for a birthday, holiday gathering, Valentine’s Day, or simply because you’re craving a homemade dessert, this timeless cake is always an impressive centerpiece. Whether you’re celebrating a special occasion or simply baking for the people you love, this homemade Red Velvet Cake is the kind of dessert that always makes the moment feel a little more special.
Red Velvet Cake with Cream Cheese Frosting

Equipment
- Two 9-inch round cake pans
- Parchment paper
- Large mixing bowls
- Electric mixer
- Rubber spatula
- Whisk
- Cooling rack
- Offset spatula or icing spatula
- Serrated knife
Ingredients
Red Velvet Cake
- 3 cups cake flour
- 1 teaspoon baking soda
- 2 tablespoons unsweetened natural cocoa powder
- ½ teaspoon salt
- ½ cup unsalted butter, softened
- 2 cups granulated sugar
- 1 cup vegetable or canola oil
- 4 large eggs, separated
- 1 tablespoon pure vanilla extract
- 1 teaspoon distilled white vinegar
- 1 to 2 teaspoons red gel food coloring
- 1 cup buttermilk, room temperature
Cream Cheese Frosting
- 16 ounces full-fat cream cheese, softened
- ¾ cup unsalted butter, softened
- 5 cups powdered sugar
- 1½ teaspoons vanilla extract
- Pinch of salt
Instructions
Prepare the Cake
- Preheat the oven to 350°F (177°C). Grease two 9-inch round cake pans and line the bottoms with parchment paper.
- In a large bowl, whisk together the cake flour, cocoa powder, baking soda, and salt.
- In another bowl, beat the softened butter and granulated sugar until light and fluffy.
- Add the vegetable oil, egg yolks, vanilla extract, and vinegar. Continue mixing until smooth.
- Add the dry ingredients in three additions, alternating with the buttermilk, mixing on low speed until just combined.
- Stir in the red food coloring until the batter reaches your preferred shade of red.
- In a clean bowl, beat the egg whites until stiff peaks form.
- Gently fold the whipped egg whites into the batter using a rubber spatula until no white streaks remain.
- Divide the batter evenly between the prepared pans.
- Bake for 30 to 32 minutes, or until a toothpick inserted into the center comes out clean.
- Let the cakes cool in the pans for about 10 minutes before transferring them to a wire rack to cool completely.
Prepare the Frosting
- Beat the cream cheese and butter until smooth and creamy.
- Gradually add the powdered sugar, mixing until fully incorporated.
- Blend in the vanilla extract and a pinch of salt.
- Beat for another 2 to 3 minutes until the frosting is light and fluffy.
Assemble the Cake
- If needed, level the tops of the cooled cake layers with a serrated knife.
- Place one cake layer on a serving plate and spread an even layer of frosting over the top.
- Add the second cake layer and frost the top and sides of the cake.
- Decorate as desired.
- Refrigerate for about 30 minutes before slicing for cleaner cuts.
Notes
Notes
- Cake flour creates a finer, softer crumb than all-purpose flour.
- Whipping the egg whites separately helps produce the signature light, velvety texture.
- Gel food coloring creates a more vibrant red color without thinning the batter.
- Bring refrigerated ingredients to room temperature before mixing for the smoothest batter.
- Chill the frosted cake for at least 30 minutes before slicing for neat, even layers.
- Store leftovers in an airtight container in the refrigerator for up to 5 days or freeze unfrosted cake layers for up to 3 months.