
Some links on this page are affiliate links. This means we may earn a commission at no additional cost to you if you click through and make a purchase, you can check our Affiliate Disclosure. Thank you for your support!
Homemade chocolate fudge is one of those treats that never seems to go out of style.
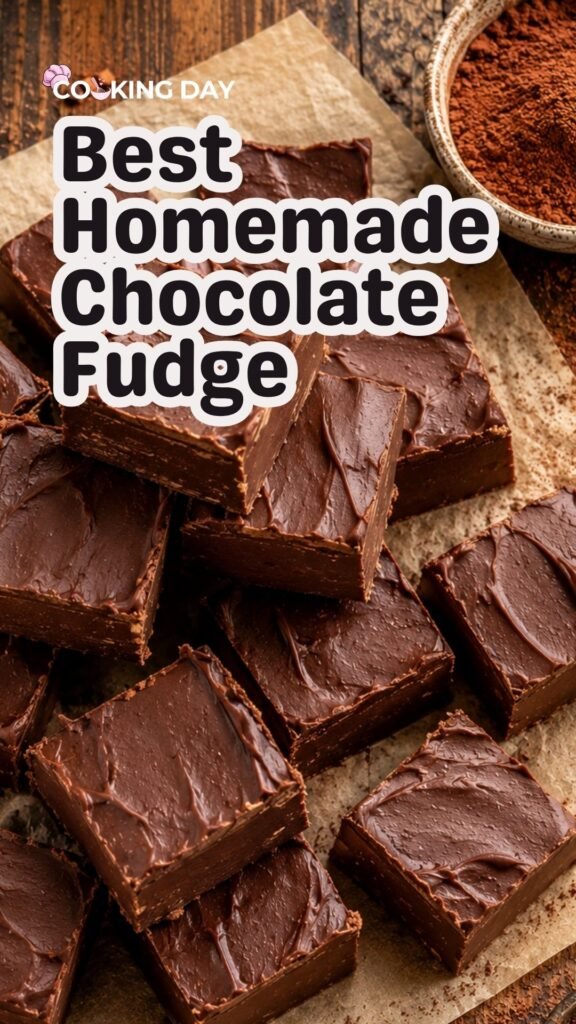
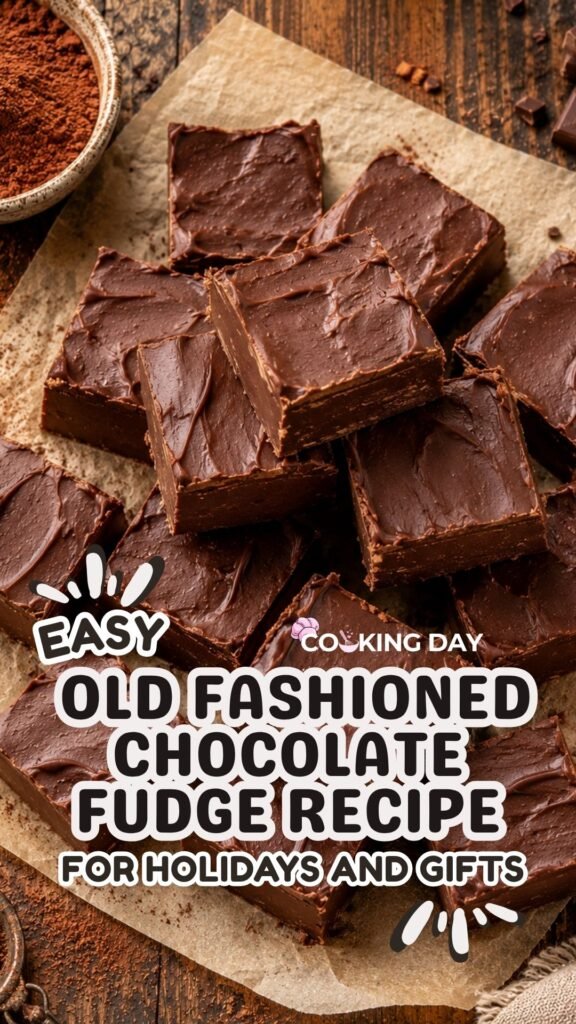
With its rich chocolate flavor, smooth texture, and satisfying sweetness, a good piece of fudge feels special whether you’re making it for the holidays, packaging it as a gift, or simply enjoying a small square with coffee or tea.
What makes this old-fashioned chocolate fudge stand out is its classic texture. Instead of being soft and sticky like many quick fudge recipes, this version develops the fine-grained, melt-in-your-mouth consistency that traditional fudge lovers appreciate.
I still think there’s something rewarding about making fudge the old-fashioned way. It takes a little patience, but watching a few simple pantry ingredients transform into smooth, rich chocolate candy is well worth the effort.
A detail that makes a huge difference is respecting the cooling stage before beating the fudge. It may feel tempting to rush ahead, but this step is one of the secrets behind that signature texture.
Let me show you exactly how to make it step-by-step.
Why This Recipe Works
Many modern fudge recipes rely on marshmallows, condensed milk, or shortcuts that create a softer candy.
This recipe follows a traditional stovetop method that develops a more authentic fudge texture.
The cocoa powder delivers deep chocolate flavor.
Milk provides richness and helps create a smooth consistency.
The precise cooking temperature allows sugar crystals to form correctly.
The cooling and beating stages create the classic fine-grained texture.
One thing I’ve learned after making fudge several times is that patience matters more than complicated ingredients. Most fudge problems happen when the mixture is stirred at the wrong time or rushed before cooling properly.
Another detail that helps is using a heavy-bottomed saucepan. The thicker base distributes heat more evenly and reduces the risk of scorching the chocolate mixture.
The result is rich chocolate fudge with a firm texture that softens beautifully as it melts in your mouth.
Ingredients
- 3 cups granulated sugar
- ⅔ cup unsweetened Dutch-process cocoa powder
- ⅛ teaspoon salt
- 1½ cups whole milk
- ¼ cup salted butter, softened
- 1 teaspoon vanilla extract
If using unsalted butter, increase the salt to ¼ teaspoon.
Equipment You’ll Need
- 8-inch square baking pan
- Parchment paper
- Medium heavy-bottom saucepan
- Wooden spoon
- Candy thermometer
- Measuring cups and spoons
- Cooling rack
Step-by-Step Instructions
Step 1: Prepare the Pan
Line an 8-inch square baking pan with parchment paper.
Lightly butter the parchment paper.
Parchment paper makes cleanup much easier and helps the fudge release cleanly once set.
Step 2: Combine the Dry Ingredients
In a heavy-bottom saucepan, combine:
- Sugar
- Cocoa powder
- Salt
Stir until evenly mixed.
This helps prevent cocoa lumps later in the cooking process.
Step 3: Add the Milk
Pour in the milk.
Stir until the mixture becomes smooth and fully combined.
At this stage, the mixture will resemble thin chocolate syrup.
Step 4: Bring to a Boil
Place the saucepan over medium heat.
Stir constantly until the sugar dissolves completely and the mixture reaches a steady boil.
This usually takes around 15 minutes.
The chocolate aroma becomes much richer as the mixture heats and the cocoa fully hydrates.
Step 5: Cook to the Correct Temperature
Reduce the heat to medium-low.
Stop stirring.
Continue cooking until the mixture reaches 234°F (112°C) on a candy thermometer.
This stage usually takes around 30 minutes, though timing varies depending on cookware and stove settings.
One of the biggest mistakes people make is stirring during this stage. Stirring can encourage unwanted sugar crystals and affect the final texture.
Step 6: Add Butter and Vanilla
Remove the saucepan from the heat.
Add the softened butter and vanilla extract.
Do not stir.
Allow them to sit on top of the hot mixture.
Step 7: Cool Undisturbed
Allow the fudge to cool naturally to approximately 110°F (43°C).
This cooling period is one of the most important steps in the entire recipe.
A detail that really improves texture is simply leaving the mixture alone during this stage. Disturbing it too early can interfere with proper crystal formation.
Step 8: Beat the Fudge
Once cooled, begin beating with a wooden spoon.
Continue stirring until the mixture loses some of its shine and begins to thicken slightly.
This typically takes 6 to 8 minutes.
The glossy surface slowly changes into a thicker mixture with a softer satin appearance.
Step 9: Transfer to the Pan
Immediately spread the fudge into the prepared pan.
Work fairly quickly, as the mixture starts setting once it reaches the proper consistency.
Step 10: Allow to Set
Leave the fudge at room temperature until fully set.
Overnight cooling often produces the cleanest slices and best texture.
Step 11: Slice and Serve
Lift the fudge from the pan using the parchment paper.
Cut into 20 squares.
The finished fudge should have a rich chocolate flavor, a firm structure, and a smooth texture that melts pleasantly as you eat it.
Tips for Best Results
- Use a candy thermometer.
- Avoid stirring after the mixture reaches a boil.
- Let the fudge cool naturally.
- Beat only until the shine begins to fade.
- Use a heavy-bottomed saucepan.
- Measure ingredients accurately.
One helpful trick I’ve found is lightly buttering the inside walls of the saucepan before cooking. It can help minimize stray sugar crystals that sometimes form along the sides.
Common Recipe Questions
Why is my fudge too soft?
The mixture likely did not reach the correct temperature before cooling.
Why is my fudge grainy?
Graininess often occurs when sugar crystals form too early due to stirring or improper cooking.
Can I make fudge without a candy thermometer?
You can, but a thermometer provides much more reliable results.
Can I add nuts?
Yes. Chopped pecans or walnuts can be folded in just before transferring the fudge to the pan.
Why does the fudge need to cool before beating?
Cooling allows the sugar structure to develop correctly, creating the classic texture.
Can I remake failed fudge?
Often yes. Soft fudge can usually be reheated and cooked again to the correct temperature.
Variations
Chocolate Walnut Fudge
Add chopped walnuts before pouring into the pan.
Chocolate Pecan Fudge
Fold in toasted pecans for extra crunch.
Coconut Chocolate Fudge
Add shredded coconut during the final mixing stage.
Espresso Chocolate Fudge
Add a small amount of espresso powder to deepen the chocolate flavor.
What to Serve With Chocolate Fudge
Chocolate fudge pairs beautifully with:
- Coffee
- Tea
- Hot chocolate
- Vanilla ice cream
- Fresh berries
- Holiday dessert platters
I especially enjoy serving small squares alongside coffee because the rich chocolate flavor balances the bitterness beautifully.
Storage Instructions
Room Temperature
Store in an airtight container for 7 to 14 days.
Refrigerator
Store in a sealed container for up to 4 weeks.
Freezer
Wrap tightly and freeze for up to 3 months.
Thaw overnight in the refrigerator before serving.
Final Thoughts
This Easy Old-Fashioned Chocolate Fudge is proof that some classic recipes remain popular for good reason.
While it requires a little more patience than shortcut versions, the rich chocolate flavor and smooth melt-in-your-mouth texture make the extra effort worthwhile. The traditional method creates a candy that feels nostalgic, satisfying, and perfect for sharing during holidays and special occasions.
After that first bite of rich chocolate fudge with its signature creamy texture, it’s easy to understand why this homemade treat has remained a favorite for generations.
If you enjoy homemade candies, nostalgic desserts, and classic sweet treats, be sure to explore our Desserts & Sweet Treats
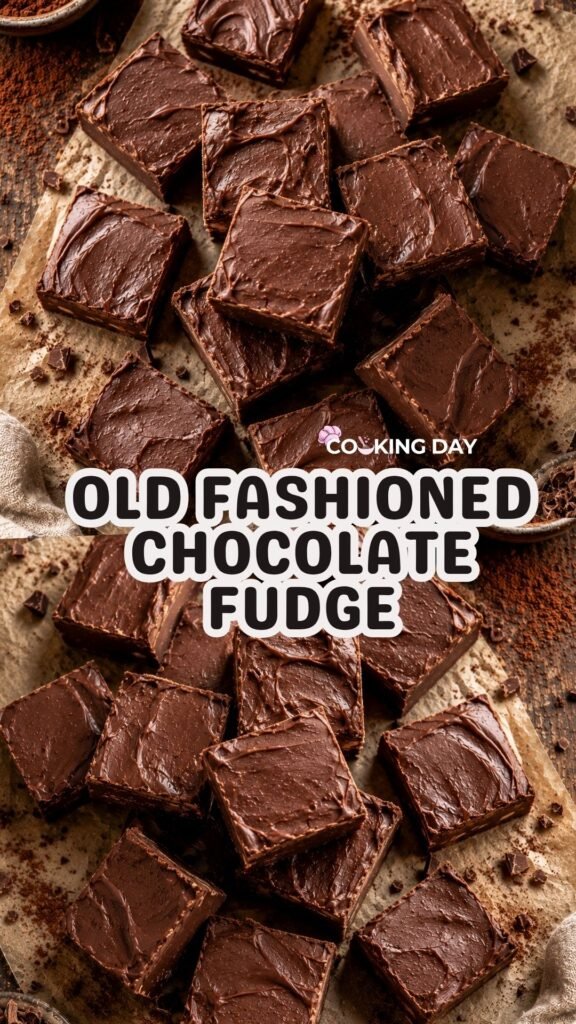
Old – Fashioned Chocolate Fudge
Equipment
- 8-inch square baking pan
- Parchment paper
- Heavy-bottom saucepan
- Wooden spoon
- Candy thermometer
- Measuring cups and spoons
- Wire cooling rack
Ingredients
- 3 cups granulated sugar
- ⅔ cup unsweetened Dutch-process cocoa powder
- ⅛ teaspoon salt
- 1½ cups whole milk
- ¼ cup salted butter, room temperature
- 1 teaspoon vanilla extract
If using unsalted butter, increase the salt to ¼ teaspoon.
Instructions
- Line an 8-inch square baking pan with parchment paper, leaving enough excess on two sides to lift the fudge out later.
- In a heavy saucepan, combine the sugar, cocoa powder, and salt. Whisk until evenly blended.
- Pour in the milk and stir until no dry spots remain and the mixture is smooth.
- Place over medium heat and cook, stirring constantly until the sugar fully dissolves and the mixture begins to boil.
- Once boiling, stop stirring and continue cooking until the mixture reaches 234°F to 238°F on a candy thermometer.
- Remove the pan from the heat. Add the butter and vanilla extract without stirring.
- Allow the mixture to cool undisturbed until it reaches approximately 110°F.
- Using a wooden spoon, beat the fudge vigorously until it thickens, loses its glossy appearance, and begins to hold its shape. This generally takes 5 to 8 minutes.
- Immediately transfer the mixture to the prepared pan and smooth the top quickly before it sets.
- Leave the fudge at room temperature until completely firm, about 2 hours.
- Remove from the pan and cut into 20 large squares.