
Some links on this page are affiliate links. This means we may earn a commission at no additional cost to you if you click through and make a purchase, you can check our Affiliate Disclosure. Thank you for your support!
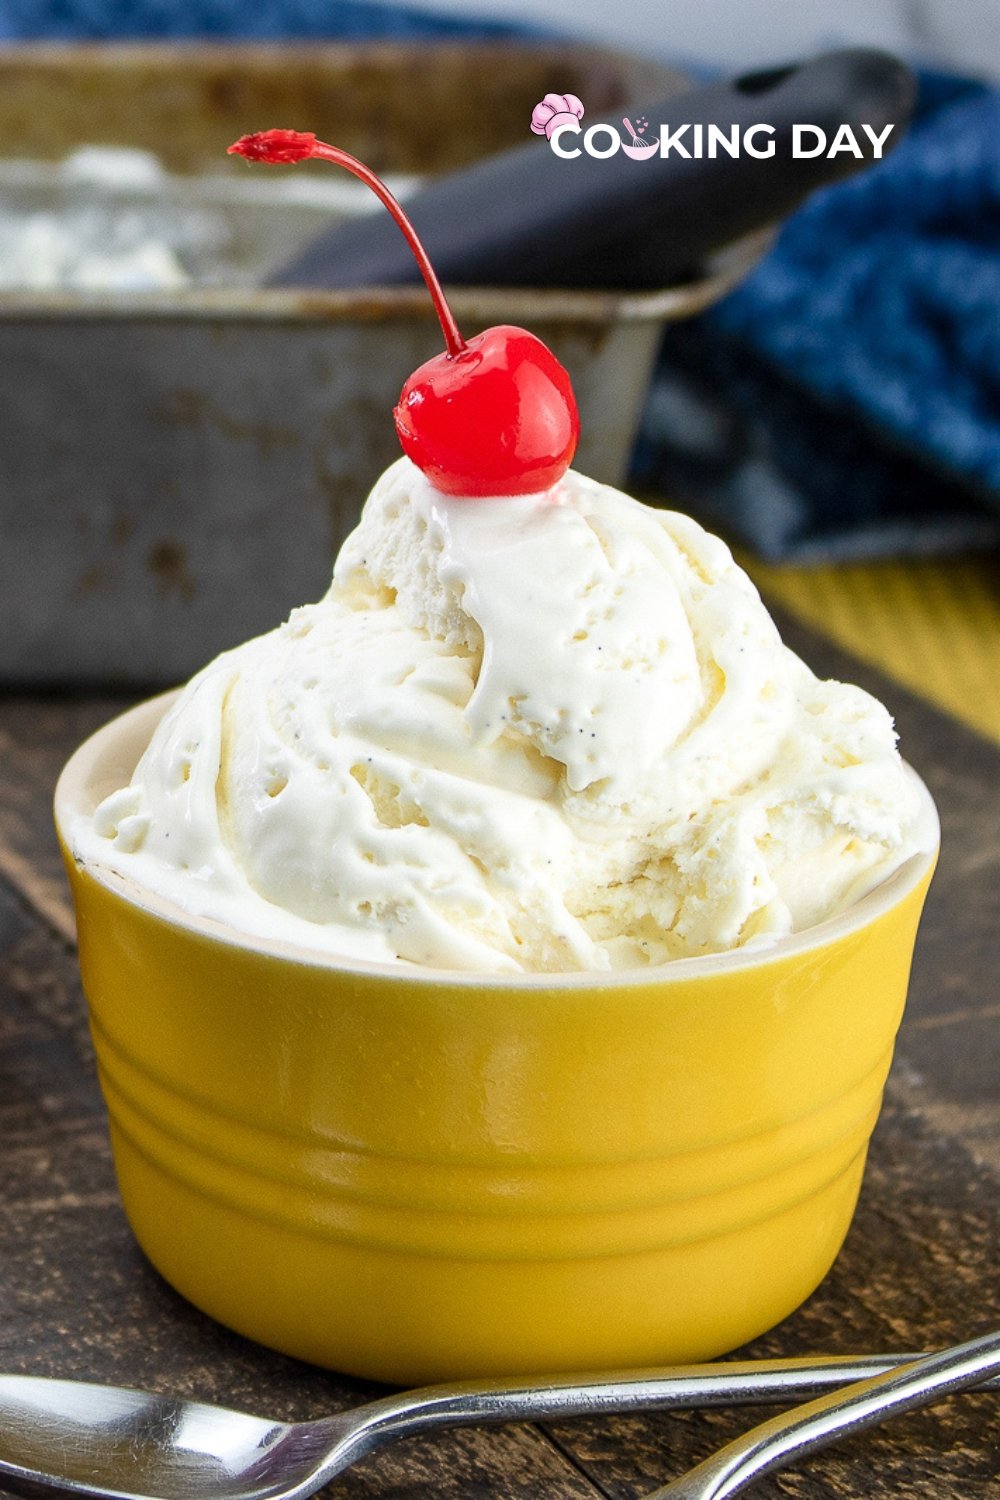
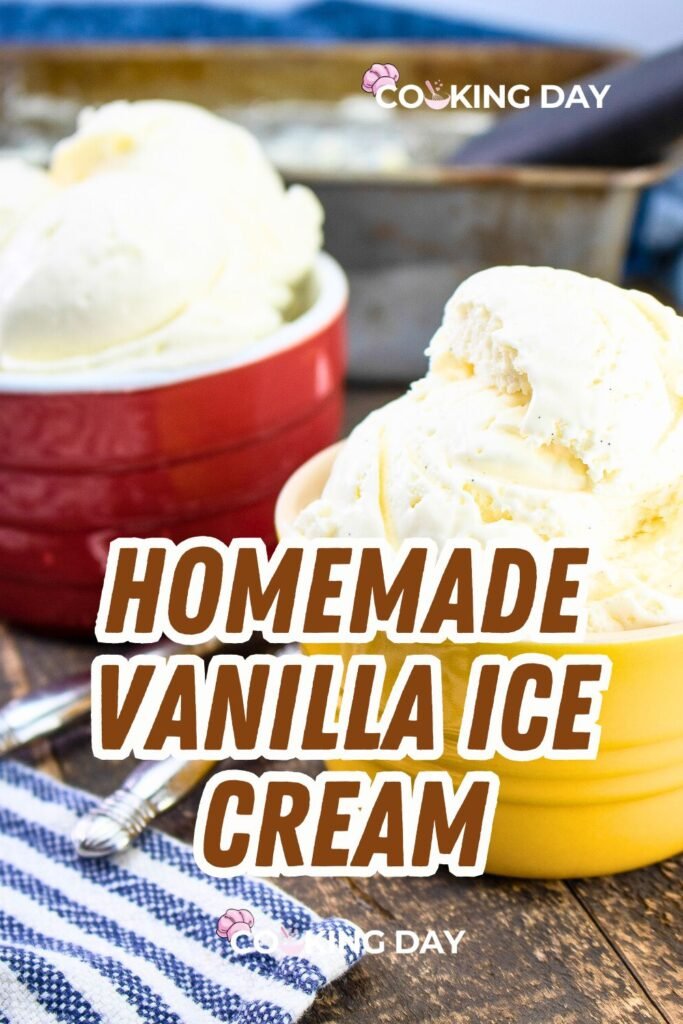
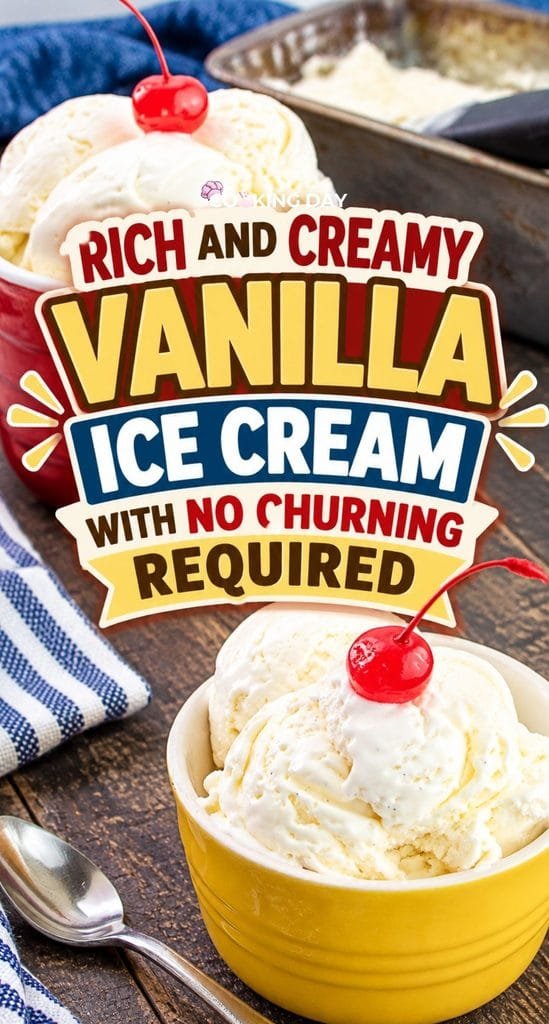
This No-Churn Vanilla Ice Cream is a simple homemade frozen dessert made with just three main ingredients. Heavy cream creates a light, creamy base, sweetened condensed milk provides sweetness and richness, and real vanilla bean gives every scoop a deep, fragrant vanilla flavor.
There is no ice cream maker, custard base, or stovetop cooking required. Whip the cream until it holds stiff peaks, gently fold in the condensed milk and vanilla, then transfer everything to a freezer-safe container. After at least four hours in the freezer, the mixture becomes firm and scoopable.
Serve it simply in a bowl or cone, or turn it into a more indulgent dessert with whipped cream, chopped nuts, fruit, chocolate syrup, or caramel.
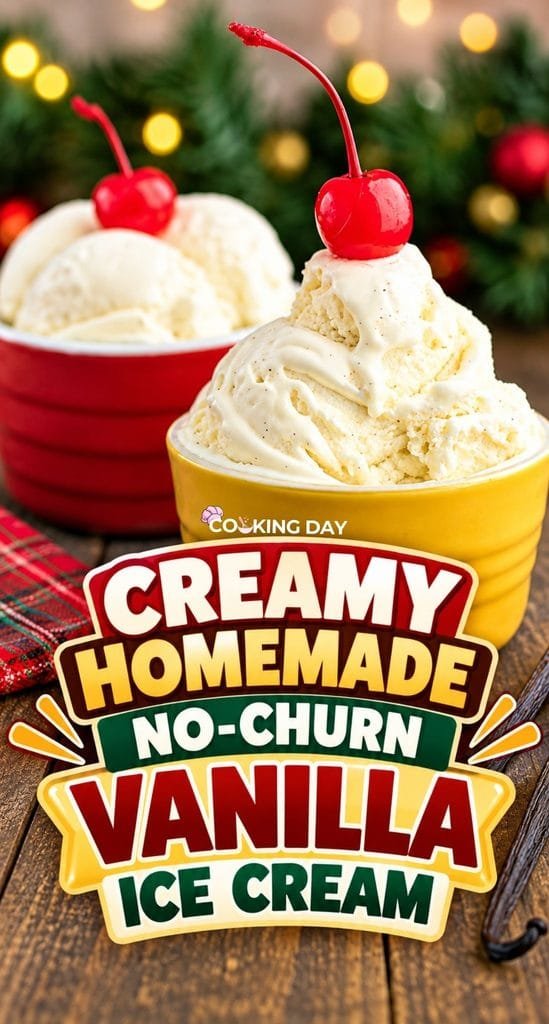
Why You’ll Love This No-Churn Vanilla Ice Cream
Only three main ingredients are needed. Heavy cream, sweetened condensed milk, and vanilla create the entire ice cream base.
No ice cream maker is required. An electric mixer does the important work of incorporating air.
There’s no custard to cook. You don’t need eggs, tempering, or a saucepan.
Real vanilla bean adds incredible flavor. You can also use pure vanilla extract for convenience.
Preparation is quick. The active work takes only a few minutes before freezing.
It’s easy to customize. Chocolate chips, cookies, nuts, or caramel can turn the vanilla base into countless variations.
It’s a useful dessert to make ahead. Prepare it earlier in the day or the night before you plan to serve it.
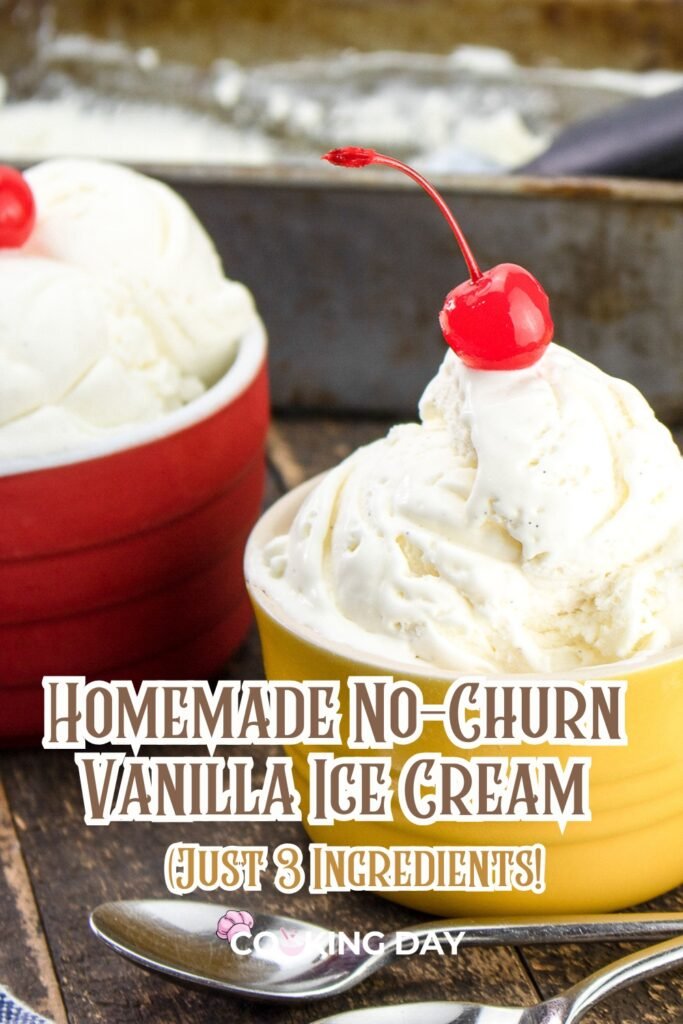
Ingredients
For the Vanilla Ice Cream
- 1 vanilla bean, or 2 teaspoons pure vanilla extract
- 2 cups heavy cream
- 14 ounces sweetened condensed milk
Optional Toppings
- Whipped cream
- Maraschino cherries
- Chopped nuts
- Chocolate syrup
- Caramel drizzle
- Fresh fruit
Equipment
- Large mixing bowl
- Electric hand mixer or stand mixer
- Sharp knife
- Rubber spatula
- Bread pan or freezer-safe container
- Plastic wrap or airtight lid
- Ice cream scoop
Ingredient Notes
Heavy Cream
Heavy cream provides the structure that makes this no-churn ice cream work.
Whipping incorporates tiny air bubbles into the cream. Those bubbles help create a lighter frozen texture than you’d get by simply stirring the ingredients together and freezing them.
For easier whipping, start with cold heavy cream.
Sweetened Condensed Milk
Sweetened condensed milk provides both sweetness and a rich dairy base.
Be sure you’re using sweetened condensed milk, not evaporated milk. They’re different products and aren’t interchangeable in this recipe.
The condensed milk doesn’t need additional sugar because it is already sweetened.
Vanilla Bean
Using a whole vanilla bean provides intense vanilla aroma and the attractive tiny vanilla seeds scattered throughout the ice cream.
You’ll split the pod lengthwise and scrape out the seeds before adding them to the mixture.
Vanilla Extract
If you don’t have a vanilla bean, use 2 teaspoons pure vanilla extract.
Vanilla extract is convenient and still produces plenty of vanilla flavor.
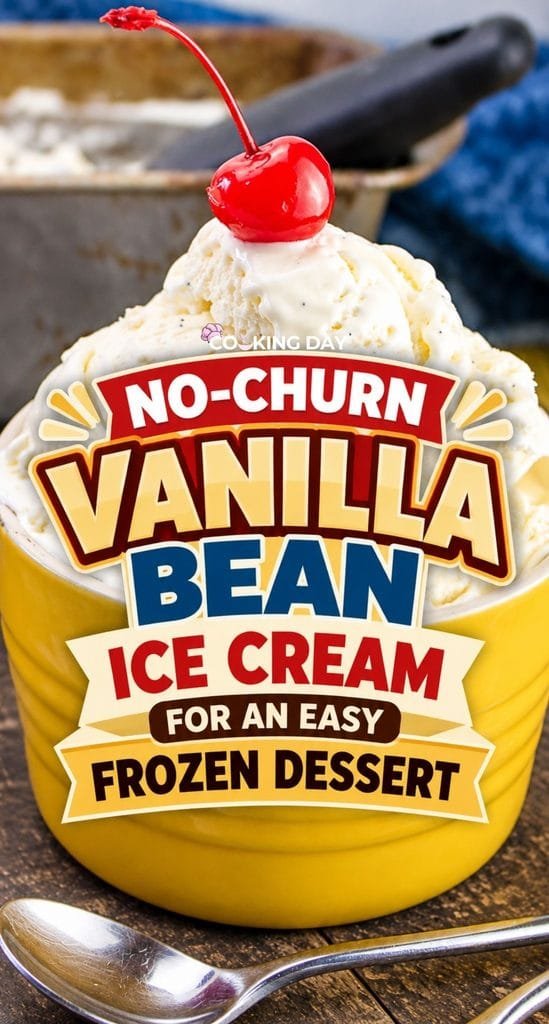
How to Make No-Churn Vanilla Ice Cream
Step 1: Prepare the Vanilla Bean
Place the vanilla bean on a cutting board.
Using a sharp knife, carefully split it lengthwise.
Open the pod and use the edge or back of the knife to scrape out the tiny seeds.
Set the seeds aside.
If you’re using 2 teaspoons of pure vanilla extract instead, skip this step.
Step 2: Whip the Heavy Cream
Pour 2 cups cold heavy cream into a large mixing bowl.
Using an electric hand mixer or stand mixer, beat the cream on high speed until stiff peaks form.
Stiff peaks mean that when the beaters are lifted, the whipped cream forms peaks that remain upright rather than immediately folding over.
Stop once you’ve reached this stage.
Step 3: Add the Sweetened Condensed Milk
Add the 14 ounces sweetened condensed milk to the whipped cream.
Add the scraped vanilla bean seeds or 2 teaspoons vanilla extract.
Step 4: Fold Gently
Using a rubber spatula, gently fold the ingredients together.
Rather than vigorously stirring, bring the spatula down through the center and fold the mixture over itself, rotating the bowl as needed.
Continue only until the condensed milk and vanilla are evenly incorporated.
The goal is to preserve as much of the air trapped in the whipped cream as possible.
Step 5: Transfer to a Container
Spoon the mixture into a bread pan or freezer-safe container.
Gently smooth the surface.
Avoid repeatedly stirring or pressing down the mixture.
Step 6: Cover
Cover the container tightly with plastic wrap or a secure lid.
A well-covered container helps protect the ice cream from absorbing freezer odors and limits exposure to air.
Step 7: Freeze
Freeze for at least 4 hours, or overnight, until the ice cream is firm and scoopable.
Freezer temperature and container depth can affect how quickly the mixture firms, so use texture rather than the clock alone to determine when it’s ready.
Step 8: Soften Before Scooping
Remove the container from the freezer shortly before serving.
Let the ice cream soften at room temperature for a few minutes. Around 5 minutes is a useful starting point if it is very firm.
Once it’s comfortably scoopable, serve immediately.
Tips for the Creamiest No-Churn Ice Cream
- Start with cold heavy cream. Cold cream generally whips more effectively.
- Use the correct milk. You need sweetened condensed milk, not evaporated milk.
- Whip to stiff peaks. The whipped cream provides much of the airiness in the frozen dessert.
- Don’t keep beating once the cream is ready. Overwhipping can take the cream beyond the texture you want.
- Fold rather than stir. Vigorous mixing can knock out the air you’ve just incorporated.
- Use good vanilla. With only three main ingredients, its flavor is particularly noticeable.
- Cover the ice cream tightly. This helps protect its flavor and surface during freezing.
- Give it enough freezer time. Four hours is the minimum guideline, but overnight freezing works well.
- Soften briefly before scooping. A few minutes at room temperature can make serving considerably easier.
Common Mistakes to Avoid
Using Evaporated Milk
Evaporated milk and sweetened condensed milk may be sold in similar cans, but they aren’t substitutes here.
Sweetened condensed milk contains the sugar and concentrated dairy solids that this recipe depends on.
Underwhipping the Cream
If the cream remains very soft, the base won’t have as much incorporated air.
Whip until stiff peaks hold their shape.
Overwhipping the Cream
More whipping isn’t automatically better.
Once stiff peaks form, stop mixing. Continuing too far can make the cream grainy and eventually begin turning it toward butter.
Stirring the Condensed Milk Aggressively
Whipping creates the air. Folding helps preserve it.
Use a spatula and gentle movements when incorporating the condensed milk and vanilla.
Serving Straight From a Very Cold Freezer
No-churn ice cream can be quite firm immediately after freezing.
Give it a few minutes to soften rather than struggling to scoop it immediately.
Expert Tips
The texture of no-churn ice cream depends heavily on the way the cream is handled.
A cold bowl can be helpful in a warm kitchen, but the most important factor is keeping the heavy cream cold until you’re ready to whip it. Once the cream reaches stiff peaks, move directly into folding the remaining ingredients.
Don’t worry about achieving a perfectly uniform mixture with endless folding. Once you can no longer see obvious streaks of condensed milk, stop. Additional mixing simply removes more of the air you’ve worked to incorporate.
Container shape also affects freezing. A wider, shallower container will generally freeze differently from a deep, narrow one, which is another reason the four-hour freezing time should be treated as a minimum guideline rather than an exact guarantee.
Why No-Churn Ice Cream Works
Traditional ice cream makers churn a cold mixture as it freezes, incorporating air and helping control ice crystal formation.
A no-churn recipe creates its structure differently.
Here, the heavy cream is whipped before freezing, incorporating air into the mixture. Sweetened condensed milk provides a concentrated combination of dairy and sugar that remains relatively smooth when frozen.
Folding these components together gently preserves much of that air.
The result won’t be identical to traditionally churned custard ice cream, but it creates a creamy frozen dessert without specialized equipment.
Vanilla Bean vs. Vanilla Extract
Both options work, so the best choice depends on what you have available.
Vanilla Bean
A whole vanilla bean provides a particularly aromatic vanilla flavor and visible vanilla seeds throughout the finished ice cream.
It’s a great choice when vanilla is intended to be the centerpiece rather than simply a background flavor.
Pure Vanilla Extract
Pure vanilla extract is easier and generally less expensive.
Use the specified 2 teaspoons in place of the vanilla bean.
Because the recipe contains so few ingredients, choose an extract whose flavor you enjoy.
Easy Flavor Variations
This vanilla base is particularly useful because you can customize it before freezing.
Chocolate Chip
Fold chocolate chips into the finished base just before transferring it to the freezer container.
Use enough to distribute chocolate throughout without overwhelming the airy ice cream mixture.
Cookies and Cream
Fold in crushed cookies just before freezing.
Leave some pieces larger if you want noticeable cookie chunks in each scoop.
Caramel Swirl
Transfer some of the vanilla mixture to the container, add a little caramel, then repeat the layers.
Use a knife or skewer to make a few gentle swirls rather than completely stirring the caramel into the vanilla base.
Chocolate Swirl
Use the same layering technique with chocolate syrup or a suitable cooled chocolate sauce.
Nutty Vanilla Ice Cream
Fold in chopped nuts for extra texture.
The nuts should be completely cool before they’re added to the whipped base.
Serving Ideas
Vanilla ice cream is simple enough to serve alone but neutral enough to pair with almost any dessert.
For a classic sundae, add chocolate syrup or caramel, whipped cream, chopped nuts, and a maraschino cherry.
Fresh strawberries, blueberries, peaches, or sliced bananas provide a lighter topping.
You can also serve scoops alongside brownies, pies, cakes, fruit crisps, or other warm desserts.
Serve It with Warm Apple Crisp
One of the easiest ways to turn this vanilla ice cream into a complete dessert is to pair it with warm fruit.
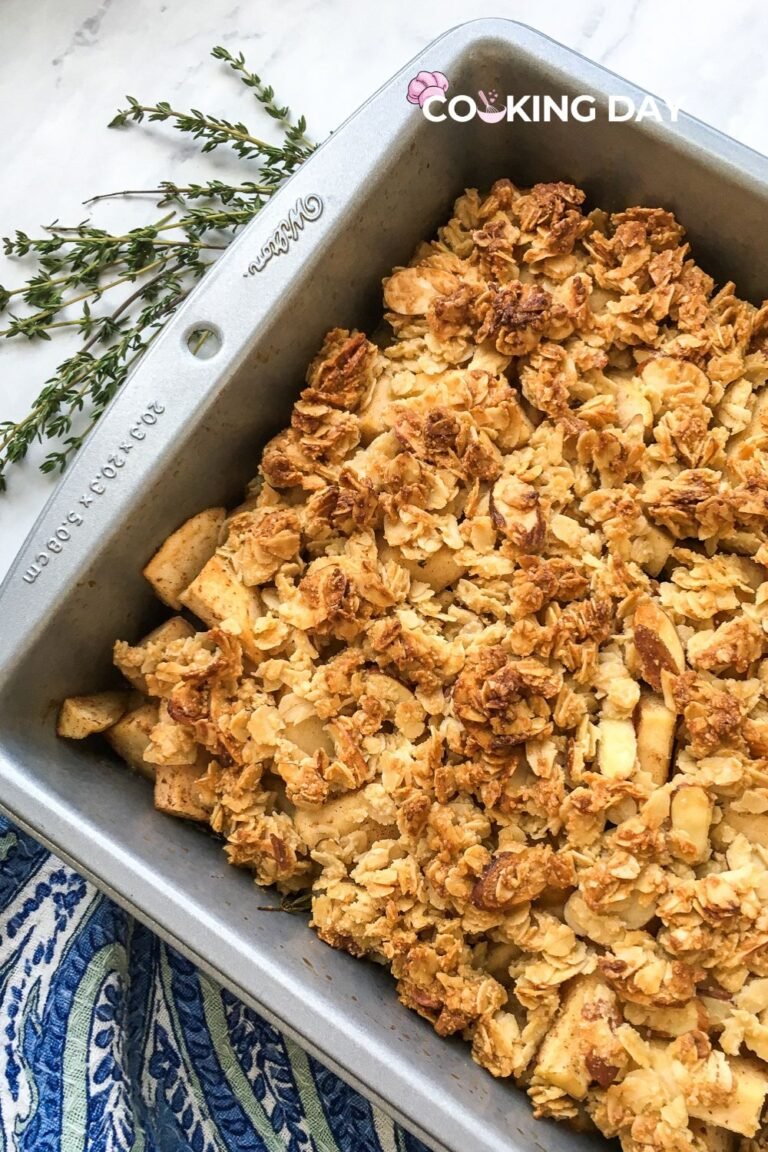
Baked Cinnamon Apple Crisp is an especially natural match. The cold vanilla ice cream can soften over the warm cinnamon apples and crisp oat topping, creating a contrast of hot and cold as well as creamy and crunchy textures.
Make-Ahead Tips
No-churn ice cream needs several hours in the freezer, so it’s naturally suited to advance preparation.
Prepare the mixture earlier in the day and freeze it for at least four hours before dessert.
For less last-minute preparation, make it the night before and leave it tightly covered in the freezer.
If you’re planning to add mix-ins, fold them into the base immediately before transferring it to the freezer container.
Toppings such as whipped cream, cherries, syrups, and chopped nuts are better added when serving rather than before freezing.
Storage
Keep the ice cream tightly covered in a freezer-safe container.
If you’re using a loaf pan without a fitted lid, press or secure plastic wrap over the container to reduce exposure to air.
Avoid repeatedly allowing the entire container to soften substantially and then returning it to the freezer. Instead, scoop the amount you need and return the remaining ice cream promptly.
If ice crystals begin forming on the exposed surface, that’s a sign that air and moisture are reaching the ice cream. Keeping the container well covered helps minimize this.
More Easy Desserts to Try
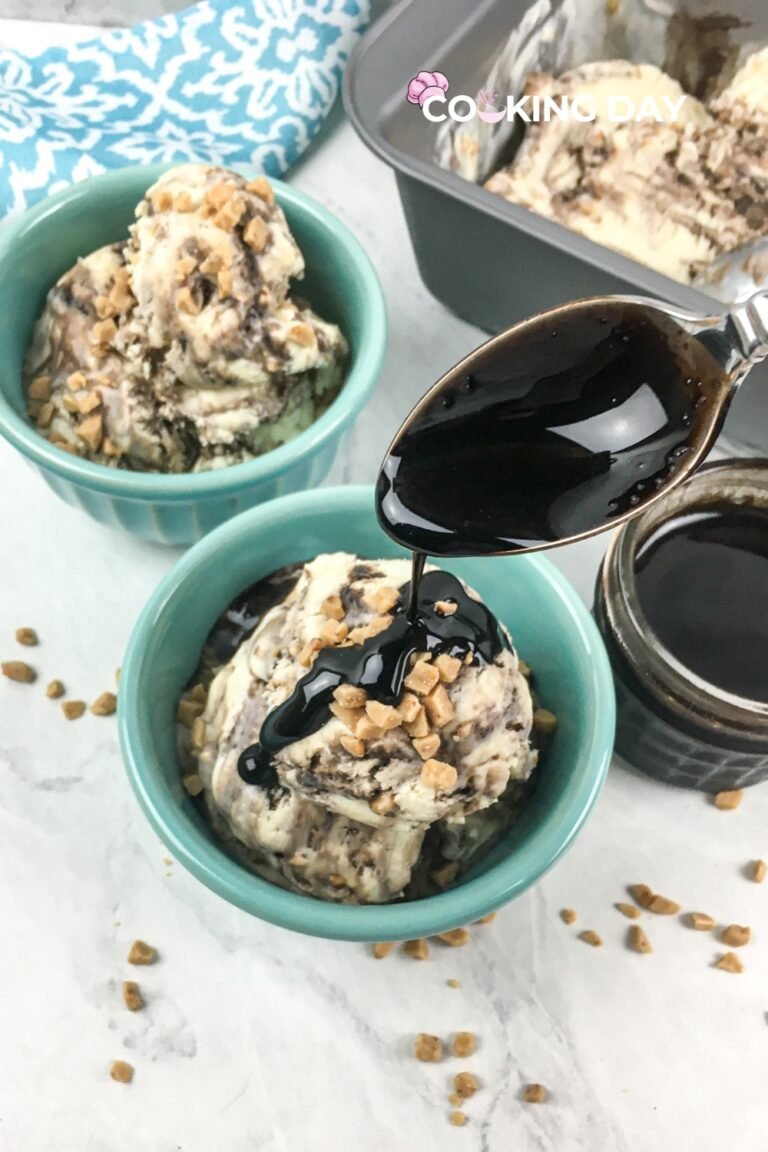
For another homemade frozen treat, No-Churn Chocolate Toffee Ice Cream combines a creamy no-churn base with homemade chocolate syrup and crunchy English toffee.
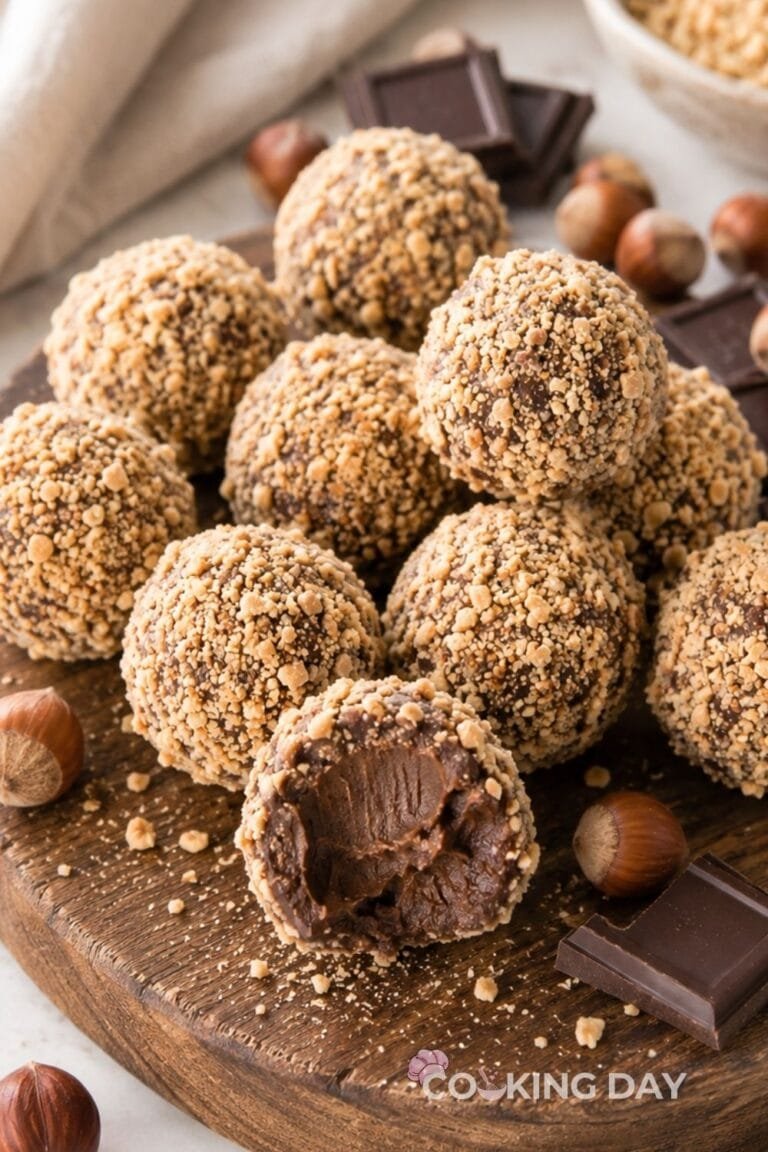
Nutella Truffles are a rich no-bake option made with semisweet chocolate, chocolate-hazelnut spread, and chopped hazelnuts.
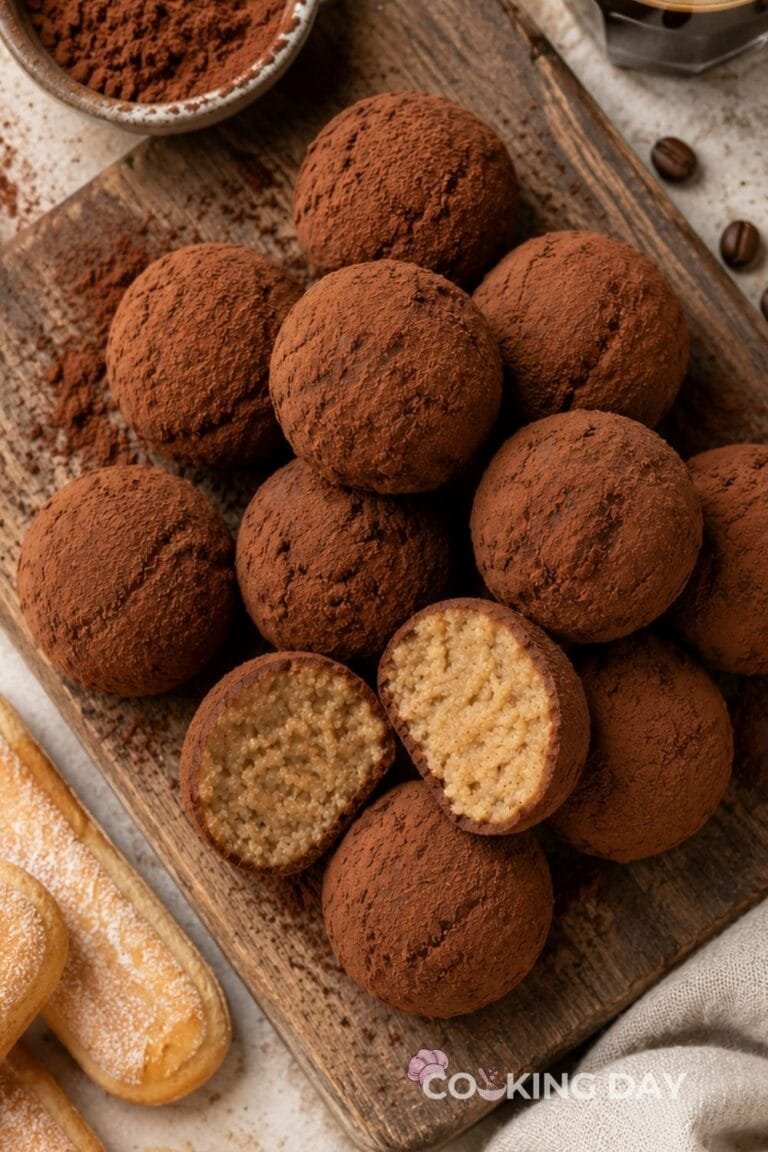
Tiramisu Truffles combine mascarpone, espresso, ladyfingers, and cocoa in bite-sized treats.
For a warm dessert to pair with a scoop of vanilla ice cream, Baked Cinnamon Apple Crisp is an easy choice.
Final Thoughts
No-Churn Vanilla Ice Cream is proof that homemade ice cream doesn’t have to involve an ice cream machine or a cooked custard base. Three ingredients are enough to create a rich, creamy vanilla dessert that can be prepared in just a few minutes before freezing.
The key is preserving the air in the whipped cream. Beat cold heavy cream until stiff peaks form, then gently fold in the sweetened condensed milk and vanilla without overmixing. Freeze the mixture until firm, then give it a few minutes at room temperature when needed for easier scooping.
Keep it simple with real vanilla bean, or use the recipe as a base for chocolate chips, cookies, nuts, or caramel swirls. Either way, it’s an easy freezer dessert worth having ready whenever a scoop of homemade vanilla ice cream sounds good.
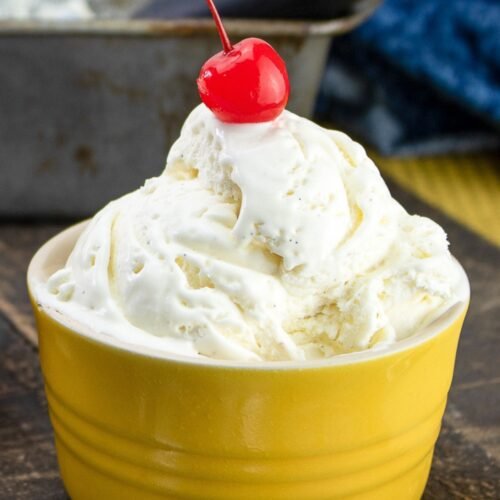
No-Churn Vanilla Ice Cream – Creamy, Smooth & Easy! 🍦

Equipment
- Mixing bowl
- Electric hand mixer or stand mixer
- Sharp knife (for vanilla bean)
- Spatula
- Bread pan or freezer-safe container
Ingredients
- 1 vanilla bean (or 2 teaspoons pure vanilla extract)
- 2 cups heavy cream
- 14 oz sweetened condensed milk
Optional Toppings (To Serve):
- Whipped cream
- Maraschino cherries
- Chopped nuts
- Chocolate syrup or caramel drizzle
Instructions
- Step 1: Prepare the Vanilla BeanUsing a sharp knife, cut the vanilla bean in half lengthwise.Carefully scrape out the seeds with the edge of the knife and set aside. (If using vanilla extract, skip this step.)
- Step 2: Whip the Heavy CreamIn a large mixing bowl, beat the heavy cream on high speed using an electric mixer until stiff peaks form. This creates a light and airy texture.
- Step 3: Combine with Sweetened Condensed MilkGently fold in the sweetened condensed milk and the vanilla bean seeds (or vanilla extract) into the whipped cream. Stir just until combined, being careful not to deflate the mixture.
- Step 4: Freeze the Ice CreamPour the mixture into a bread pan or a freezer-safe container.Cover tightly with plastic wrap or a lid and freeze for at least 4 hours (or overnight) until firm and scoopable.
- Step 5: Serve & Enjoy!Let the ice cream sit at room temperature for a few minutes before scooping for the perfect creamy texture.Serve in bowls, cones, or alongside your favorite desserts, topped with whipped cream, nuts, or fruit.
Notes
💡 Pro Tips for the Creamiest Ice Cream
✔ Use high-quality vanilla – Vanilla bean provides the richest flavor, but pure vanilla extract works great too.✔ Don’t overmix – Gently fold in the sweetened condensed milk to keep the ice cream light and airy.
✔ Want a twist? Add chocolate chips, crushed cookies, or caramel swirls before freezing!
✔ For a softer texture, scoop the ice cream 5 minutes after removing it from the freezer.