
Some links on this page are affiliate links. This means we may earn a commission at no additional cost to you if you click through and make a purchase, you can check our Affiliate Disclosure. Thank you for your support!
Peanut butter and chocolate are one of those combinations that rarely need much explaining. The creamy, slightly salty peanut butter center and rich chocolate coating naturally balance each other, making every bite feel familiar and satisfying.
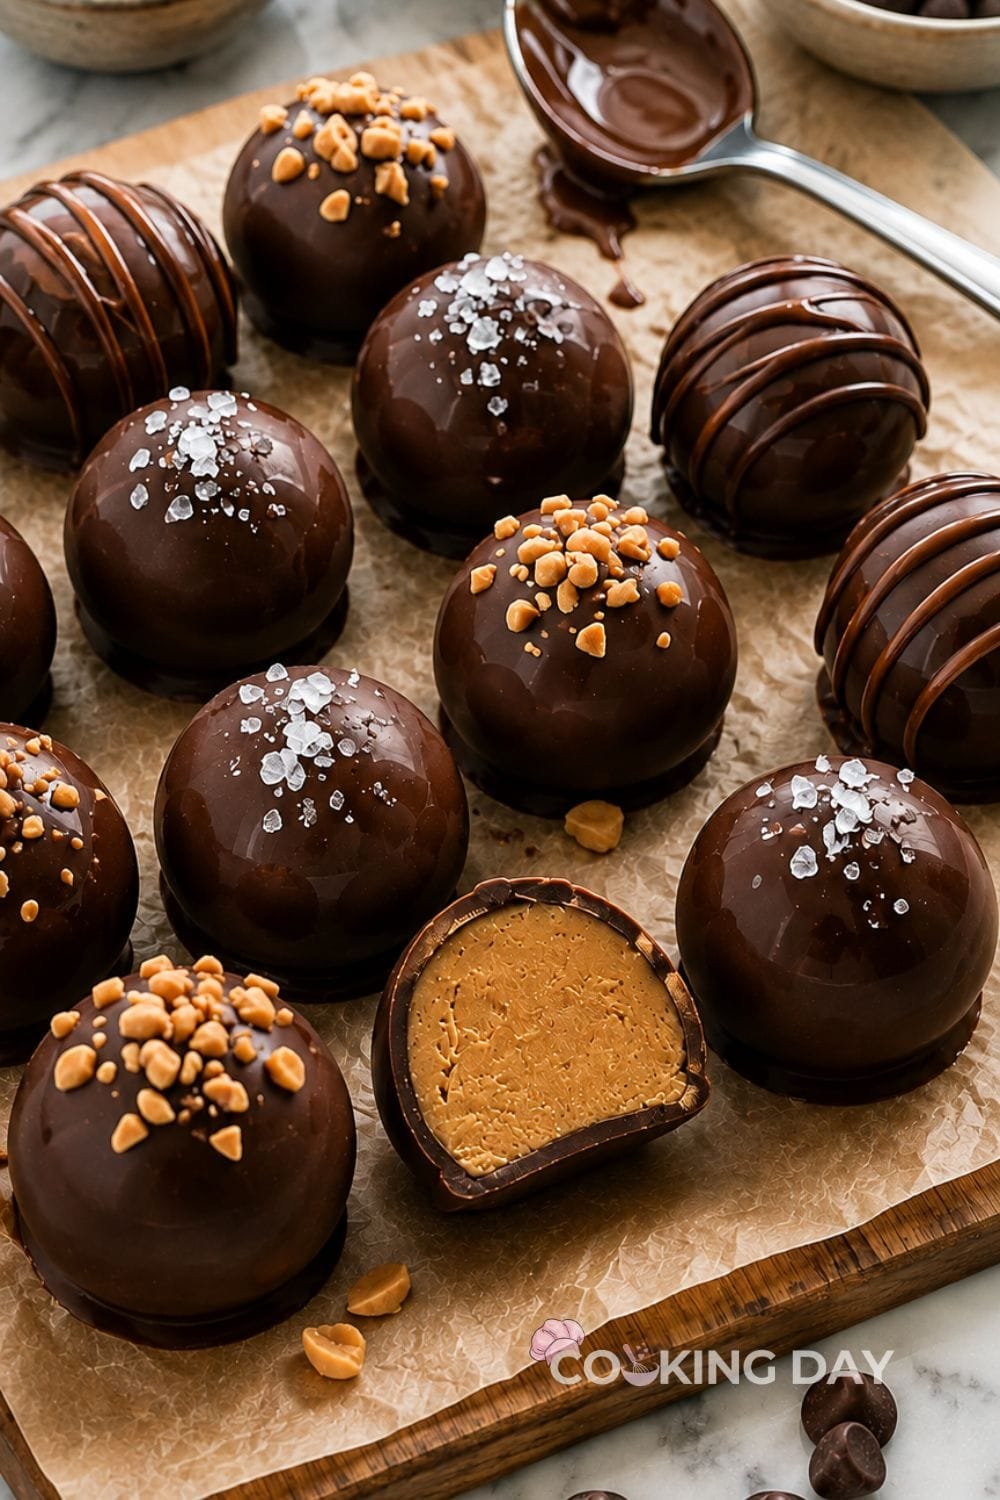
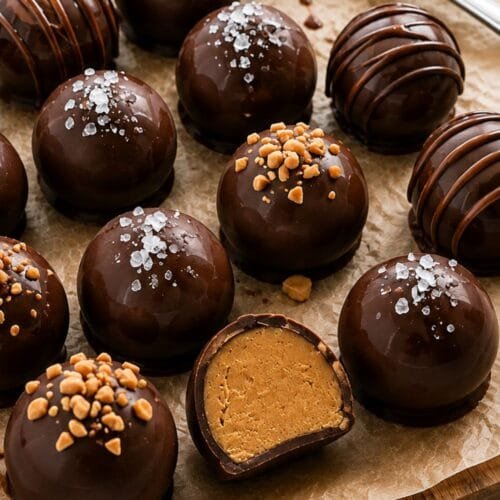
These Easy Peanut Butter Truffles turn that classic pairing into a simple no-bake dessert made with only a handful of ingredients. Each truffle has a smooth peanut butter filling surrounded by a thin dark chocolate shell that cracks gently when you bite into it.
What I love most about this recipe is how impressive the finished truffles look compared with how easy they are to prepare. There is no baking, candy thermometer, or complicated chocolate work involved. You simply mix the filling, shape it into balls, chill, and dip each one in melted chocolate.
The first time I made peanut butter truffles, I rushed the chilling step because the filling already looked firm enough. Once I started dipping, the centers softened quickly and began slipping off the fork. Giving them enough time in the freezer made the process much cleaner and created a smoother chocolate coating.
There is also something especially inviting about the smell of warm chocolate mixed with peanut butter and vanilla. Even before the coating sets, the kitchen smells like homemade peanut butter cups.
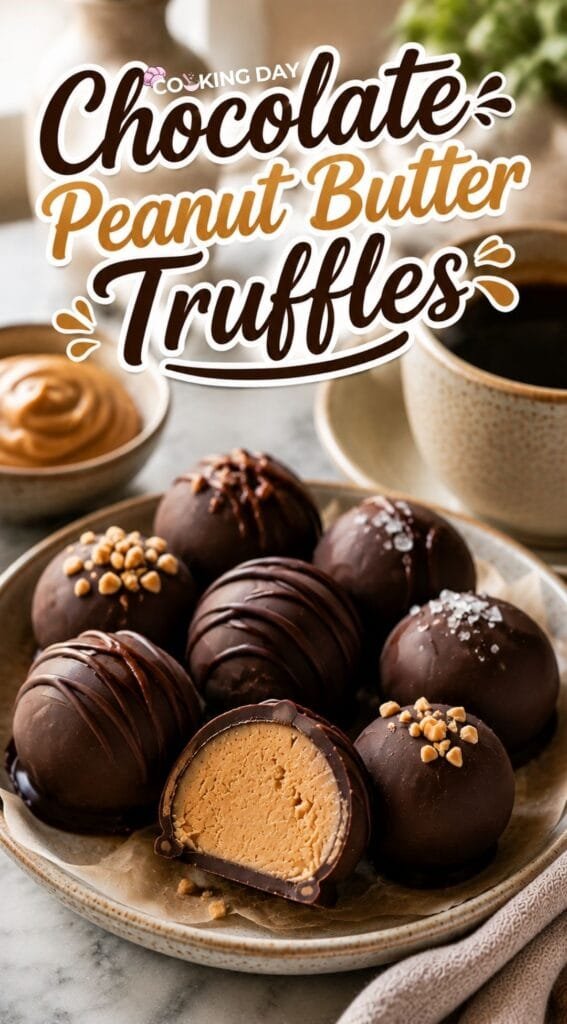
These truffles are easy enough for an everyday sweet craving but polished enough for holiday trays, parties, homemade gifts, and dessert boxes. Let me show you how to make them step by step so the centers stay creamy and the chocolate coating turns out smooth.
Why This Recipe Works
Regular creamy peanut butter creates a smooth, stable filling that is easy to shape. Unlike some natural peanut butters, it does not release excess oil into the mixture.
Softened butter adds richness and helps the filling stay creamy rather than dry or crumbly.
Powdered sugar sweetens the peanut butter while thickening it enough to roll into firm balls.
Vanilla adds warmth and rounds out the stronger peanut butter and dark chocolate flavors.
A small amount of salt makes the peanut butter taste deeper and balances the sweetness of the powdered sugar.
Dark chocolate provides a rich coating that keeps the finished candy from tasting overly sweet.
Coconut oil thins the melted chocolate slightly, making it easier to dip the centers and create a smooth, delicate shell.
Chilling the peanut butter balls before dipping helps them hold their shape and allows the chocolate to begin setting quickly.
One thing I have noticed is that the best truffles have a thin chocolate shell rather than a heavy coating. Letting the excess chocolate drip back into the bowl creates a better balance between the creamy center and crisp outer layer.
Ingredients
For the Peanut Butter Filling
- ½ cup creamy peanut butter
- 4 tablespoons unsalted butter, softened
- ½ teaspoon vanilla extract
- ½ teaspoon salt
- 1¼ cups powdered sugar
For the Chocolate Coating
- 8 ounces dark chocolate chips
- 2 tablespoons coconut oil
Optional Toppings
- Flaky sea salt
- Chopped roasted peanuts
- Melted white chocolate
- Peanut butter drizzle
- Chocolate sprinkles
Equipment
- Medium mixing bowl
- Electric hand mixer or wooden spoon
- Rubber spatula
- Small cookie scoop, about 1 tablespoon
- Baking sheet or tray
- Parchment paper or wax paper
- Microwave-safe bowl
- Fork or chocolate dipping tool
- Measuring cups and spoons
Step-by-Step Instructions
Step 1: Prepare the Tray
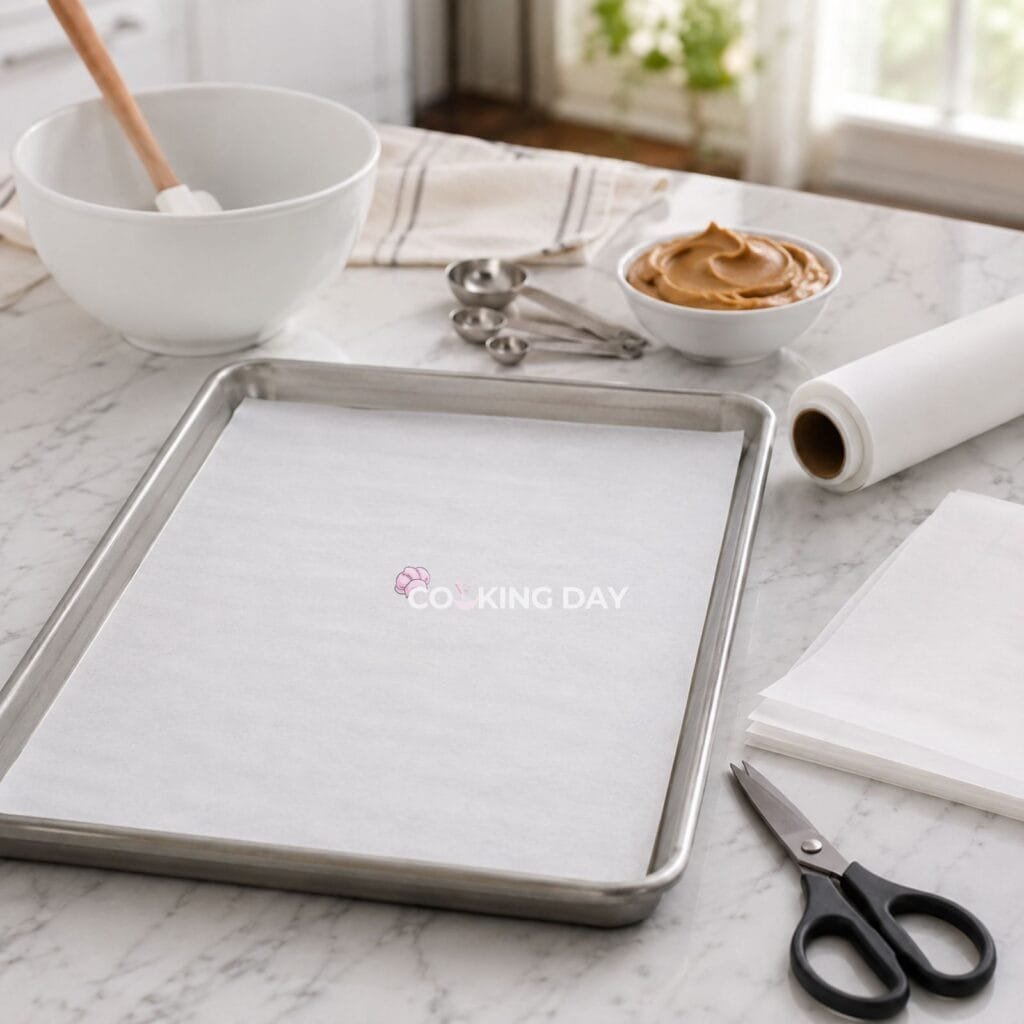
Line a baking sheet or tray with parchment paper or wax paper.
Choose a tray that fits inside your freezer or refrigerator so you can chill the truffles without transferring them later.
Step 2: Mix the Peanut Butter Base
Add the creamy peanut butter, softened butter, vanilla extract, and salt to a medium mixing bowl.
Beat with an electric hand mixer until smooth and evenly combined.
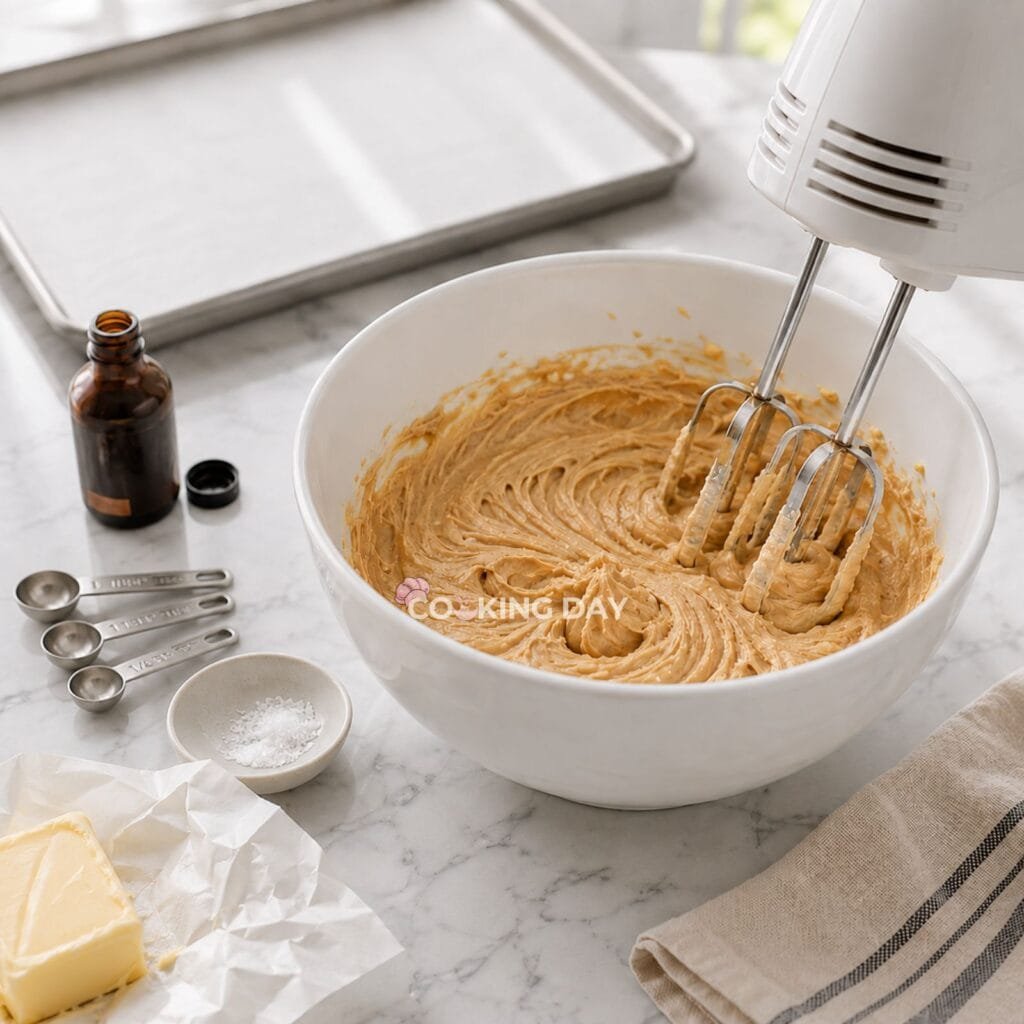
You can also mix by hand with a sturdy wooden spoon, although an electric mixer makes the filling lighter and smoother.
Step 3: Add the Powdered Sugar
Gradually add the powdered sugar, mixing well after each addition.
Continue until a thick, smooth dough forms.
The filling should be firm enough to scoop and roll without sticking heavily to your hands.
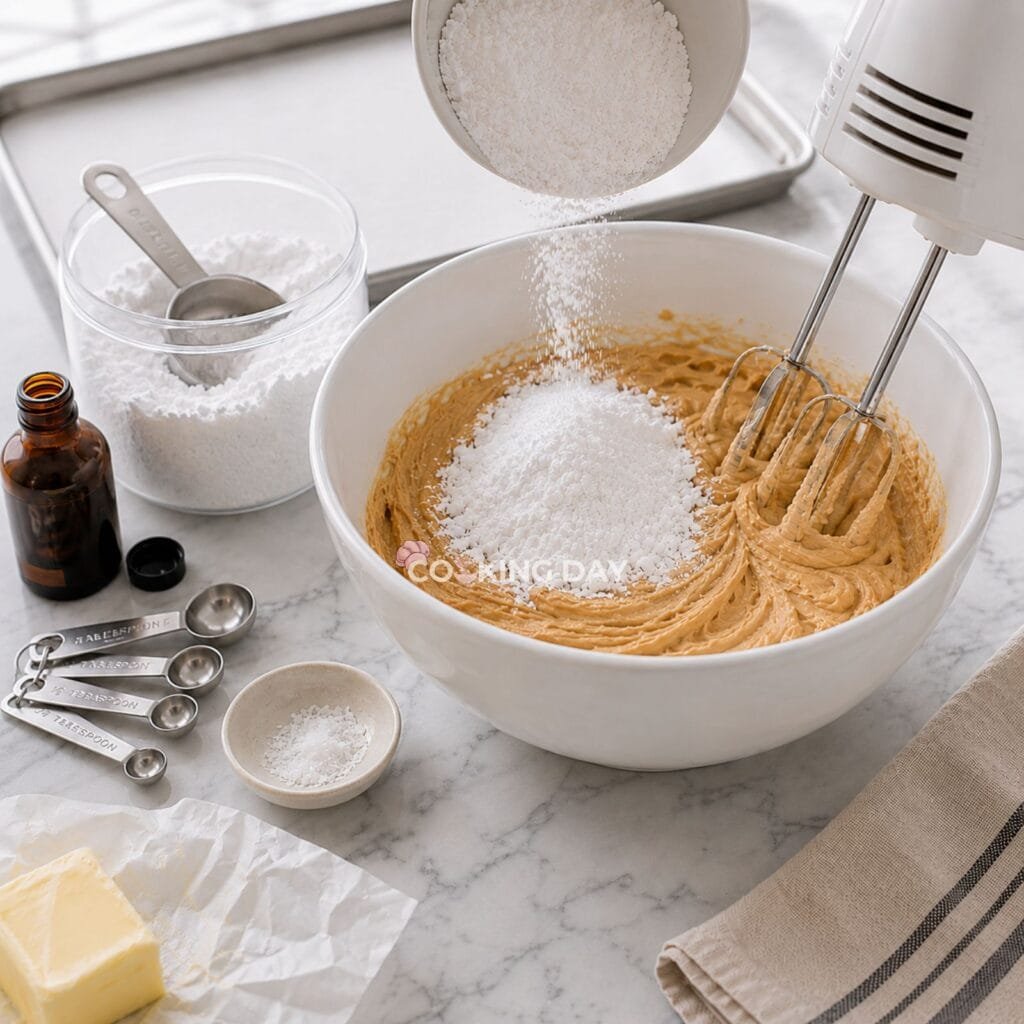
If the mixture feels very soft, add another tablespoon of powdered sugar. Avoid adding too much at once because this can make the centers dry.
Step 4: Portion the Filling
Use a small cookie scoop to portion about one tablespoon of the mixture.
Place each portion onto the prepared baking sheet.
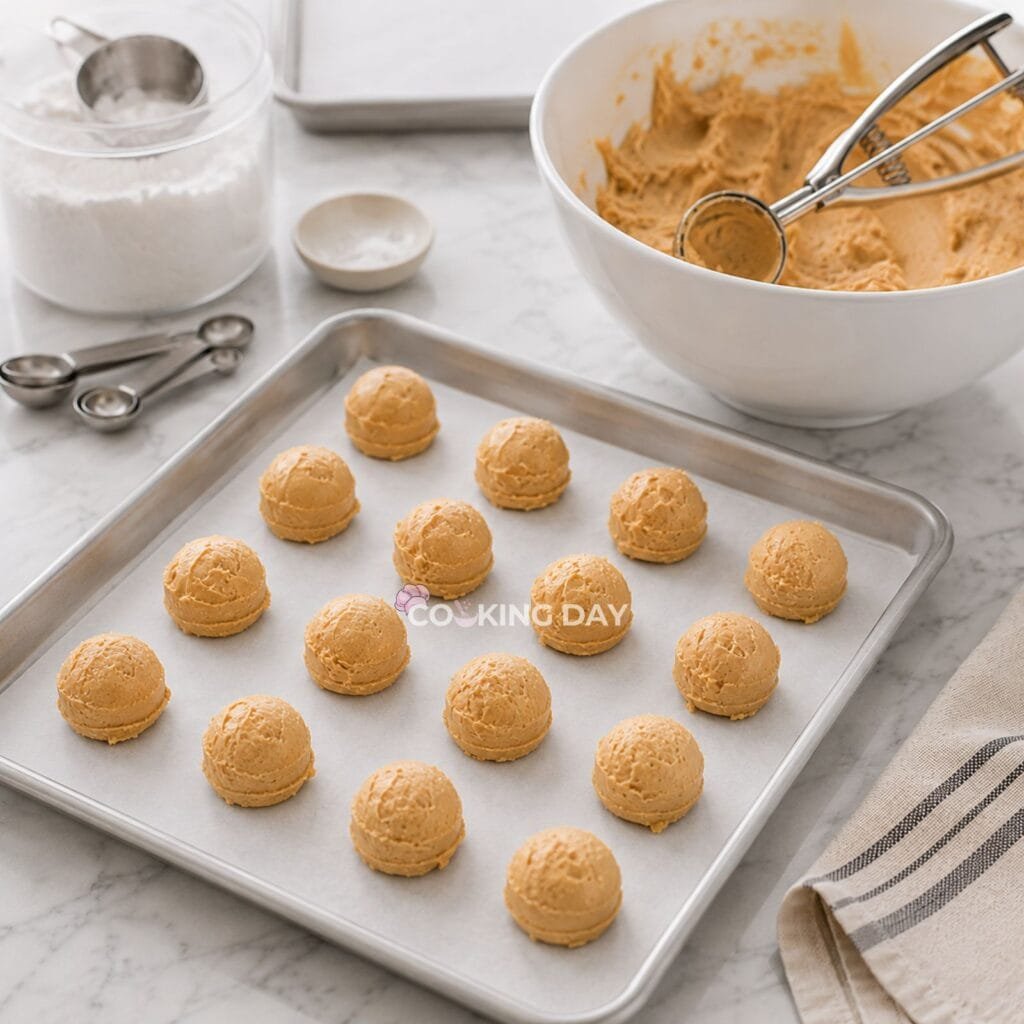
Keeping the portions close to the same size helps the truffles look neat and allows them to chill evenly.
Step 5: Roll into Balls
Roll each portion gently between your palms until smooth.
If the filling becomes sticky while you work, wash and dry your hands or chill the mixture for about 10 minutes before continuing.
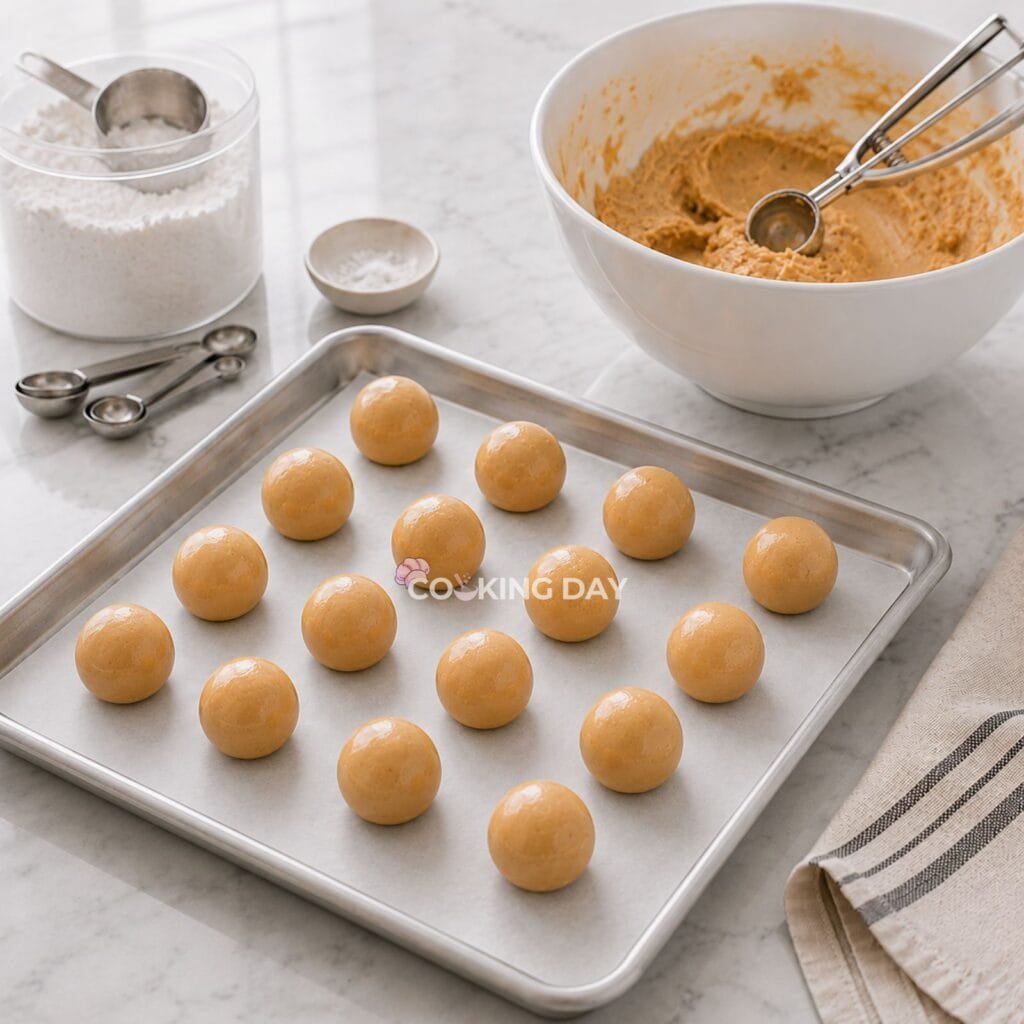
Return each shaped truffle to the lined tray.
Step 6: Chill the Centers
Place the tray in the freezer for 20 to 30 minutes.
The peanut butter balls should feel firm but not completely frozen.
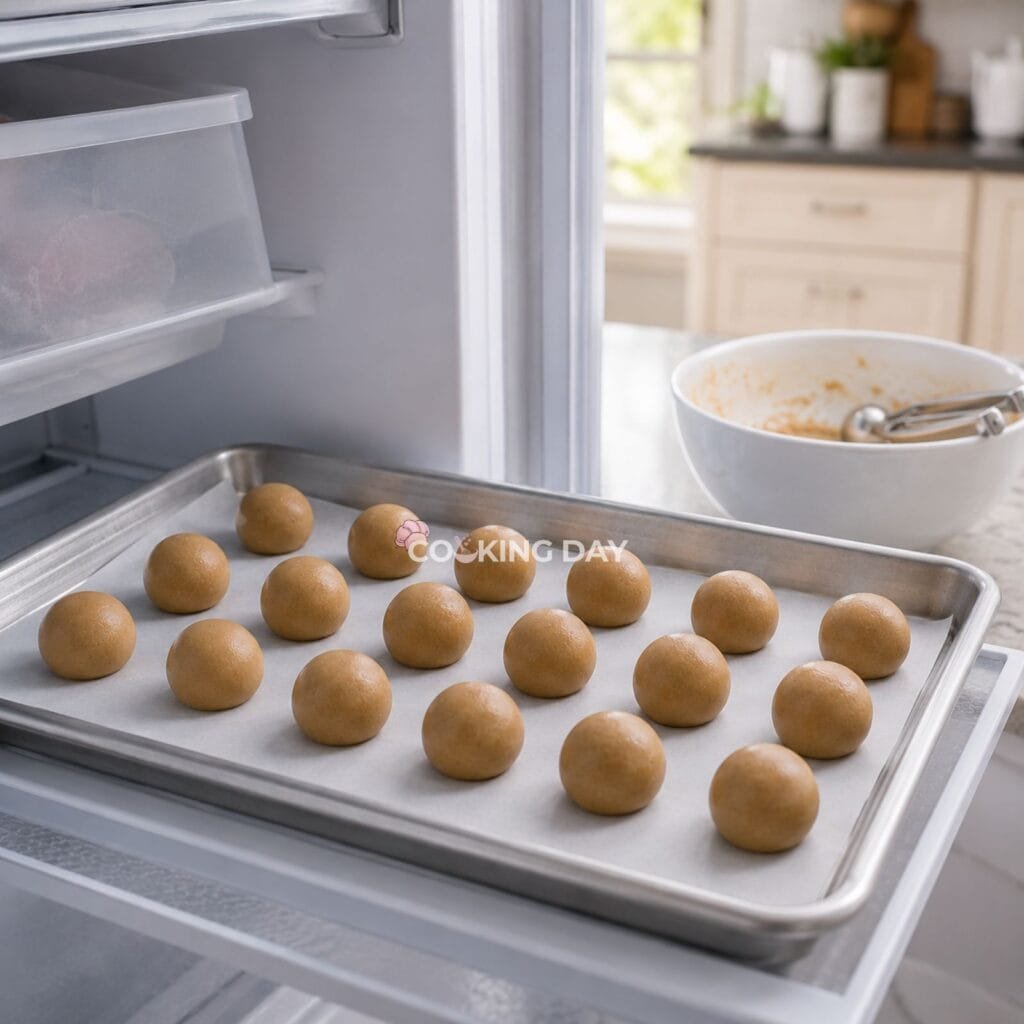
Proper chilling makes them easier to dip and prevents them from softening in the warm chocolate.
Step 7: Melt the Chocolate
Place the dark chocolate chips and coconut oil in a microwave-safe bowl.
Microwave for 1 minute, then stir thoroughly.
If the chocolate has not completely melted, continue heating in 15-second intervals, stirring after each one.
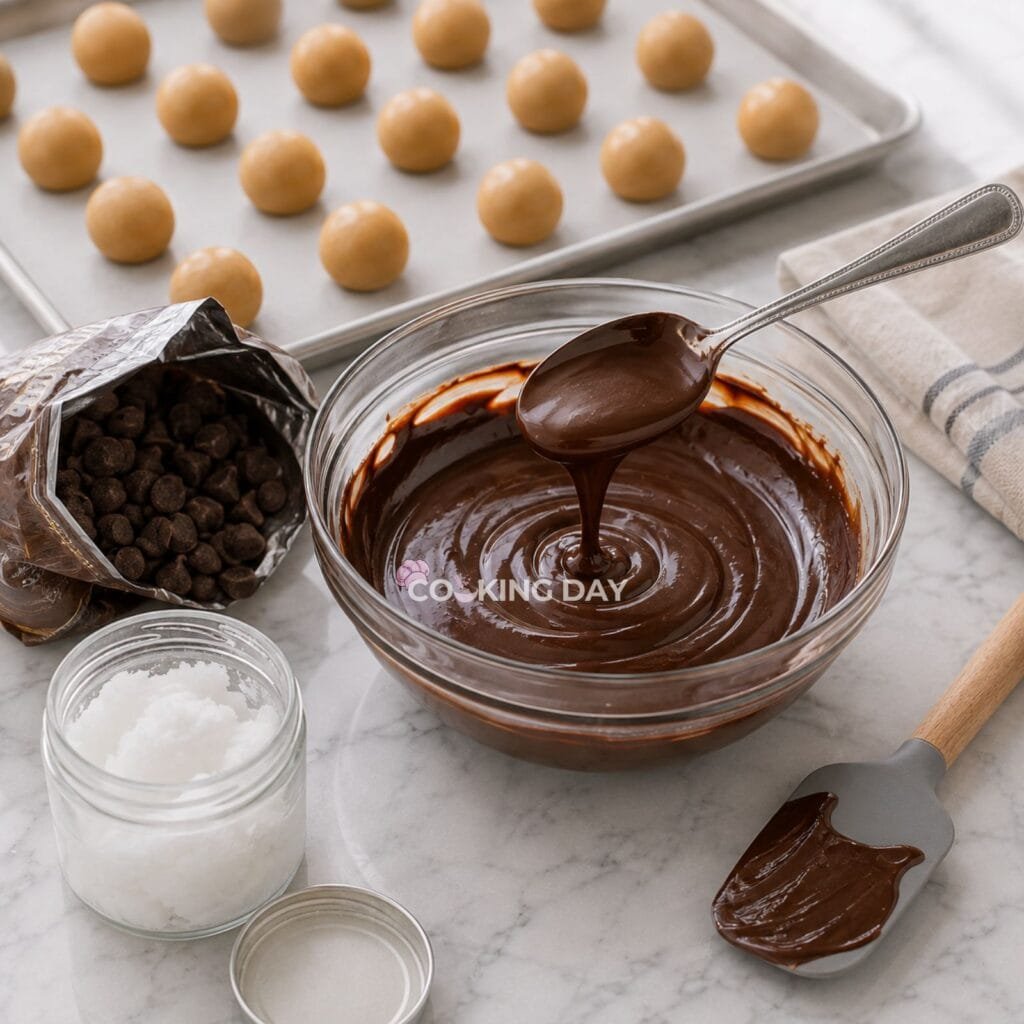
Stop heating as soon as the mixture becomes smooth. Dark chocolate can scorch if overheated.
Step 8: Dip the Truffles
Remove only a few peanut butter centers from the freezer at a time, leaving the rest chilled.
Place one ball into the melted chocolate.
Use a fork or dipping tool to turn it gently until completely coated.
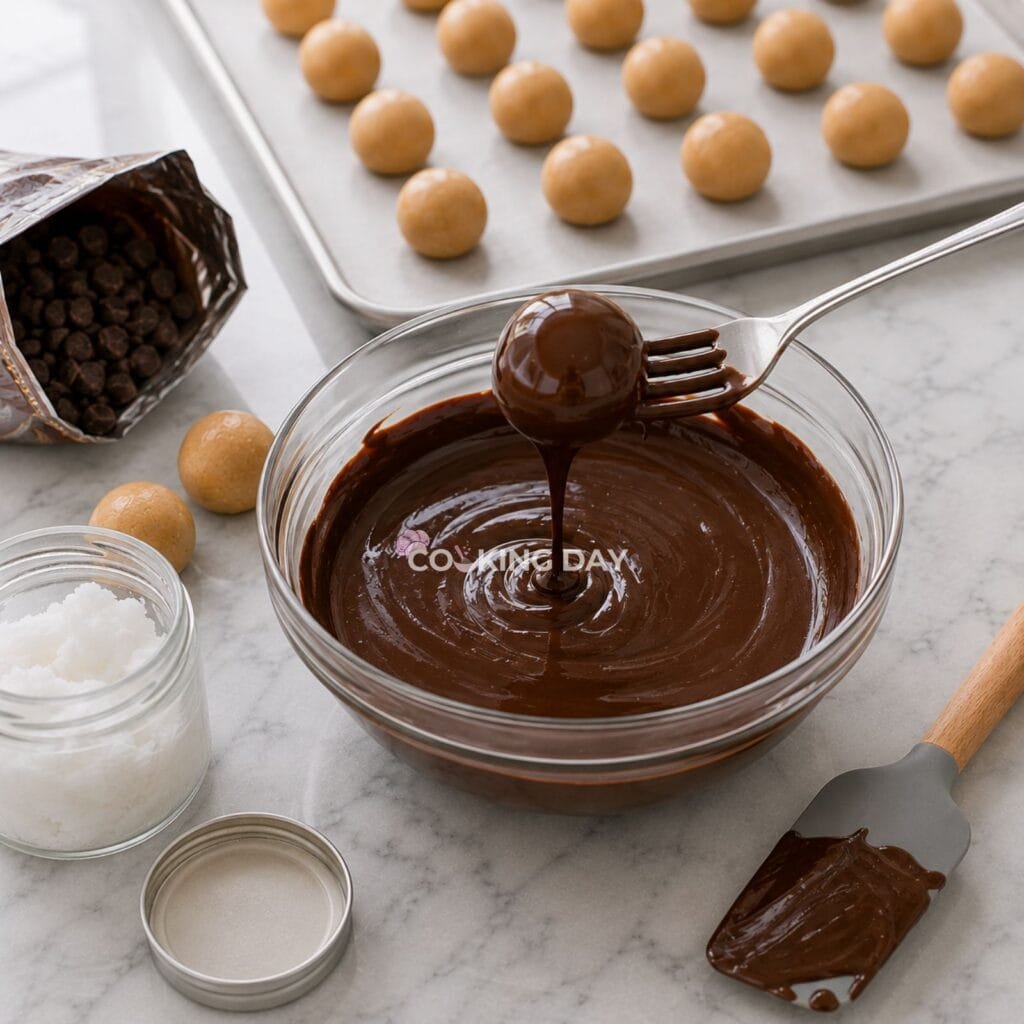
Lift it from the bowl and tap the fork lightly against the side so excess chocolate drips away.
Step 9: Return to the Tray
Slide the coated truffle back onto the lined baking sheet.
Use a toothpick or second fork to help release it without disturbing the chocolate too much.
Continue with the remaining centers.
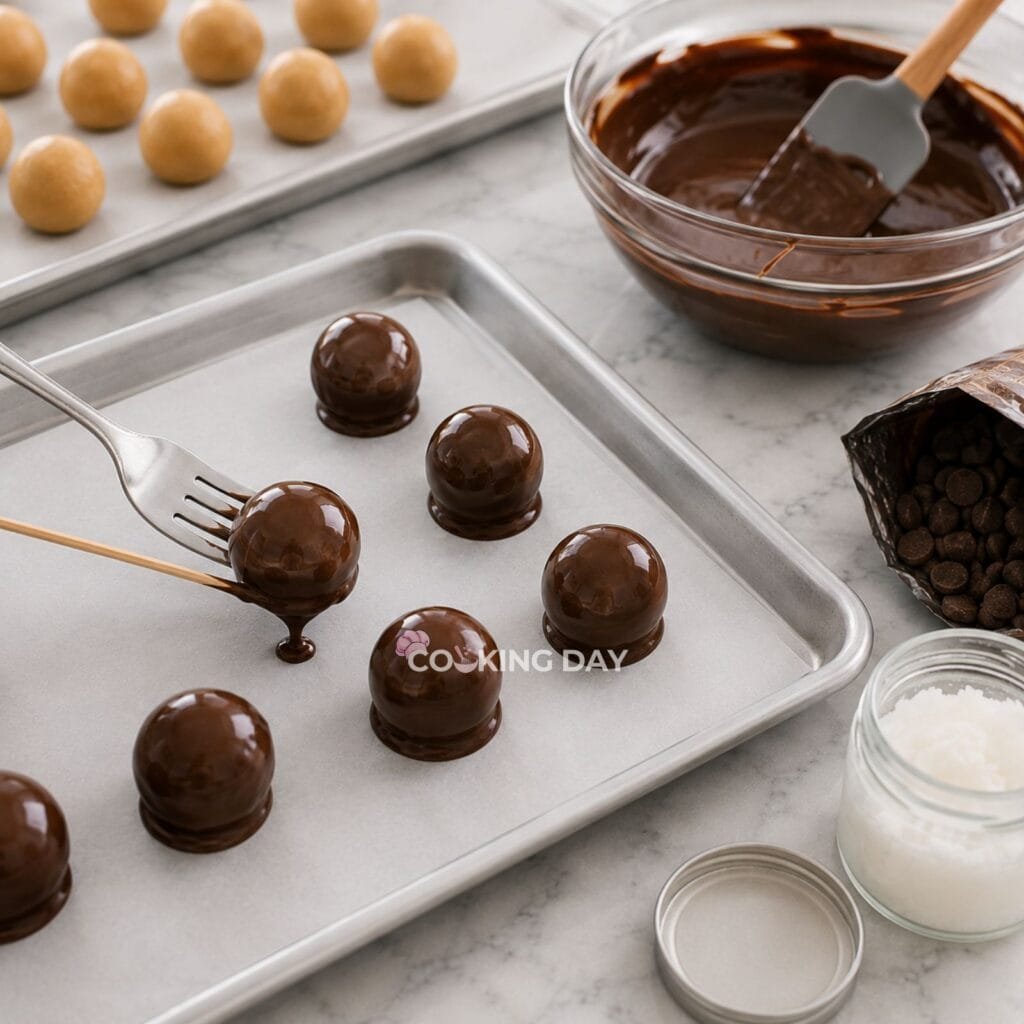
If the chocolate begins to thicken, warm it for a few seconds and stir again.
Step 10: Add Decorations
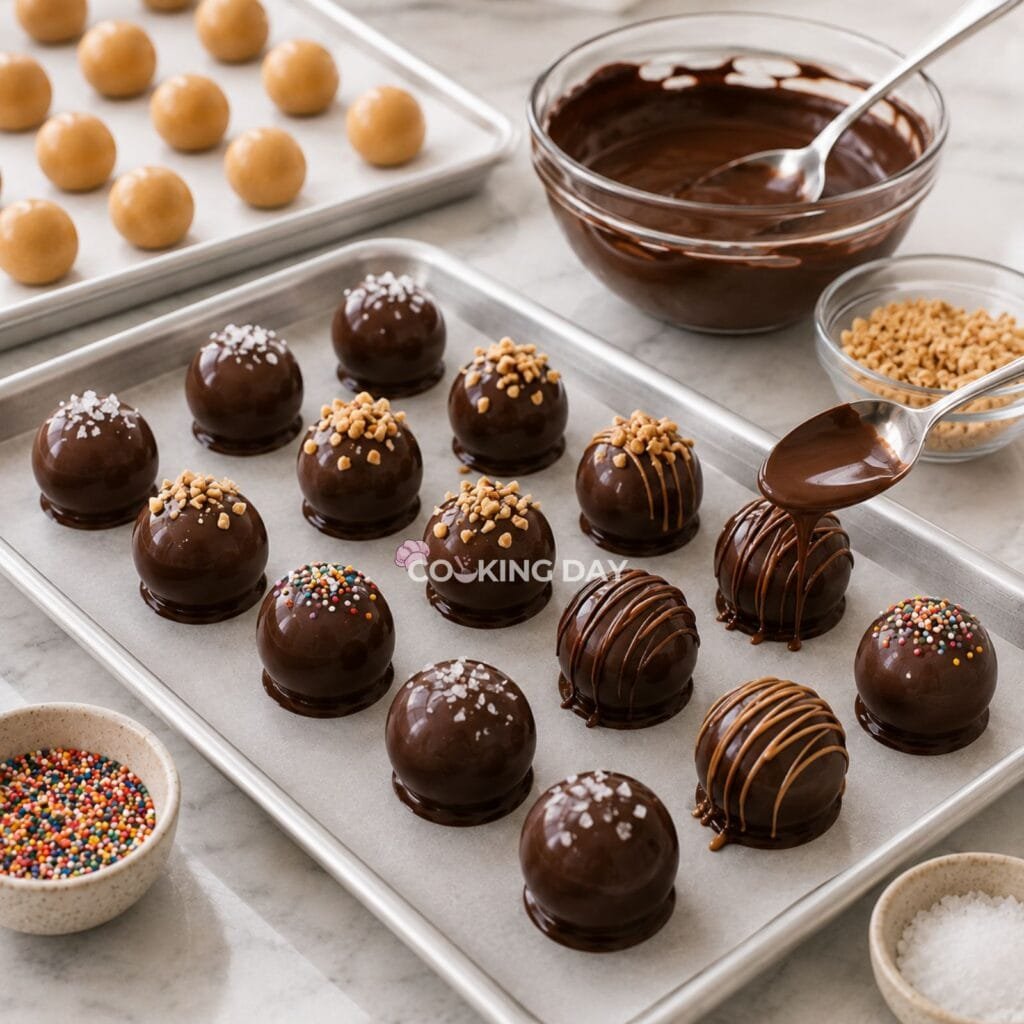
Add flaky sea salt, chopped peanuts, or sprinkles before the coating sets.
For a drizzle, allow the first coating to firm slightly, then spoon or pipe melted chocolate or warmed peanut butter over the tops.
Step 11: Chill Until Set
Refrigerate the truffles until the chocolate is completely firm.
This usually takes about 15 to 20 minutes.
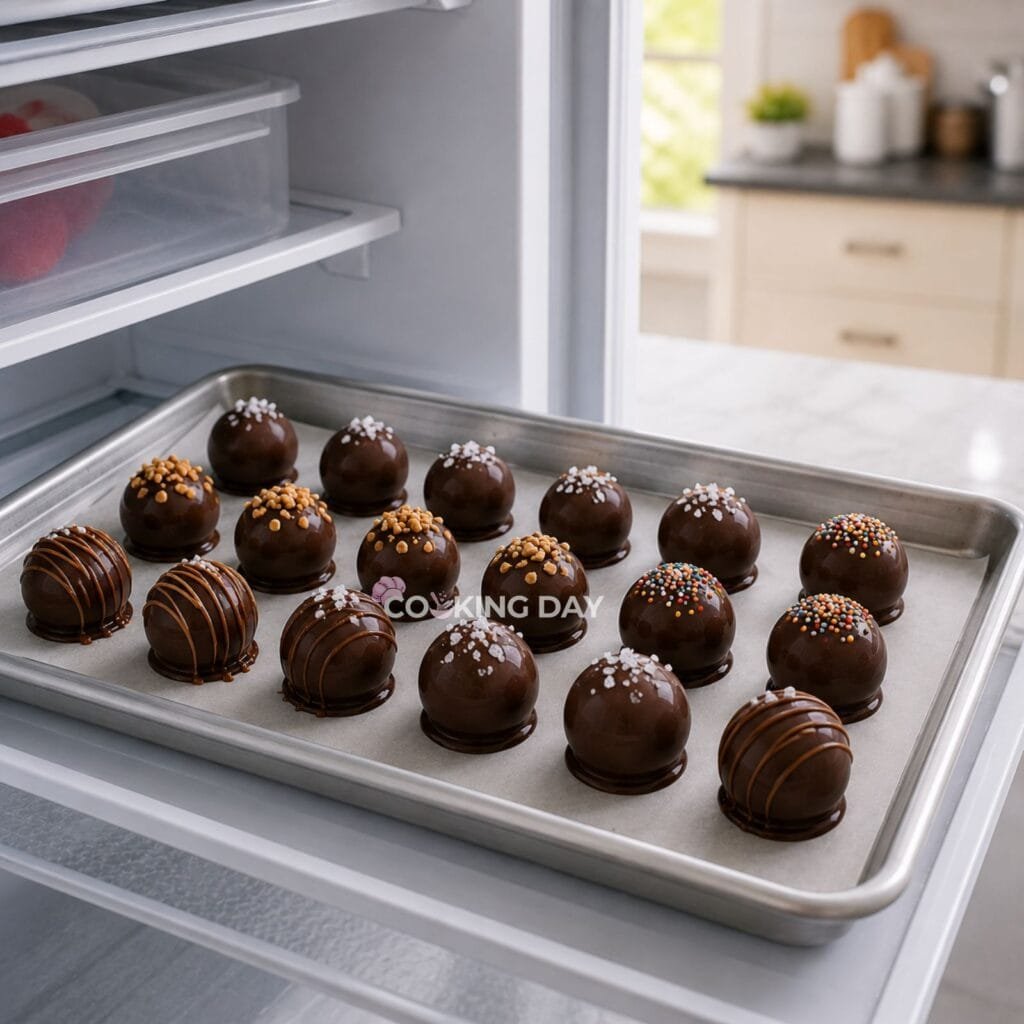
Serve chilled for a firmer center or allow them to rest at room temperature for several minutes for a softer, creamier texture.
Tips for the Best Peanut Butter Truffles
Use regular creamy peanut butter rather than a natural variety that separates. Excess oil can make the filling too soft.
Make sure the butter is softened but not melted. Melted butter can create a greasy filling that takes longer to firm.
Add the powdered sugar gradually so you can stop when the texture is easy to roll.
Use a cookie scoop to keep every truffle close to the same size.
Chill the centers thoroughly before dipping, but avoid freezing them solid. Very cold centers can cause the chocolate coating to crack as they warm.
Work with only a few truffles at a time while dipping so the remaining centers stay firm.
Use a narrow, deep bowl for the chocolate. It makes fully coating each truffle easier than using a wide shallow bowl.
Let extra chocolate drip away before returning the truffle to the tray. This prevents thick puddles from forming around the base.
Add toppings immediately if you want them to stick to the chocolate shell.
Common Mistakes to Avoid
Using Runny Natural Peanut Butter
Natural peanut butter often contains separated oil that can make the filling too soft and difficult to shape.
Melting the Butter
The butter should be soft enough to mix, but still hold its shape. Melted butter can create an oily texture.
Adding Too Much Powdered Sugar
Extra powdered sugar firms the filling, but too much can make the centers dry and overly sweet.
Skipping the Chilling Step
Soft centers can fall apart, slide off the fork, or melt into the chocolate during dipping.
Overheating the Chocolate
Chocolate that becomes too hot may turn thick, grainy, or scorched. Heat gradually and stir often.
Dipping All the Centers at Once
Leaving every center at room temperature while you work allows them to soften. Keep most of them chilled.
Making the Chocolate Layer Too Thick
A heavy coating can overpower the peanut butter filling. Let excess chocolate drip back into the bowl.
Expert Tips
Sift the powdered sugar if it has hard lumps. This creates a smoother filling and prevents small sugar pockets inside the truffles.
Chill the shaped centers on a metal baking sheet if possible. Metal cools quickly and helps the filling firm evenly.
Use dipping tools or a plastic fork with the center tines removed for a cleaner coating and easier release.
If you notice a flat base after dipping, wait until the chocolate sets and carefully trim the edge with a sharp knife.
For a professional finish, drizzle the truffles in the opposite chocolate color. Use white chocolate over dark chocolate or dark chocolate over milk chocolate.
A tiny pinch of flaky sea salt makes the peanut butter flavor taste stronger while balancing the sweet filling.
Let refrigerated truffles sit at room temperature for about 5 to 10 minutes before serving. The center becomes smoother and creamier without turning soft.
For gift boxes, place each truffle in a small paper candy cup. This keeps the coating neat and prevents the pieces from rubbing together.
Variations
Milk Chocolate Peanut Butter Truffles
Replace the dark chocolate with milk chocolate for a sweeter and creamier outer shell.
Semi-Sweet Chocolate Truffles
Use semi-sweet chocolate when you want a balance between the richness of dark chocolate and the sweetness of milk chocolate.
Crunchy Peanut Butter Truffles
Use crunchy peanut butter or mix finely chopped roasted peanuts into the filling.
Make sure the peanut pieces are small so the truffles remain easy to shape.
Salted Peanut Butter Truffles
Sprinkle flaky sea salt over the coating before it sets.
This variation works especially well with dark chocolate.
White Chocolate Peanut Butter Truffles
Dip the centers in white chocolate and finish with crushed peanuts or a dark chocolate drizzle.
Pretzel Peanut Butter Truffles
Mix finely crushed pretzels into the filling or sprinkle them over the wet chocolate coating.
The salty crunch pairs beautifully with the creamy peanut butter.
Oreo Peanut Butter Truffles
Add finely crushed chocolate sandwich cookies to the filling for a cookies-and-cream twist.
Holiday Peanut Butter Truffles
Decorate with seasonal sprinkles, colored chocolate drizzles, or crushed peppermint candy.
Ingredient Substitutions
Creamy almond butter can replace peanut butter, although the filling may need extra powdered sugar depending on its consistency.
Sunflower seed butter is a useful nut-free alternative. Check the texture before shaping and adjust with powdered sugar if needed.
Salted butter can replace unsalted butter. Reduce or omit the added salt.
Semi-sweet or milk chocolate can replace dark chocolate.
Chocolate melting wafers can replace chocolate chips and may create a smoother coating without coconut oil.
Refined coconut oil has a neutral flavor and works best if you do not want the coating to taste like coconut.
Vegetable shortening can replace coconut oil, although the chocolate may set slightly softer.
Powdered monk fruit sweetener can replace powdered sugar in some low-sugar versions, but the texture and sweetness may vary.
What to Serve With
These Peanut Butter Truffles work well on dessert trays, holiday platters, and homemade candy boards.
Serve them with Cookies and Cream Fudge for a combination of creamy white chocolate and rich dark chocolate desserts.
They also pair beautifully with Oreo Truffles, especially when you want two easy no-bake treats with different centers.
For a caramelized cookie flavor, add Biscoff Truffles to the same dessert platter.
Strawberry Cheesecake Truffles bring a fruity, creamy contrast to the chocolate and peanut butter.
If you are serving dessert drinks, these truffles pair especially well with Brownie Milkshake or Easy Nutella Milkshake with Vanilla Ice Cream.
For a peanut butter and chocolate dessert table, serve them alongside Peanut Butter Bars.
Coffee, hot chocolate, cold milk, and espresso all complement the rich chocolate shell and creamy peanut butter filling.
Storage Instructions
Store the truffles in an airtight container in the refrigerator for up to one week.
Place parchment paper between layers to prevent the chocolate shells from rubbing together.
The truffles are at their best after resting at room temperature for 5 to 10 minutes, when the filling becomes creamy but still holds its shape.
Avoid leaving them in a warm room for long periods because the chocolate and butter-based centers may soften.
Freezing Instructions
Arrange the finished truffles in a single layer inside a freezer-safe container.
Once frozen firm, you can stack them with parchment paper between the layers.
Freeze for up to three months.
Thaw overnight in the refrigerator, then allow them to rest at room temperature briefly before serving.
Keeping them covered while they thaw helps prevent condensation from forming directly on the chocolate coating.
More Recipes to Try
If you enjoyed these Easy Peanut Butter Truffles with Dark Chocolate, try these other no-bake treats and chocolate desserts:
- Oreo Energy Balls
- No-Churn Strawberry Swirl Ice Cream
- Strawberry Cheesecake Truffles
- Cookies and Cream Fudge
- Peanut Butter Bars
- Brownie Milkshake
- Easy Nutella Milkshake with Vanilla Ice Cream
- Ferrero Rocher Milkshake

Final Thoughts
These Easy Peanut Butter Truffles with Dark Chocolate prove that homemade candy does not need to be complicated.
The filling is smooth, creamy, and packed with peanut butter flavor, while the dark chocolate shell adds a rich contrast and a delicate snap. A small amount of salt and vanilla keeps the center balanced instead of simply tasting sweet.
What makes this recipe especially useful is how easily it can be prepared ahead. The truffles keep well in the refrigerator, freeze beautifully, and can be decorated to suit holidays, parties, or gift boxes.
Serve them chilled for a firm bite or let them soften briefly at room temperature for an especially creamy center. Either way, the classic combination of peanut butter and chocolate makes these truffles difficult to resist.
Peanut Butter Truffles

Equipment
- Mixing bowl
- Electric hand mixer or wooden spoon
- Rubber spatula
- Small cookie scoop (1 tablespoon)
- Baking sheet or tray
- Parchment paper or wax paper
- Microwave-safe bowl
- Fork or chocolate dipping tool
- Measuring cups and spoons
Ingredients
Peanut Butter Filling
- ½ cup creamy peanut butter
- 4 tablespoons unsalted butter, softened
- ½ teaspoon vanilla extract
- ½ teaspoon salt
- 1¼ cups powdered sugar
Chocolate Coating
- 8 ounces dark chocolate chips
- 2 tablespoons coconut oil
Instructions
- Line a baking sheet or tray with parchment paper and set it aside.
- In a medium mixing bowl, beat together the peanut butter, softened butter, vanilla extract, and salt until smooth and creamy.
- Gradually add the powdered sugar and mix until a thick, smooth dough forms.
- Scoop about 1 tablespoon of the mixture and roll it into a smooth ball with your hands. Place each truffle onto the prepared baking sheet.
- Transfer the tray to the freezer for 20 to 30 minutes, or until the truffle centers are firm.
- While the filling chills, combine the chocolate chips and coconut oil in a microwave-safe bowl.
- Microwave for 1 minute, then stir until smooth. If needed, continue heating in 15-second intervals, stirring after each, until fully melted.
- Using a fork or dipping tool, coat each chilled peanut butter ball in the melted chocolate, allowing any excess chocolate to drip back into the bowl.
- Return the coated truffles to the lined baking sheet.
- Refrigerate until the chocolate is completely set.
- Serve chilled or at room temperature.
Notes
- Use regular creamy peanut butter for the best texture. Natural peanut butter that separates can make the filling too soft.
- If the filling is too sticky to roll, mix in a little more powdered sugar, one tablespoon at a time.
- Keep the peanut butter centers chilled while dipping to make coating them in chocolate easier.
- Dark, milk, or semi-sweet chocolate all work well for the coating, depending on your preference.
- Decorate with a drizzle of melted chocolate or a sprinkle of flaky sea salt before the coating sets for a bakery-style finish.
- Store the truffles in an airtight container in the refrigerator for up to 1 week, or freeze for up to 3 months. Let frozen truffles sit at room temperature for a few minutes before serving.