
Some links on this page are affiliate links. This means we may earn a commission at no additional cost to you if you click through and make a purchase, you can check our Affiliate Disclosure. Thank you for your support!
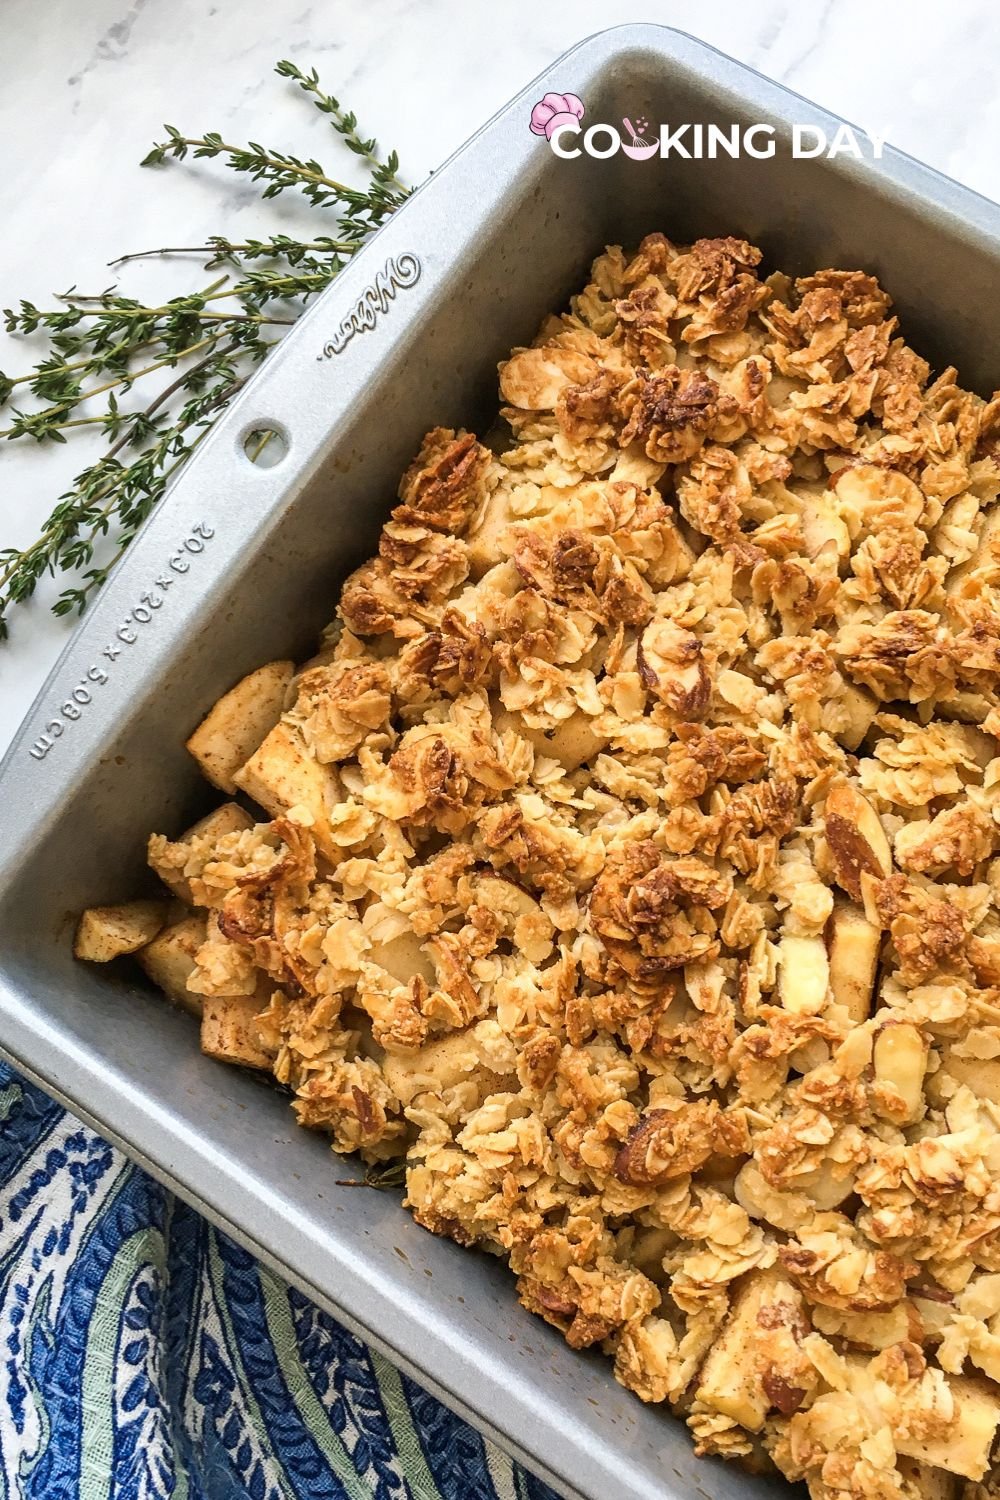
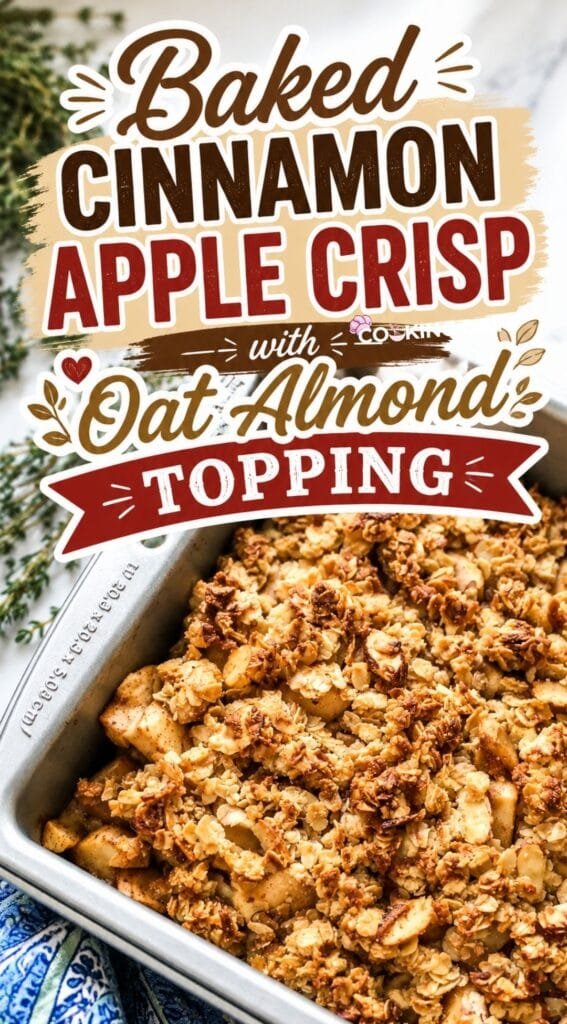
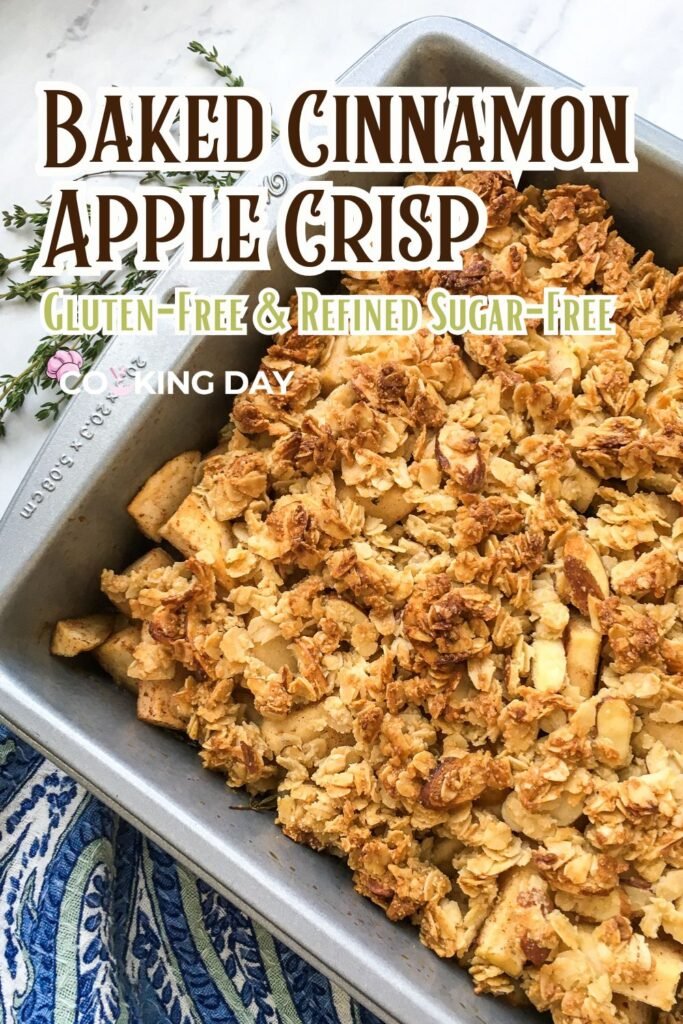
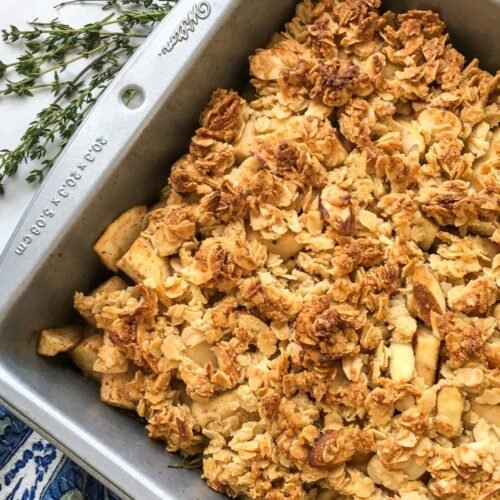
This Cinnamon Apple Crisp has everything I want in a warm apple dessert. The apples bake until tender and juicy with cinnamon, allspice, maple syrup, and a subtle touch of fresh thyme, while the oat and almond topping turns golden and crisp.
Instead of refined sugar, the filling is sweetened with real maple syrup and the topping uses honey. Almond flour and sliced almonds add richness and crunch without traditional wheat flour.
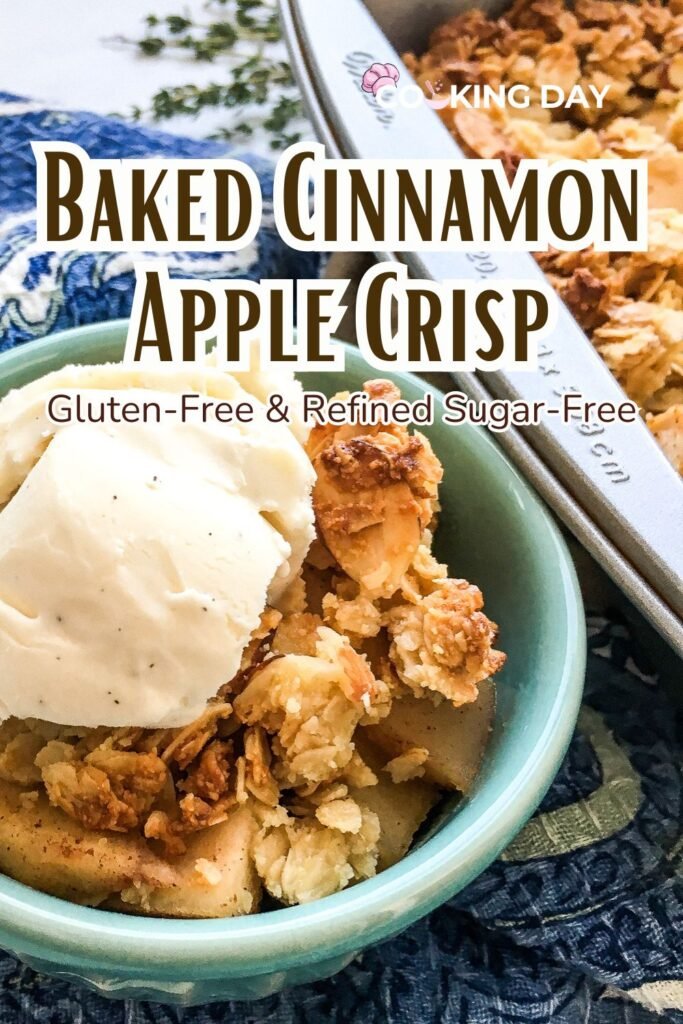
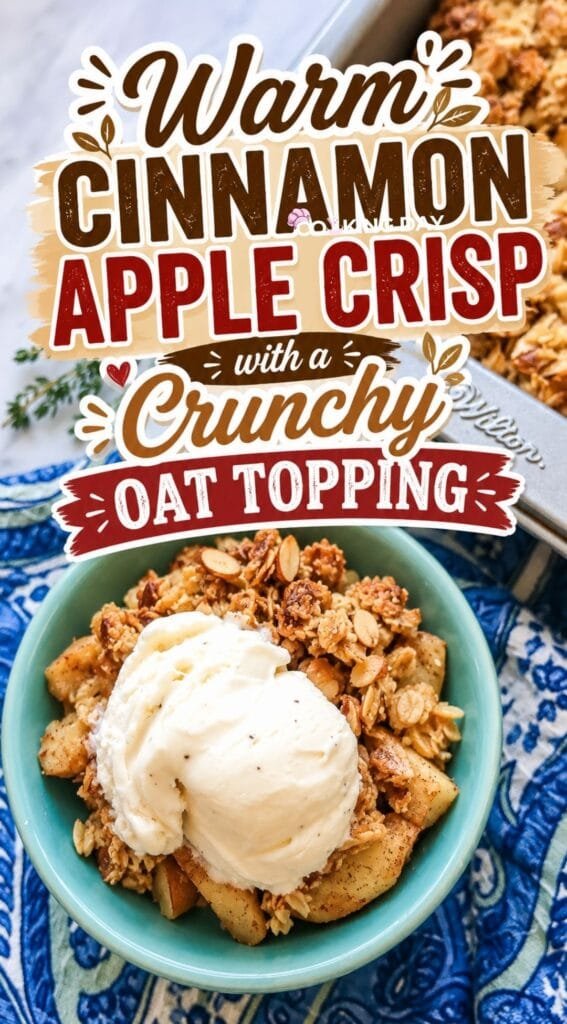
Serve this cinnamon apple crisp while it’s still warm, especially with a scoop of vanilla bean ice cream or freshly whipped cream. The contrast between the warm, spiced apples and cool vanilla ice cream or whipped cream makes this simple dessert feel extra special.
Why This Cinnamon Apple Crisp Works
The apples stay at the center of the dessert. Cinnamon and allspice complement their natural flavor without covering it up.
Maple syrup and honey provide the sweetness. Maple syrup goes into the apple filling, while honey helps coat and sweeten the crisp topping.
Oats and almonds create plenty of texture. Rolled oats, almond flour, and sliced almonds give the topping a combination of crisp, crumbly, and nutty textures.
Fresh thyme adds an unexpected savory note. Just a small amount gives the apples another layer of flavor without turning the dessert savory.
The two-stage baking check protects the topping. Once the top is nicely browned, loosely covering the dish with foil allows the apples to continue cooking without letting the topping become too dark.
It skips traditional wheat flour. Almond flour is used in the topping instead, making the recipe suitable for a gluten-free approach when the oats and other packaged ingredients are confirmed gluten-free.
Ingredients
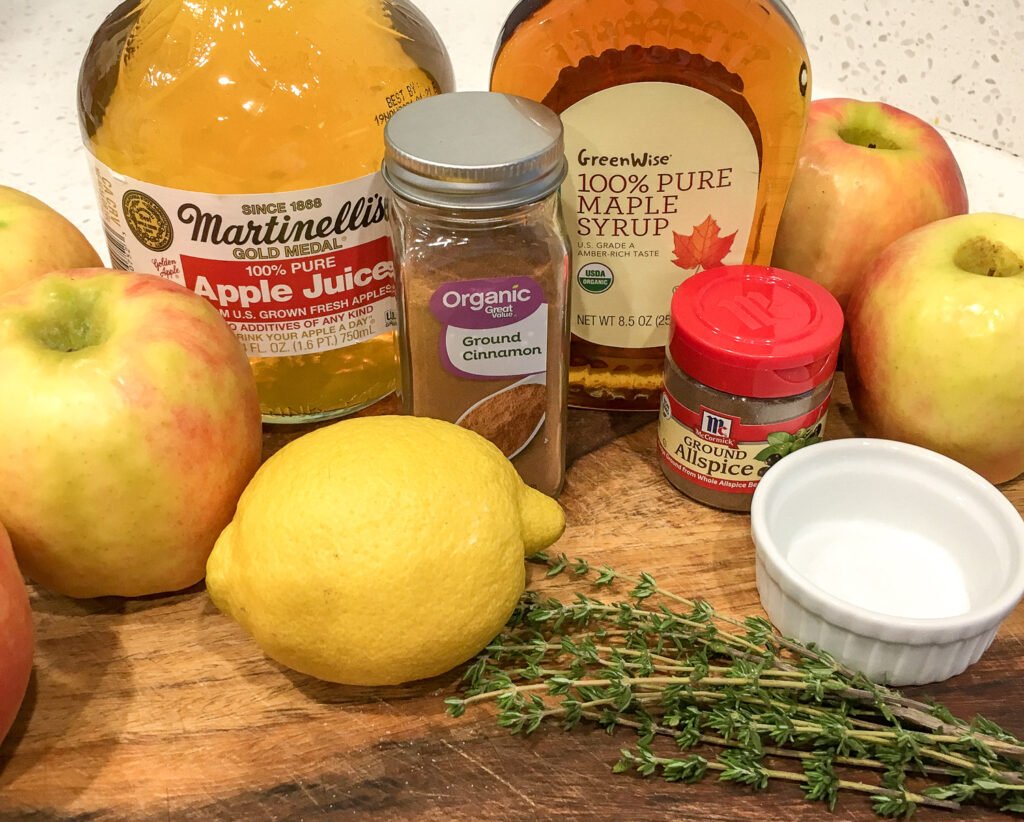
For the Apple Filling
- 6 large apples, cored, peeled, and sliced
- 1 tablespoon fresh lemon juice
- ⅓ cup real maple syrup
- 2 tablespoons 100% unsweetened apple juice
- 1 teaspoon ground cinnamon
- ½ teaspoon ground allspice
- 1½ teaspoons fresh thyme leaves
- ¼ teaspoon salt
The lemon juice adds acidity and helps keep the prepared apples from browning too quickly. Cinnamon and allspice bring familiar warm spice, while fresh thyme provides a subtle herbal contrast.
For the Crisp Topping
- 1 cup old-fashioned rolled oats
- ⅓ cup almond flour
- ⅓ cup sliced almonds
- ⅓ cup honey, preferably local
- 3 tablespoons unsalted butter, melted
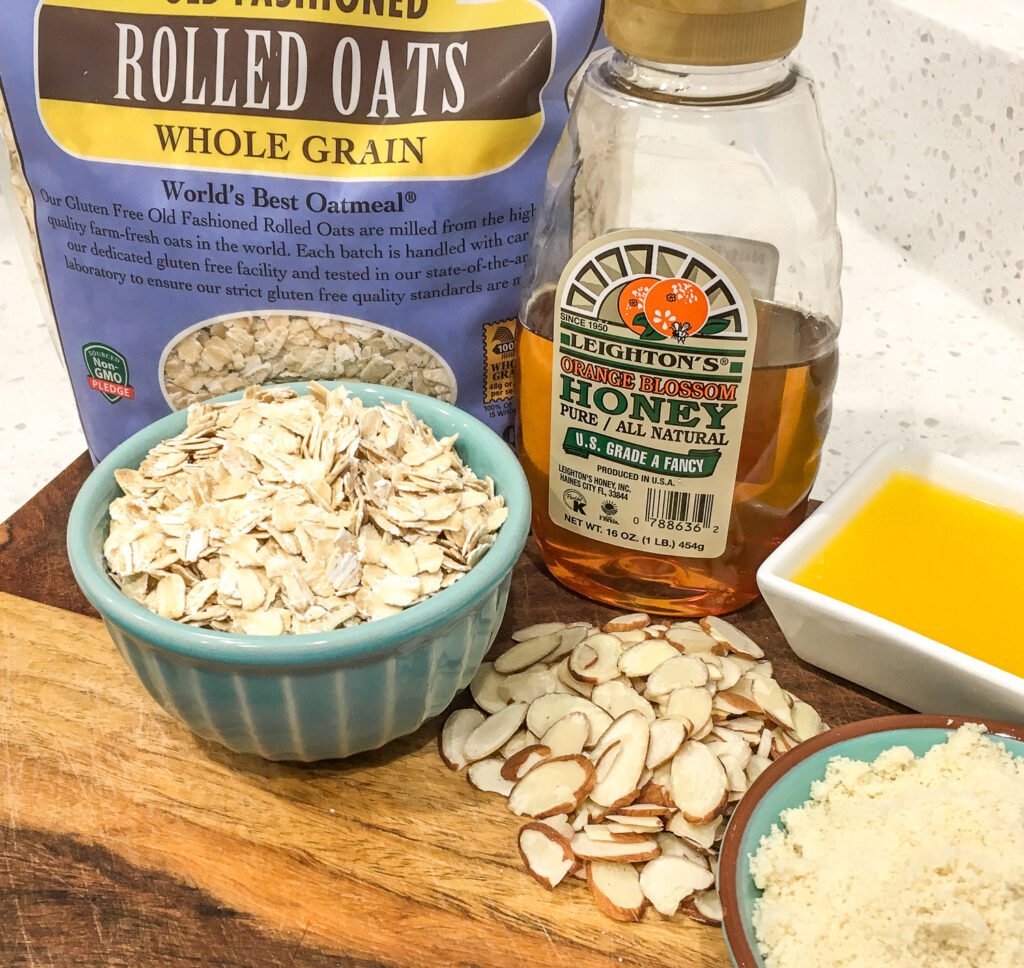
The combination of oats, almond flour, and sliced almonds gives the topping its texture. Melted butter and honey coat the dry ingredients and help the mixture brown as it bakes.
Gluten-free note: If you’re preparing this dessert for someone who needs to strictly avoid gluten, use rolled oats specifically labeled or certified gluten-free and check the labels of packaged ingredients for your dietary needs.
Optional for Serving
- Vanilla bean ice cream
- Freshly whipped cream
Equipment
- 8 x 8-inch baking dish
- 2 large mixing bowls
- Whisk or spoon
- Measuring cups and spoons
- Aluminum foil
- Oven
Step by Step Instructions
Step 1: Preheat the Oven
Position an oven rack in the center and preheat the oven to 350°F (175°C).
Lightly grease an 8 x 8-inch baking dish and set it aside while you prepare the apples.
Step 2: Prepare the Apple Filling
Place the peeled, cored, and sliced apples in a large mixing bowl.
Add the fresh lemon juice and toss until the apple slices are lightly coated.
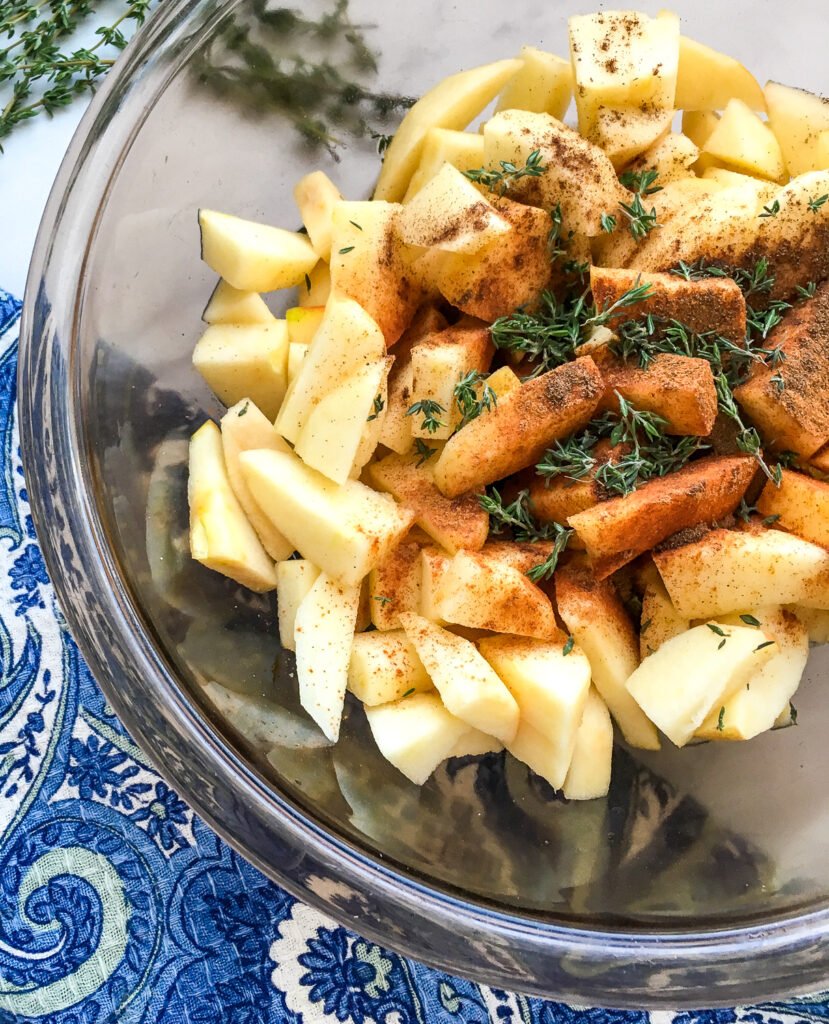
Pour in the maple syrup and unsweetened apple juice. Add the cinnamon, allspice, fresh thyme leaves, and salt.
Stir gently until the seasonings and liquids are evenly distributed throughout the apples.
Step 3: Make the Oat Almond Topping
In a separate mixing bowl, combine the old-fashioned rolled oats, almond flour, and sliced almonds.
Add the honey and melted butter. Stir until the dry ingredients are evenly coated and the mixture begins to hold together in small clusters.
Step 4: Assemble the Apple Crisp
Transfer the seasoned apples and their liquid to the prepared baking dish, spreading them into an even layer.
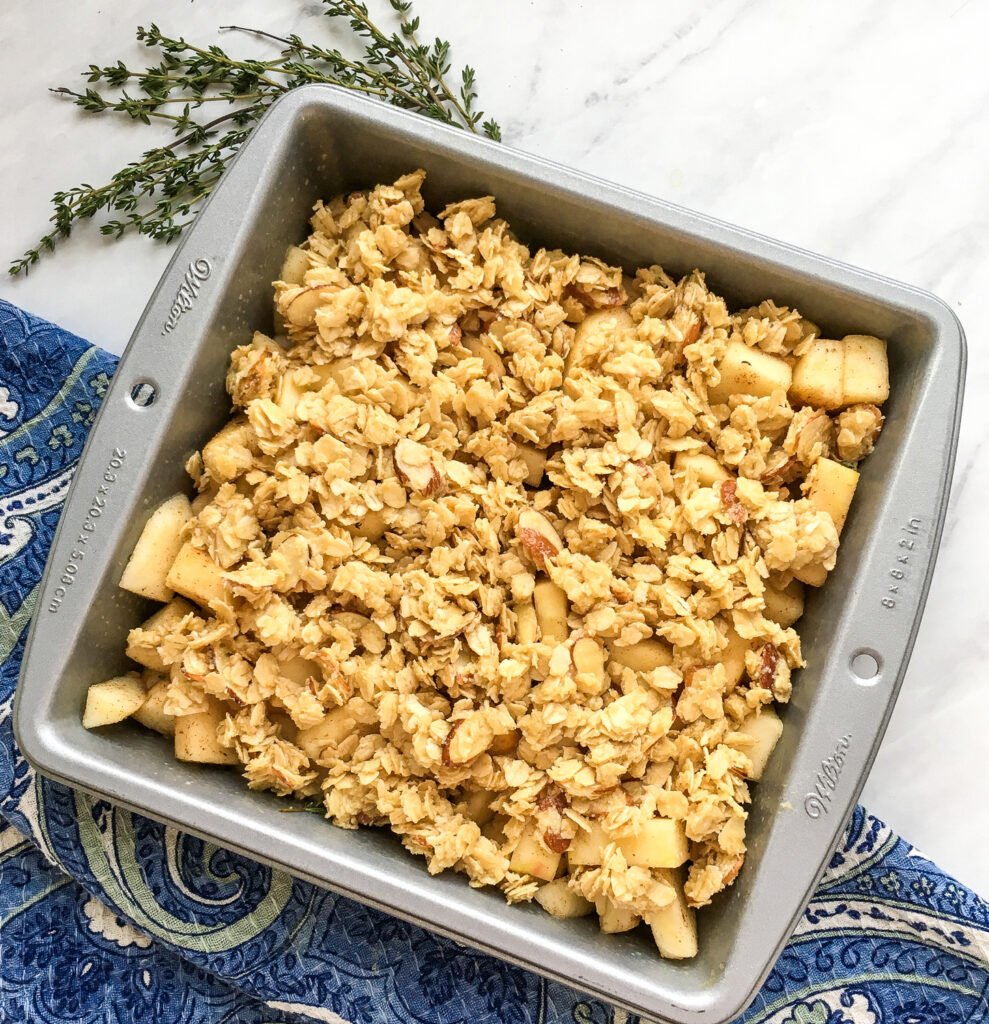
Distribute the oat mixture evenly over the apples.
Press the topping down lightly so it sits securely over the fruit, but don’t compact it heavily. Keeping some texture in the topping helps create those crisp, golden clusters as it bakes.
Step 5: Bake Until Golden and Bubbling
Place the baking dish on the center rack of the preheated oven and bake for 30 minutes.
Check the topping. If it has already become nicely browned, loosely cover the baking dish with aluminum foil.
Continue baking for another 15 to 20 minutes, or until the apple filling is bubbling and the apples are tender.
The bubbling filling is an important visual cue. You want the fruit fully heated and tender underneath the browned oat topping.
Step 6: Rest and Serve
Remove the apple crisp from the oven and let it cool for 5 to 10 minutes before serving.
This short rest gives the hot filling a chance to settle slightly while keeping the dessert pleasantly warm.
Spoon into serving dishes and add vanilla bean ice cream or freshly whipped cream, if desired.
Tips for the Best Cinnamon Apple Crisp
- Choose apples that hold their shape. Firm baking apples work especially well because they become tender without breaking down too quickly.
- Slice the apples evenly. Similar-sized slices are more likely to become tender at the same time.
- Use old-fashioned rolled oats. They provide a heartier texture for the topping.
- Coat the topping thoroughly. Stir until the honey and melted butter are distributed throughout the oats, almond flour, and almonds.
- Don’t pack the topping down firmly. A light press is enough. Compressing it too much can work against the loose, crisp texture you’re looking for.
- Watch the topping after 30 minutes. Honey and almonds can brown as the crisp bakes, so use the foil when needed.
- Look for bubbling around the apples. Don’t judge doneness by the color of the topping alone. The filling should be bubbling and the apples should be tender before the crisp comes out of the oven.
- Give it a few minutes to rest. The filling will be extremely hot straight from the oven, and a short rest makes the crisp easier to serve.
Common Mistakes to Avoid
- Cutting the apples into very different sizes. Thin pieces may soften much faster than thick ones, leaving you with an uneven filling.
- Using oats without checking the label when gluten is a concern. Oats themselves don’t contain gluten, but cross-contact during processing can be an issue. Choose oats labeled or certified gluten-free when necessary.
- Taking the crisp out as soon as the topping browns. The apples underneath may still need more time. Cover the browned topping loosely with foil and continue baking until the filling bubbles and the fruit is tender.
- Covering the crisp too early. The topping needs exposure to the oven’s dry heat to develop its golden surface.
- Skipping the resting time. The filling is very hot immediately after baking. Letting it stand for 5 to 10 minutes makes serving easier.
Expert Tips
The apples are the biggest variable in an apple crisp. Different varieties soften at different rates and release different amounts of juice. That’s why tenderness and bubbling are more reliable signs of doneness than baking time alone.
When checking the apples, carefully test a slice with the tip of a small knife. It should be tender without completely collapsing into applesauce.
For a topping with more defined clusters, make sure the oats and almond flour are thoroughly coated with the honey and melted butter. You can leave some naturally formed clumps when spreading the topping over the fruit rather than breaking everything into tiny crumbs.
If the topping reaches the color you want before the apples are tender, foil is your best tool. Cover the dish loosely rather than sealing it tightly, then allow the filling to finish baking underneath.
Variations
- Extra nutty apple crisp: Add ¼ cup chopped pecans or walnuts to the topping for additional crunch.
- Warmly spiced version: Add ½ teaspoon ground nutmeg to the apple filling.
- Vanilla apple crisp: Add a splash of vanilla extract to the filling for another layer of sweetness and aroma.
- Vegan version: Replace the unsalted butter with coconut oil and the honey with maple syrup. The topping may be slightly less sticky and clustered because maple syrup is thinner than honey.
Ingredient Substitutions
- Unsalted butter: Coconut oil can be used in the topping for the vegan variation.
- Honey: Maple syrup can replace the honey for the vegan version, although the topping may be slightly less sticky and clustered.
- Sliced almonds: Chopped pecans or walnuts can be added when you want more nutty texture. Because the original recipe uses sliced almonds as part of the topping, keeping the almonds will stay closest to the original texture.
When making substitutions for dietary reasons, check individual ingredient labels as needed rather than assuming every packaged product meets the same dietary standard.
What to Serve With Cinnamon Apple Crisp
This dessert is especially good served warm. You can pair or finish it with:
- Vanilla ice cream or No-Churn Banana Peanut Butter Ice Cream
- Freshly whipped cream
- Chopped toasted pecans or walnuts
- A light dusting of cinnamon
Vanilla ice cream gives you the strongest temperature contrast. It begins melting into the warm cinnamon apples while the oat and almond topping stays crisp on top.
Storage Instructions
Let leftover apple crisp cool before covering it or transferring it to an airtight container.
Store it in the refrigerator for up to 3 to 4 days.
Reheat individual portions until warmed through. The topping will naturally soften somewhat during refrigeration, so reheating uncovered can help bring back some of its texture.
Final Thoughts
This Gluten-Free Cinnamon Apple Crisp keeps the familiar comfort of baked cinnamon apples while giving the classic crisp topping a nutty twist with oats, almond flour, and sliced almonds. Maple syrup and honey provide sweetness, and that small amount of fresh thyme adds an interesting contrast to the warm spices.
The most important thing is to bake until the apples are truly tender and the filling is bubbling, even if the topping browns first. Add a scoop of vanilla bean ice cream while the crisp is still warm for a cozy finish that brings the warm fruit, crisp oat topping, and cool vanilla together in every spoonful.
Baked Cinnamon Apple Crisp

Equipment
- 8” x 8” baking dish
- Large mixing bowls
- Whisk or spoon for mixing
- Oven
Ingredients
For the Apple Filling:
- 6 large apples, cored, peeled, and sliced
- 1 tablespoon fresh lemon juice
- ⅓ cup real maple syrup
- 2 tablespoons 100% unsweetened apple juice
- 1 teaspoon ground cinnamon
- ½ teaspoon ground allspice
- 1 ½ teaspoons fresh thyme leaves
- ¼ teaspoon salt
For the Crisp Topping:
- 1 cup old-fashioned rolled oats
- ⅓ cup almond flour
- ⅓ cup sliced almonds
- ⅓ cup honey (preferably local)
- 3 tablespoons unsalted butter, melted
Optional for Serving:
- Vanilla bean ice cream
- Freshly whipped cream
Instructions
- Step 1: Prepare the Oven & DishAdjust the oven rack to the center position and preheat oven to 350°F (175°C).Lightly grease an 8” x 8” baking dish and set aside.
- Step 2: Prepare the Apple FillingIn a large mixing bowl, toss the sliced apples with lemon juice to prevent browning.Add maple syrup, apple juice, cinnamon, allspice, thyme leaves, and salt to the apples. Stir until well coated. Set aside.
- Step 3: Make the Crisp ToppingIn a separate bowl, mix together rolled oats, almond flour, sliced almonds, honey, and melted butter until the oats are evenly coated.
- Step 4: Assemble the Apple CrispPour the apple mixture into the prepared baking dish, spreading it evenly.Sprinkle the crisp topping evenly over the apples, pressing down lightly to help it adhere.
- Step 5: Bake the CrispPlace the dish in the preheated oven and bake for 30 minutes.If the top is nicely browned, loosely cover with aluminum foil to prevent over-browning.Continue baking for 15-20 minutes, or until the filling is bubbling and apples are tender.
- Step 6: Serve & EnjoyRemove from the oven and let cool for 5-10 minutes before serving.Serve warm with a scoop of vanilla bean ice cream or freshly whipped cream, if desired.