
Some links on this page are affiliate links. This means we may earn a commission at no additional cost to you if you click through and make a purchase, you can check our Affiliate Disclosure. Thank you for your support!
There is something especially satisfying about homemade ice cream, particularly when it delivers the same rich, creamy texture you expect from a premium ice cream shop.
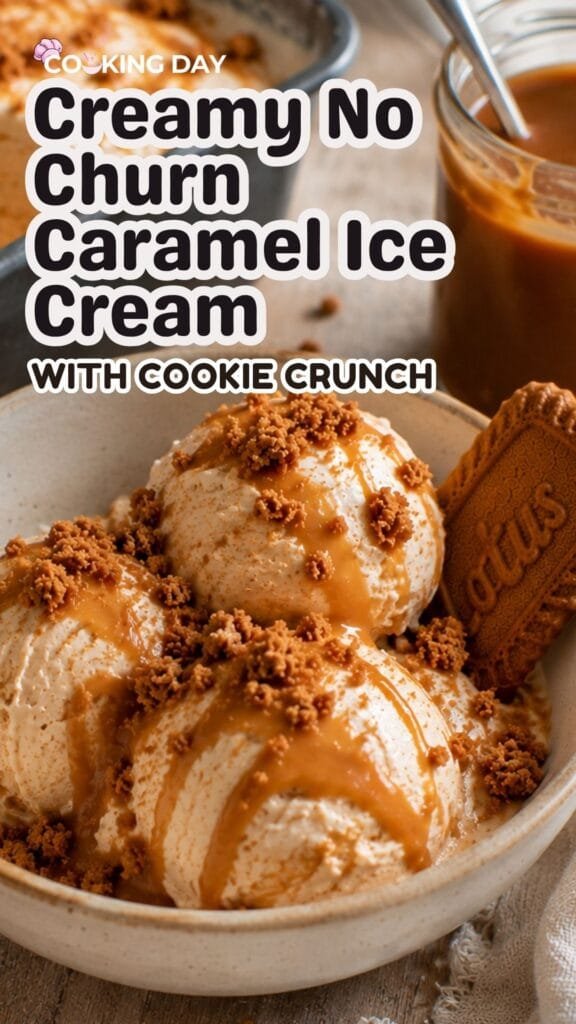
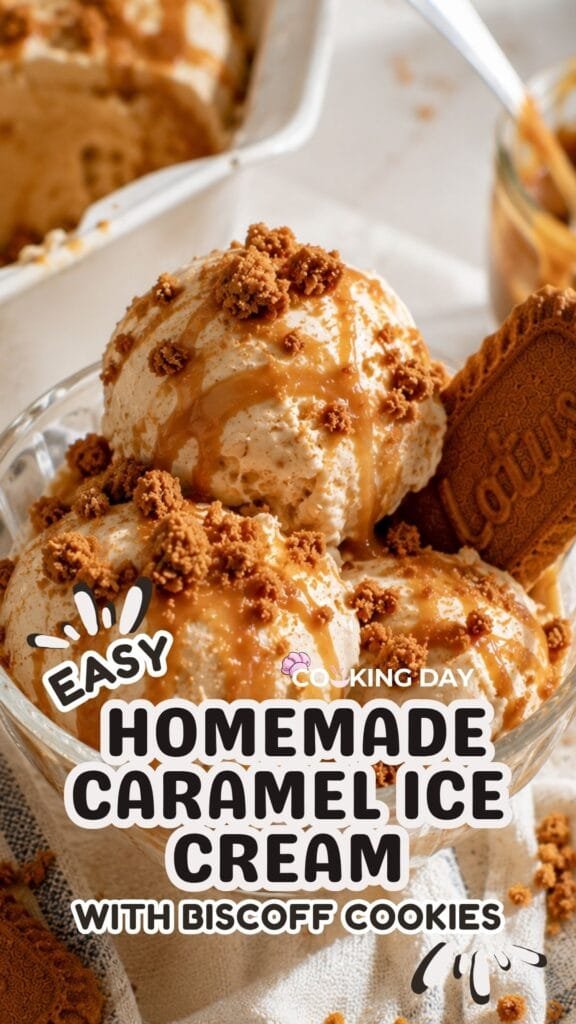
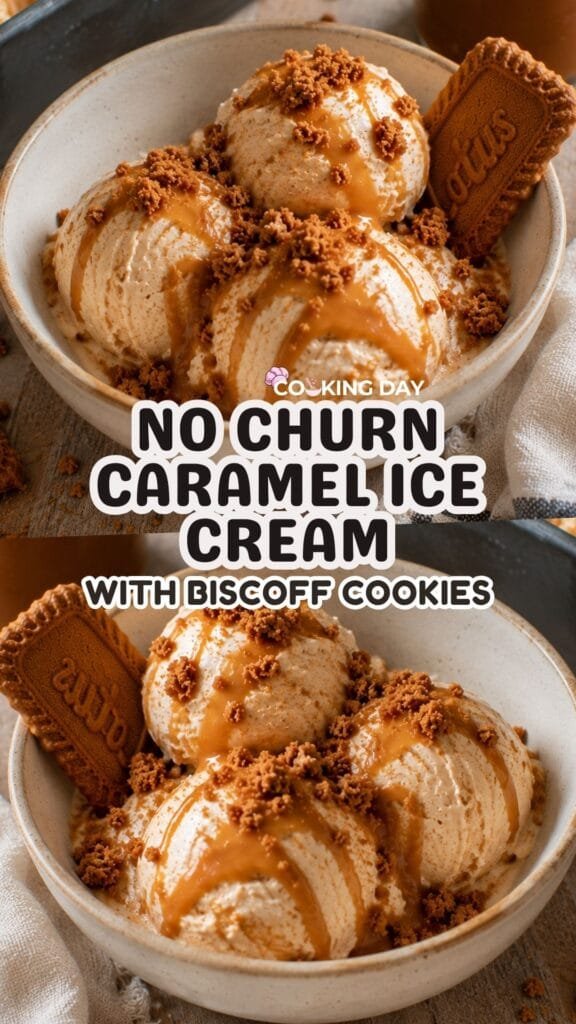
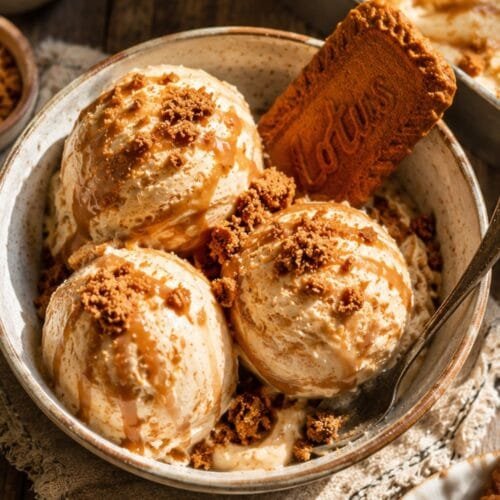
This Homemade Caramel Ice Cream combines silky homemade caramel, whipped cream, sweetened condensed milk, and crunchy Lotus Biscoff cookies into a frozen dessert that feels wonderfully indulgent without requiring any special equipment.
What makes this recipe stand out is the caramel. Instead of relying on store-bought toppings, you’ll make a simple homemade caramel sauce that adds a deep buttery flavor throughout the ice cream. Combined with crunchy cookie pieces, every scoop offers a mix of smooth creaminess and sweet caramel crunch.
One of my favorite things about this recipe is that it feels impressive while being surprisingly simple. Once the caramel is made, most of the work is just folding everything together and letting the freezer do the rest.
Let me show you how to make it step-by-step so your ice cream freezes creamy, scoops beautifully, and delivers rich caramel flavor in every bite.
Why This Recipe Works
Many homemade no-churn ice cream recipes can become icy or overly sweet. This version stays smooth and balanced thanks to a few simple techniques.
The whipped cream creates a light, airy texture that mimics traditional churned ice cream.
Sweetened condensed milk adds sweetness while helping prevent large ice crystals from forming.
The homemade caramel sauce provides a deeper flavor than store-bought syrups and blends beautifully into the ice cream base.
The crushed Lotus Biscoff cookies add texture and a subtle caramelized spice flavor that pairs naturally with the caramel.
One thing I learned after making no-churn ice cream several times is that fully cooling the caramel before mixing makes a huge difference. Warm caramel can deflate the whipped cream and reduce the light texture you’re aiming for.
Ingredients
For the Caramel Sauce
- 100g heavy cream, slightly warmed
- 2g salt
- 75g granulated sugar
- 15g water
- 25g unsalted butter
For the Ice Cream Base
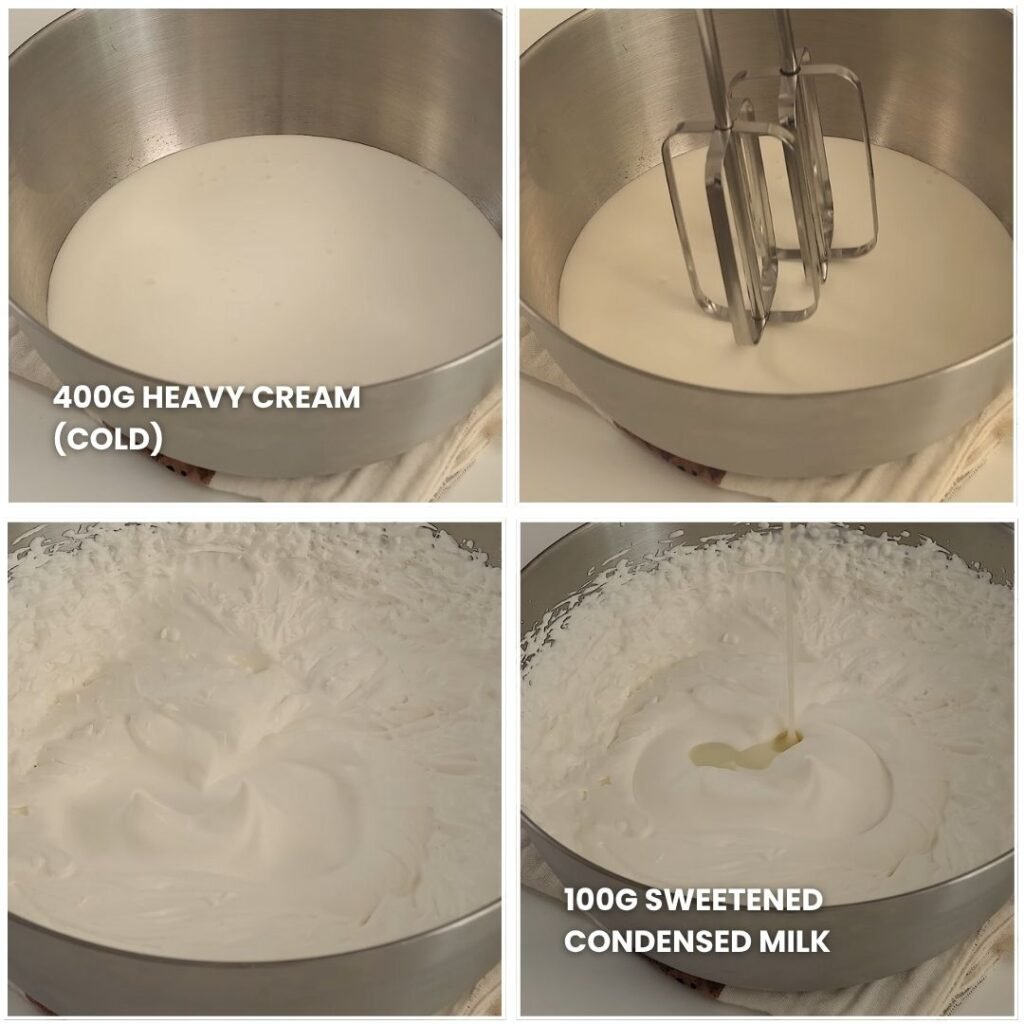
- 400g heavy cream, chilled
- 100g sweetened condensed milk
- 8 Lotus Biscoff cookies, divided
Step-by-Step Instructions
Step 1: Make the Caramel
Add the sugar and water to a small heavy-bottomed saucepan.
Place over medium heat and allow the sugar to dissolve.
Avoid stirring once the mixture begins cooking. Instead, gently swirl the pan occasionally.
Continue cooking until the syrup turns a deep golden amber color.
This stage happens quickly, so keep a close eye on it.
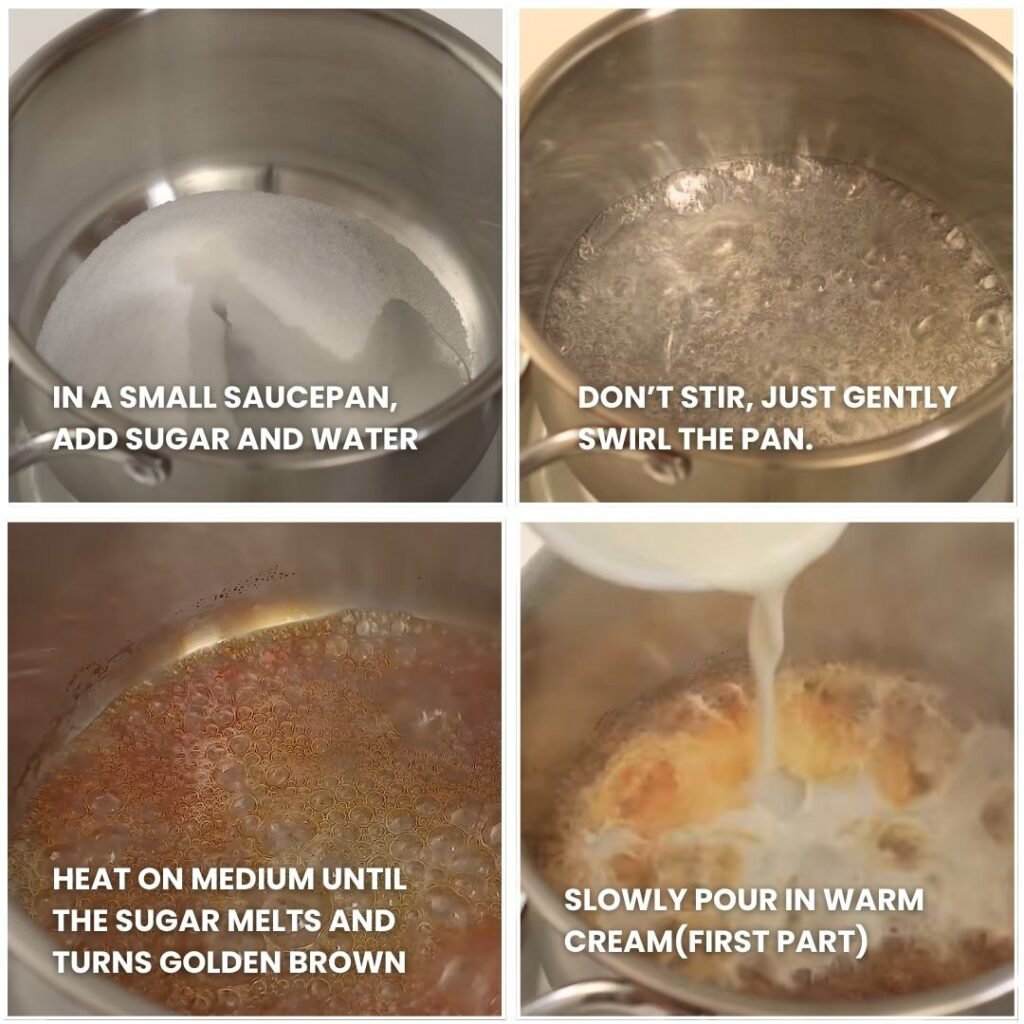
Step 2: Add the Cream
Remove the saucepan from the heat immediately.
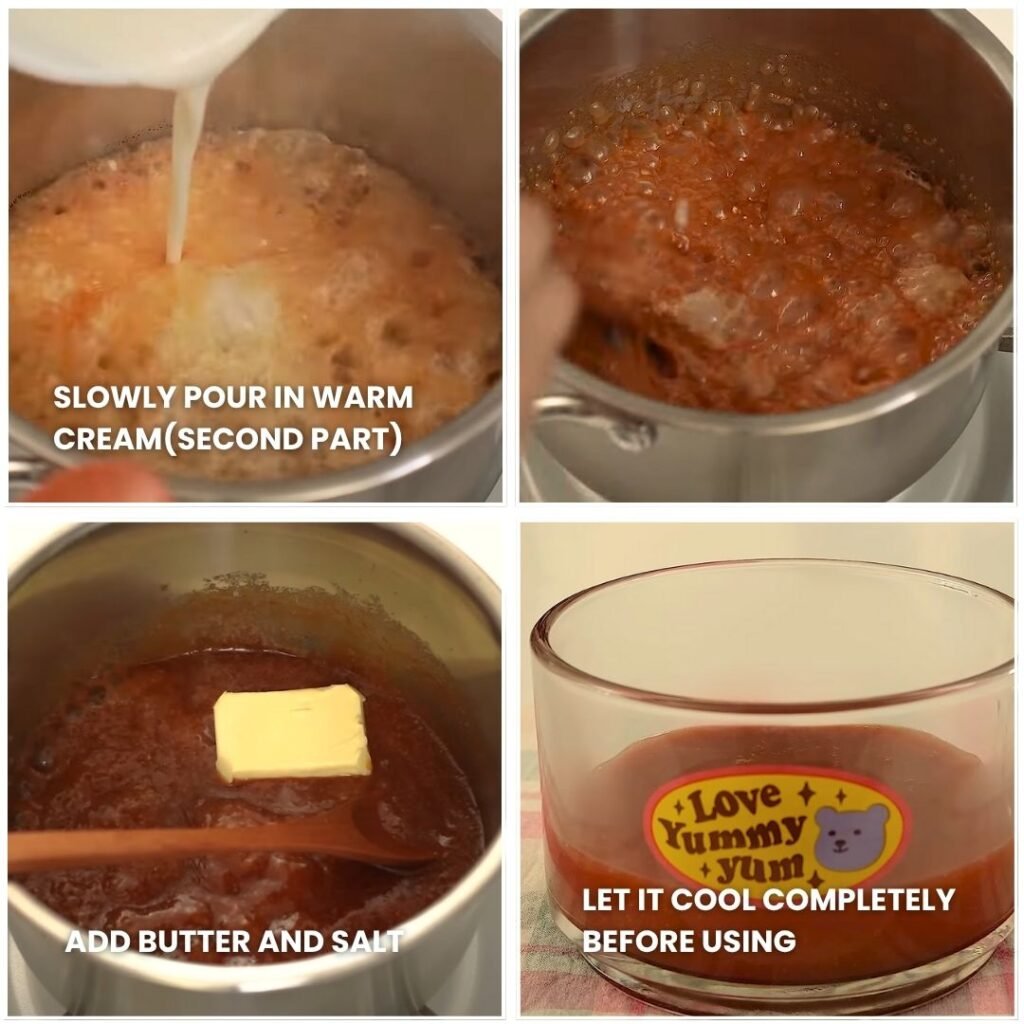
Slowly pour in the warm heavy cream in two additions while stirring carefully.
The mixture will bubble vigorously at first, which is completely normal.
The aroma at this stage is incredible, rich, buttery, and deeply caramelized.
Step 3: Finish the Caramel Sauce
Add the butter and salt.
Stir until smooth and glossy.
Set aside and allow the caramel to cool completely before using.
Patience here pays off. Cool caramel blends much better into the ice cream base.
Step 4: Whip the Cream
In a large mixing bowl, whip the chilled heavy cream until soft peaks form.
The cream should hold its shape while still looking smooth and airy.
Avoid whipping to stiff peaks, which can make the final texture heavier.
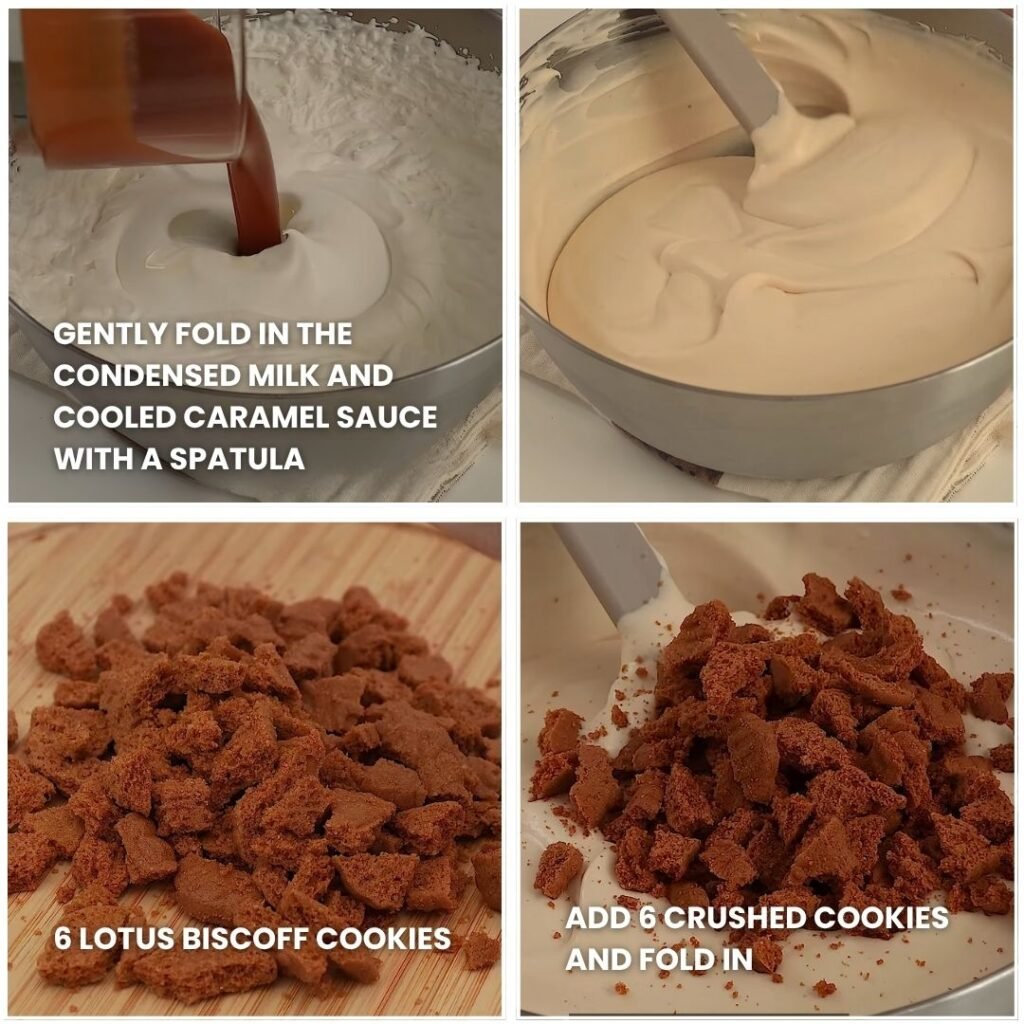
Step 5: Build the Ice Cream Base
Add the sweetened condensed milk and cooled caramel sauce to the whipped cream.
Using a spatula, gently fold everything together.
Try not to overmix.
You want the mixture light and fluffy while fully incorporating the caramel.
Step 6: Add the Cookies
Crush six Lotus Biscoff cookies into small pieces.
Fold them into the ice cream mixture.
The cookies add little pockets of crunch throughout the finished dessert.
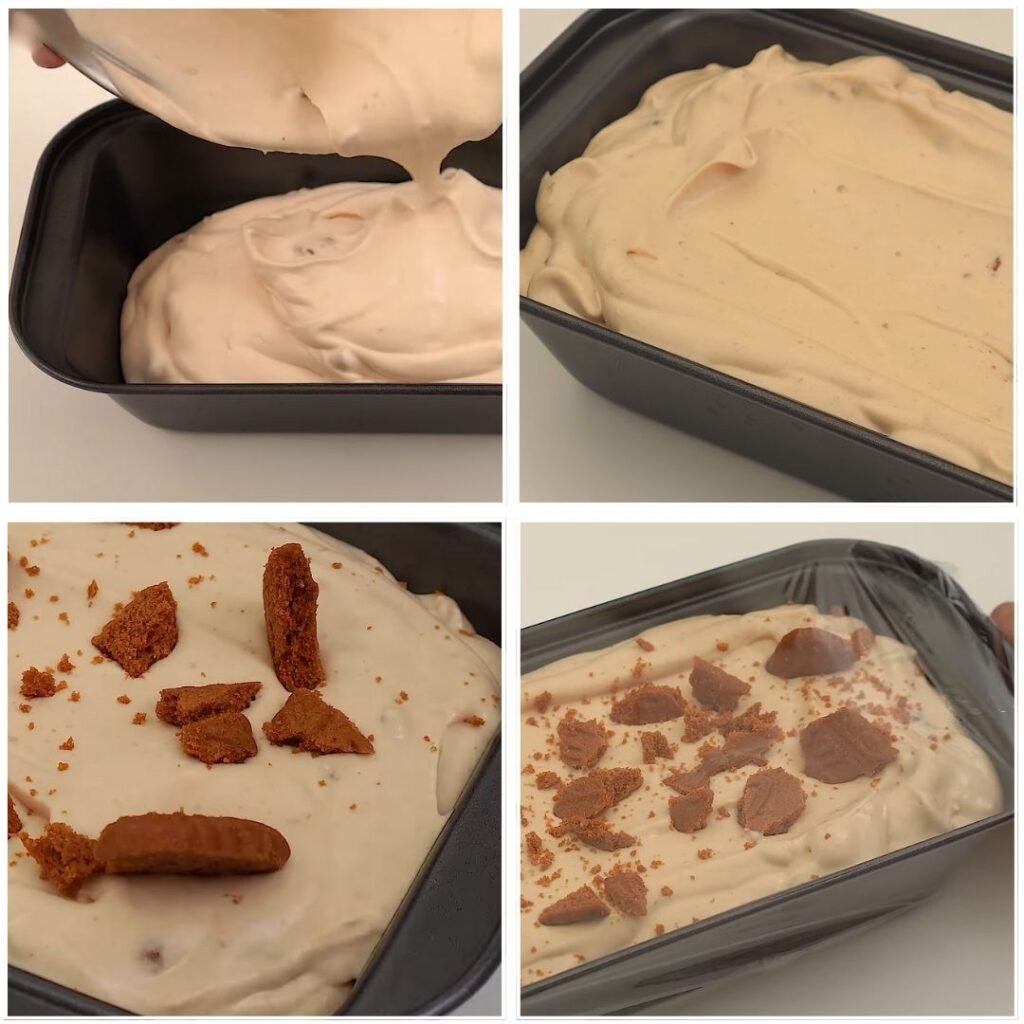
Step 7: Transfer and Decorate
Spoon the mixture into a freezer-safe container or loaf pan.
Crush the remaining two cookies and sprinkle them over the top.
This creates a beautiful finish while adding extra texture to every scoop.
Step 8: Freeze
Cover tightly with plastic wrap or a fitted lid.
Freeze for at least 8 hours or overnight.
The ice cream should be firm enough to scoop while remaining creamy.
Tips for Best Results
- Use cold heavy cream straight from the refrigerator
- Allow the caramel to cool completely before folding
- Use a heavy-bottomed saucepan for more even caramel cooking
- Freeze overnight for the best texture
- Let the ice cream sit for 5 minutes before scooping
One small trick I like is reserving a few spoonfuls of caramel and lightly swirling it through the top before freezing. It creates beautiful ribbons of caramel throughout the finished ice cream.
Common Mistakes to Avoid
Overcooking the Caramel
Dark caramel can develop a bitter flavor that overpowers the ice cream.
Adding Warm Caramel to the Cream
Warm caramel can collapse the whipped cream and make the mixture dense.
Overwhipping the Cream
Stiff whipped cream can create a heavier texture instead of a smooth premium finish.
Freezing Without Covering
Proper covering prevents freezer odors and ice crystals from affecting the ice cream.
Variations
Salted Caramel Ice Cream
Add an extra pinch of flaky sea salt before freezing.
Chocolate Caramel Ice Cream
Fold in chocolate chunks or chocolate chips.
Nutty Caramel Ice Cream
Add toasted pecans, walnuts, or almonds.
Cookie Butter Ice Cream
Swirl in a few spoonfuls of Biscoff spread before freezing.
Ingredient Substitutions
- Lotus Biscoff cookies → Graham crackers or digestive biscuits
- Heavy cream → Whipping cream
- Unsalted butter → Salted butter (reduce added salt slightly)
- Sweetened condensed milk → Sweetened condensed coconut milk
What to Serve With Caramel Ice Cream
This caramel ice cream pairs beautifully with:
I especially enjoy serving it alongside warm brownies because the contrast between cold creamy ice cream and warm chocolate dessert is hard to beat.
Storage Instructions
Store the ice cream tightly covered in the freezer for up to 2 weeks.
For the best texture and flavor, enjoy within the first week.
Reheating Instructions
No reheating required.
Allow the ice cream to sit at room temperature for 5 minutes before scooping if frozen solid.
Frequently Asked Questions
Can I make caramel ice cream without an ice cream maker?
Yes. This recipe is specifically designed as a no-churn ice cream recipe and requires no special equipment.
Why is my homemade caramel bitter?
The sugar likely cooked too long. Remove it once it reaches a rich amber color.
Can I use store-bought caramel sauce?
You can, but homemade caramel provides a much richer flavor.
How long does no-churn ice cream last?
It is best within 1 to 2 weeks when stored properly in the freezer.
Can I use different cookies?
Absolutely. Graham crackers, digestive biscuits, or shortbread cookies all work well.
Why is my ice cream icy?
This can happen if the mixture was not covered properly or if the cream was not whipped correctly.
Final Thoughts
This Homemade Caramel Ice Cream proves that you do not need an expensive machine to make incredible homemade ice cream.
The combination of silky caramel, creamy no-churn ice cream, and crunchy Biscoff cookies creates a dessert that feels rich, comforting, and surprisingly luxurious.
It is simple enough for beginners, impressive enough for guests, and indulgent enough to satisfy serious caramel lovers.
Once you scoop into that creamy caramel-filled ice cream and find bits of crunchy cookie hidden throughout, it becomes the kind of homemade dessert you’ll look forward to making again and again.
Super Premium Caramel Ice Cream (No-Churn & No Machine)
Equipment
- Saucepan (preferably with high sides)
- Mixing bowl
- Electric mixer or whisk
- Spatula
- Freezer-safe container or loaf tin
- Plastic wrap
Ingredients
For the Caramel Sauce:
- 100g heavy cream (slightly warmed)
- 2g salt
- 75g granulated sugar
- 15g water
- 25g unsalted butter
For the Ice Cream Base:
- 400g heavy cream (chilled)
- 100g sweetened condensed milk
- 8 Lotus Biscoff cookies (6 crushed, 2 for topping)
Instructions
Make the Caramel Sauce
- In a small saucepan, mix sugar and water. Heat on medium, swirling occasionally, until the mixture turns a golden amber.
- Once the color shifts to a medium brown (not dark!), immediately remove from heat.
- Slowly add warm heavy cream in two batches, stirring gently to avoid splattering.
- Add butter and salt. Stir until fully melted and smooth.
- Let the caramel sauce cool completely.
Make the Ice Cream Base:
- In a mixing bowl, whip the cold heavy cream until soft peaks form.
- Gently fold in the condensed milk and cooled caramel sauce using a spatula. Avoid overmixing.
- Add the crushed cookies and fold them in evenly.
Freeze:
- Transfer the mixture to a container or loaf pan.
- Top with the remaining crushed cookies for decoration.
- Cover tightly with plastic wrap and freeze for at least 5 hours, or until fully set.
Notes
Pro Tips & Variations:
- Caramel Watch: Turn off the heat as soon as the sugar turns golden brown. If it gets too dark, it may taste bitter.
- Pot Matters: Use a heavy-bottomed saucepan to prevent the sugar from burning.
- Texture Boost: Add crushed nuts or chocolate chips for extra crunch.
- Flavor Twist: Stir in a pinch of sea salt for salted caramel flavor.
- No Lotus? Substitute with graham crackers, digestive biscuits, or any crunchy cookie you like.