Some links on this page are affiliate links. This means we may earn a commission at no additional cost to you if you click through and make a purchase, you can check our Affiliate Disclosure. Thank you for your support!
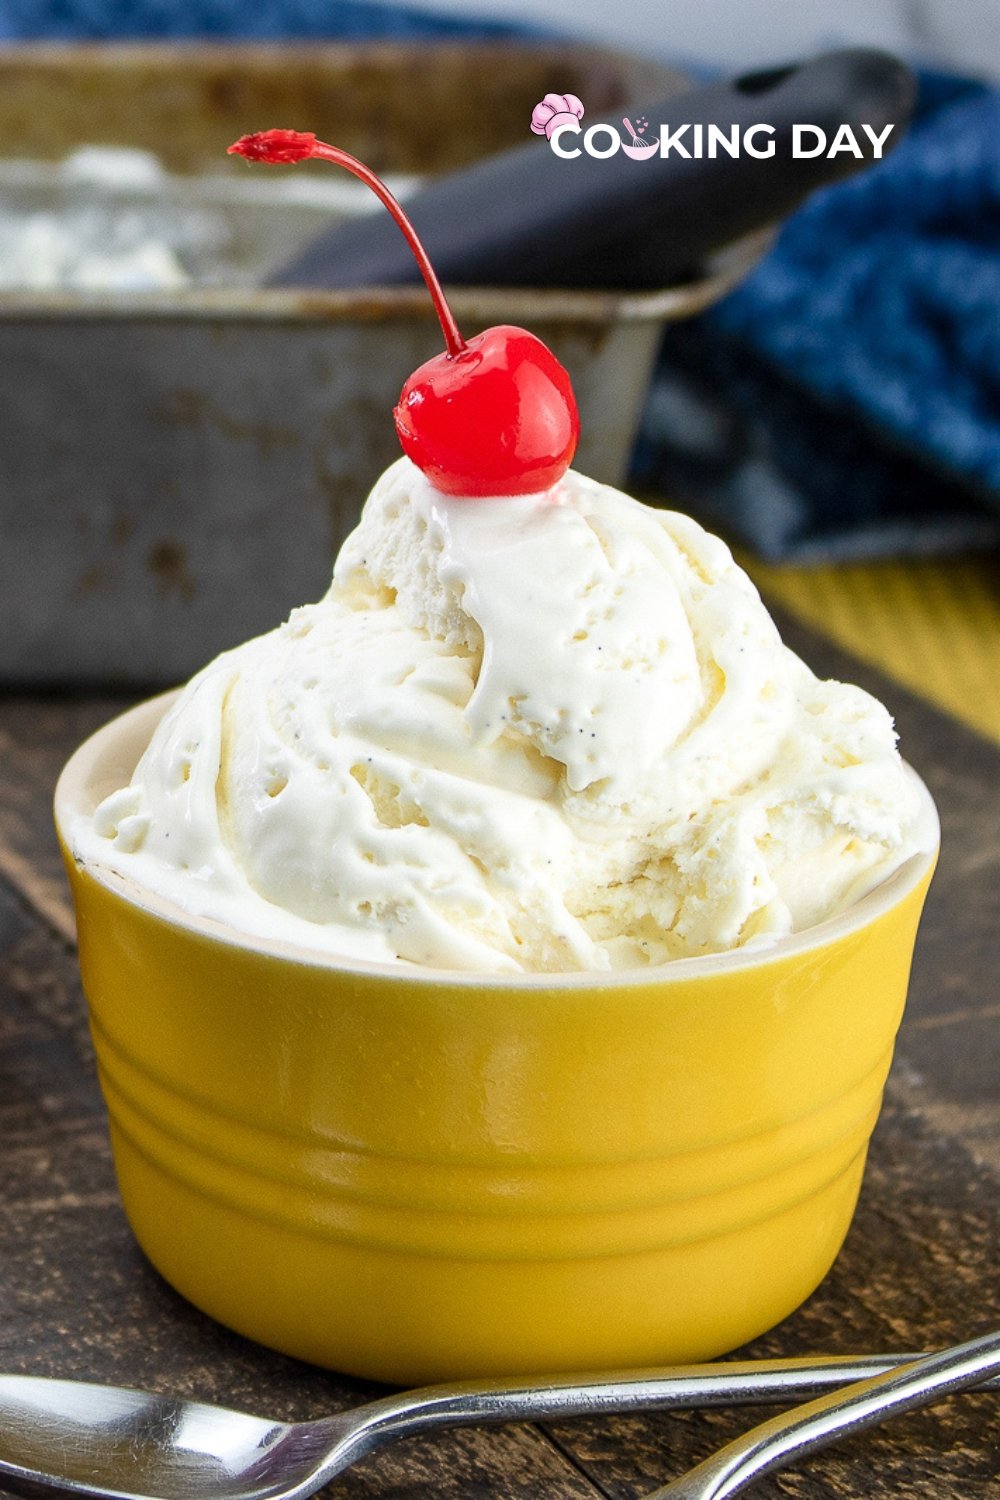
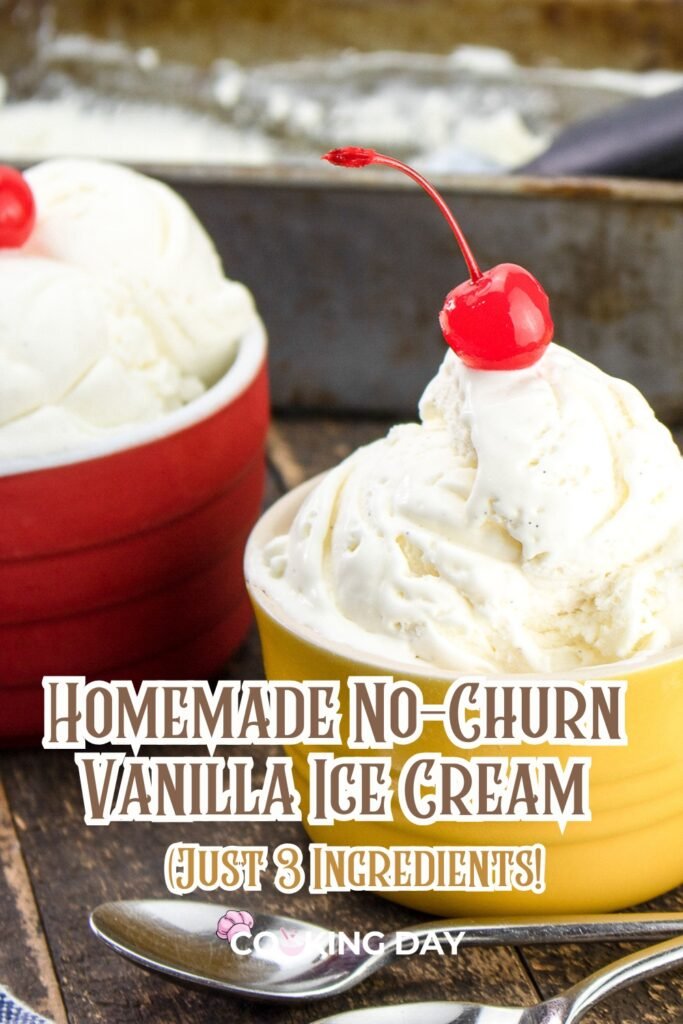
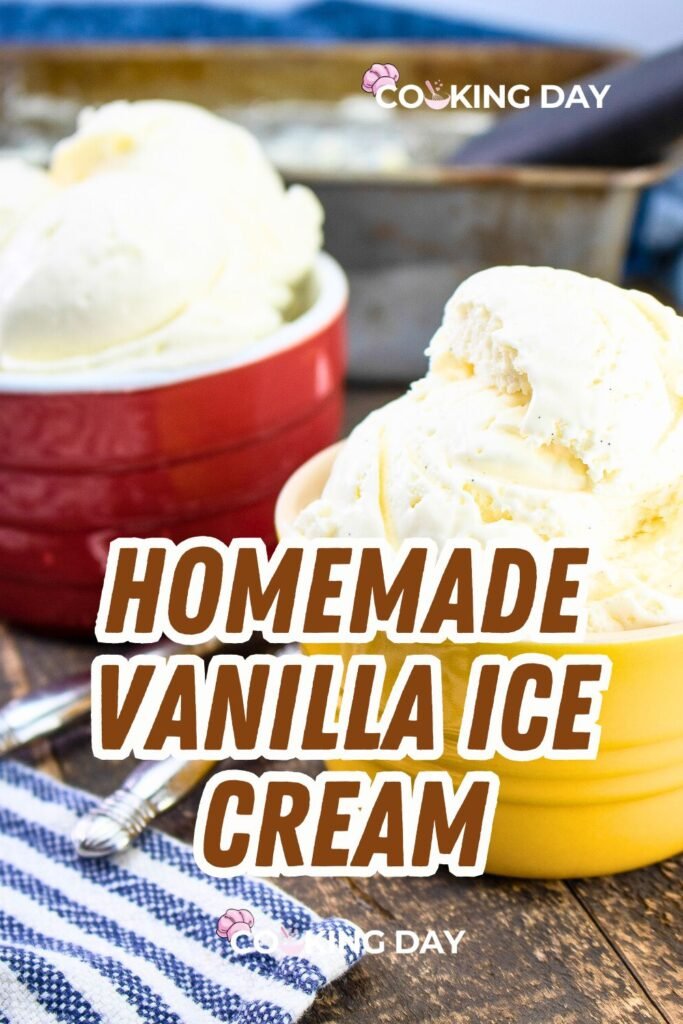
If you’re looking for a foolproof, ultra-creamy vanilla ice cream recipe without an ice cream maker, this is it! This No-Churn Vanilla Ice Cream is made with just three ingredients and requires only 10 minutes of prep before freezing. Infused with real vanilla bean for authentic flavor, it’s the perfect frozen treat for any occasion!
Rich, Creamy, and No Ice Cream Maker Needed!
Serve it in cones, bowls, or with your favorite desserts, and top it with whipped cream, nuts, or chocolate sauce for an extra indulgent touch!
Why You’ll Love This No-Churn Vanilla Ice Cream Recipe
✔ No Ice Cream Maker Required – Just mix, whip, and freeze!
✔ Ultra-Creamy Texture – Thanks to whipped cream and sweetened condensed milk.
✔ Pure Vanilla Flavor – Vanilla bean or pure extract creates deep, rich flavor.
✔ Versatile & Customizable – Add chocolate chips, caramel swirls, fruit, or cookie crumbles!
✔ Perfect for Any Occasion – A crowd favorite for summer treats or everyday indulgence.
Ingredients You’ll Need For your No-Churn Vanilla Ice Cream🛒
🍦 1 vanilla bean (or 2 teaspoons pure vanilla extract) – For authentic vanilla flavor.
🥛 2 cups heavy cream – The key to creamy, rich ice cream.
🍯 14 oz sweetened condensed milk – Adds sweetness and smoothness.
Optional Toppings (For Serving):
🍒 Whipped cream – Light and fluffy.
🌰 Chopped nuts – Almonds, pecans, or walnuts for crunch.
🍫 Chocolate syrup or caramel drizzle – For extra indulgence.
🍪 Crushed cookies – Oreos or shortbread make great mix-ins!
Step-by-Step Instructions
Step 1: Prepare the Vanilla Bean 🌿
1️⃣ Using a sharp knife, cut the vanilla bean in half lengthwise.
2️⃣ Carefully scrape out the seeds with the knife edge and set them aside.
3️⃣ If using vanilla extract, skip this step and set it aside for later.
Why Use Vanilla Bean? Vanilla beans give a stronger, deeper vanilla flavor compared to extract.
Step 2: Whip the Heavy Cream 🥣
1️⃣ In a large mixing bowl, beat heavy cream on high speed using an electric mixer.
2️⃣ Whip until stiff peaks form—this helps create a light and airy texture.
What Are Stiff Peaks? When you lift the beaters, the cream should hold its shape without falling over.
Step 3: Combine with Sweetened Condensed Milk 🥛
1️⃣ Gently fold the sweetened condensed milk into the whipped cream.
2️⃣ Add vanilla bean seeds (or vanilla extract) and stir until just combined.
✔ Be careful not to overmix—this keeps the ice cream light and fluffy!
Step 4: Freeze the Ice Cream ❄️
1️⃣ Pour the mixture into a bread pan or freezer-safe container.
2️⃣ Cover tightly with plastic wrap or a lid to prevent ice crystals from forming.
3️⃣ Freeze for at least 4 hours (or overnight for best results).
Pro Tip: For a softer texture, stir the ice cream once after 2 hours of freezing, then return to the freezer.
Step 5: Serve & Enjoy! 🍦
1️⃣ Remove the ice cream from the freezer 5 minutes before serving for easier scooping.
2️⃣ Scoop into bowls, cones, or serve alongside your favorite desserts.
3️⃣ Top with whipped cream, fruit, nuts, or chocolate sauce for extra flavor!
Perfect Pair With 🍰
🍏 Apple Pie or Lattice-Top Apple Pie – The classic warm + cold combo!
🍫 Brownies – Serve over warm brownies for a fudgy contrast.
🥞 Pancakes or Waffles – A breakfast dessert dream. We have one sweet and savory delight pancake which is the Authentic Ghanaian Pancakes. Promise you love it.
🍪 Cookies – Make an ice cream sandwich with fresh-baked cookies!
You can also pair it with Filipino Simple Turon (Banana Lumpia) or Cheese Turon (Cheese Banana Lumpia) – A Sweet & Savory Filipino Delight!
Amazon Finds: Essential Ice Cream-Making Tools 🔗
✔ Electric Hand Mixer – Perfect for whipping cream quickly.
✔ Mixing Bowl Set – Ideal for combining ingredients with ease.
✔ Bread Pan (for freezing) – Keeps ice cream frozen evenly.
✔ Vanilla Bean Pods – For pure, rich vanilla flavor.
✔ Ice Cream Scoop – Ensures perfect scoops every time!
Nutritional Value (Per Serving, Approximate)
- Calories: 250 kcal
- Carbohydrates: 25g
- Protein: 4g
- Fat: 15g
- Saturated Fat: 9g
- Sodium: 50mg
- Sugar: 24g
Healthier Option: Use low-fat condensed milk and replace half the heavy cream with Greek yogurt.
💡 Pro Tips for the Creamiest Ice Cream
Use High-Quality Vanilla – Vanilla bean is best, but pure extract works great too!
Don’t Overmix – Gently fold in the sweetened condensed milk to keep the texture light.
Want a Twist? Add chocolate chips, crushed cookies, or caramel swirls before freezing! Or just simple try this to No-Churn Chocolate Toffee Ice Cream – A Creamy, Crunchy, Indulgent Treat!
For a Softer Texture – Let sit at room temperature for 5 minutes before scooping.
Craving an Ice Cream Sundae? Top with hot fudge, whipped cream, and sprinkles!
Final Thoughts
This No-Churn Vanilla Ice Cream is an easy, foolproof recipe that delivers smooth, creamy, and rich vanilla flavor in every bite. Whether you’re making it for a summer treat, a birthday party, or just because, it’s the perfect homemade frozen dessert!
✨ Try this recipe today and enjoy a scoop (or two) of homemade goodness! ✨
Now It’s Your Turn!
Tried this recipe? Let me know how it turned out!
Share with family & friends who love ice cream!
Bookmark for your next homemade ice cream session!
Enjoy your creamy, dreamy, no-churn vanilla ice cream! 🍦✨
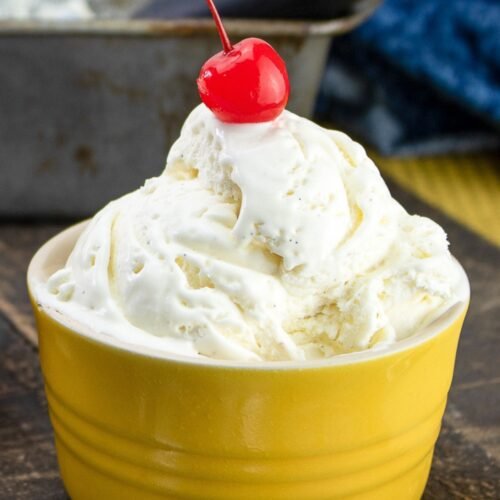
No-Churn Vanilla Ice Cream – Creamy, Smooth & Easy! 🍦
Equipment
- Mixing bowl
- Electric hand mixer or stand mixer
- Sharp knife (for vanilla bean)
- Spatula
- Bread pan or freezer-safe container
Ingredients
- 1 vanilla bean (or 2 teaspoons pure vanilla extract)
- 2 cups heavy cream
- 14 oz sweetened condensed milk
Optional Toppings (To Serve):
- Whipped cream
- Maraschino cherries
- Chopped nuts
- Chocolate syrup or caramel drizzle
Instructions
- Step 1: Prepare the Vanilla BeanUsing a sharp knife, cut the vanilla bean in half lengthwise.Carefully scrape out the seeds with the edge of the knife and set aside. (If using vanilla extract, skip this step.)
- Step 2: Whip the Heavy CreamIn a large mixing bowl, beat the heavy cream on high speed using an electric mixer until stiff peaks form. This creates a light and airy texture.
- Step 3: Combine with Sweetened Condensed MilkGently fold in the sweetened condensed milk and the vanilla bean seeds (or vanilla extract) into the whipped cream. Stir just until combined, being careful not to deflate the mixture.
- Step 4: Freeze the Ice CreamPour the mixture into a bread pan or a freezer-safe container.Cover tightly with plastic wrap or a lid and freeze for at least 4 hours (or overnight) until firm and scoopable.
- Step 5: Serve & Enjoy!Let the ice cream sit at room temperature for a few minutes before scooping for the perfect creamy texture.Serve in bowls, cones, or alongside your favorite desserts, topped with whipped cream, nuts, or fruit.
Notes
💡 Pro Tips for the Creamiest Ice Cream
✔ Use high-quality vanilla – Vanilla bean provides the richest flavor, but pure vanilla extract works great too.✔ Don’t overmix – Gently fold in the sweetened condensed milk to keep the ice cream light and airy.
✔ Want a twist? Add chocolate chips, crushed cookies, or caramel swirls before freezing!
✔ For a softer texture, scoop the ice cream 5 minutes after removing it from the freezer.