")
Some links on this page are affiliate links. This means we may earn a commission at no additional cost to you if you click through and make a purchase, you can check our Affiliate Disclosure. Thank you for your support!
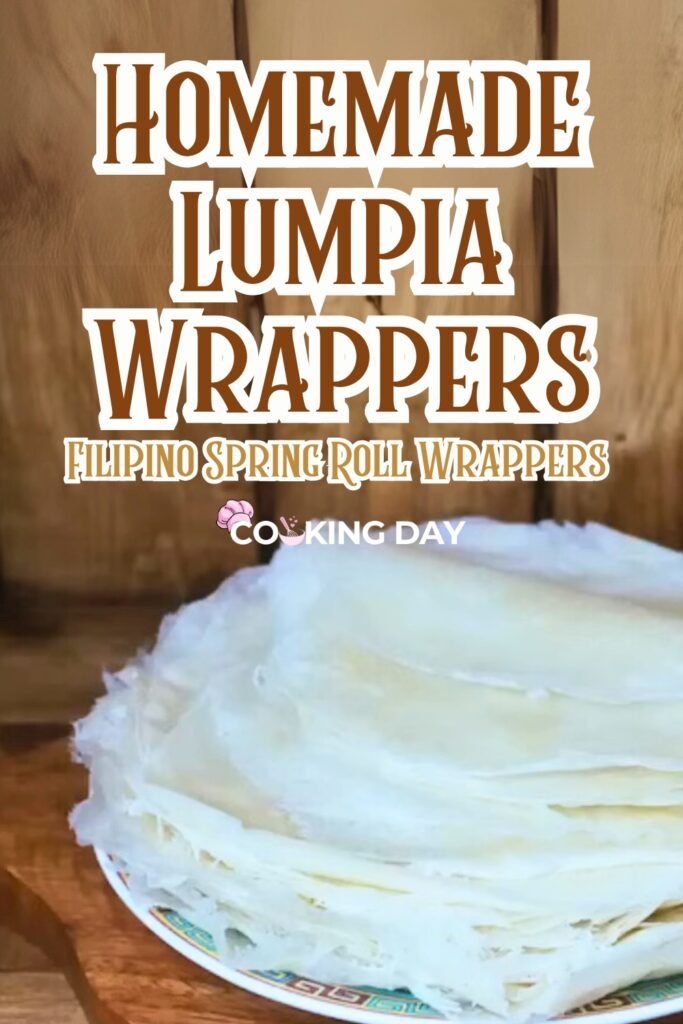
For many Filipino families, lumpia is more than just a dish. It’s the food that shows up at birthdays, holidays, family reunions, potlucks, and celebrations of every kind.
Whether it’s crispy Lumpiang Shanghai served at a party or fresh Lumpiang Sariwa enjoyed as a light meal, the wrapper plays an important role in the final result. While most people focus on the filling, a good lumpia wrapper is what holds everything together. It should be thin, flexible, and sturdy enough to roll without tearing.
What I love most about making homemade lumpia wrappers is how simple the ingredients are. With just flour, water, and a little patience, you can create fresh wrappers that are soft, pliable, and perfect for your favorite lumpia recipes.
While store-bought wrappers are convenient, homemade wrappers allow you to control the thickness and texture. They can be made exactly the way you like them and are surprisingly economical.
One thing I’ve learned is that patience makes all the difference. Keeping the batter smooth and cooking each wrapper gently over low heat creates soft, flexible wrappers that are much easier to work with later.
Let me show you how to make them step-by-step so they turn out thin, pliable, and perfect for everything from Lumpiang Shanghai to Lumpiang Sariwa.
Why This Recipe Works
This recipe works because it uses a simple batter that creates thin and flexible wrappers without requiring any special equipment.
All-purpose flour provides enough structure to hold fillings without tearing.
Water creates a light batter that spreads easily across the pan.
A small amount of salt adds flavor without affecting the texture.
A little oil helps improve flexibility and prevents the wrappers from becoming dry.
One thing I’ve noticed is that the consistency of the batter is more important than the ingredients themselves. A smooth, slightly runny batter spreads evenly and produces wrappers that are thin enough to roll while remaining strong enough to hold fillings.
The result is a wrapper that folds beautifully without cracking or breaking.
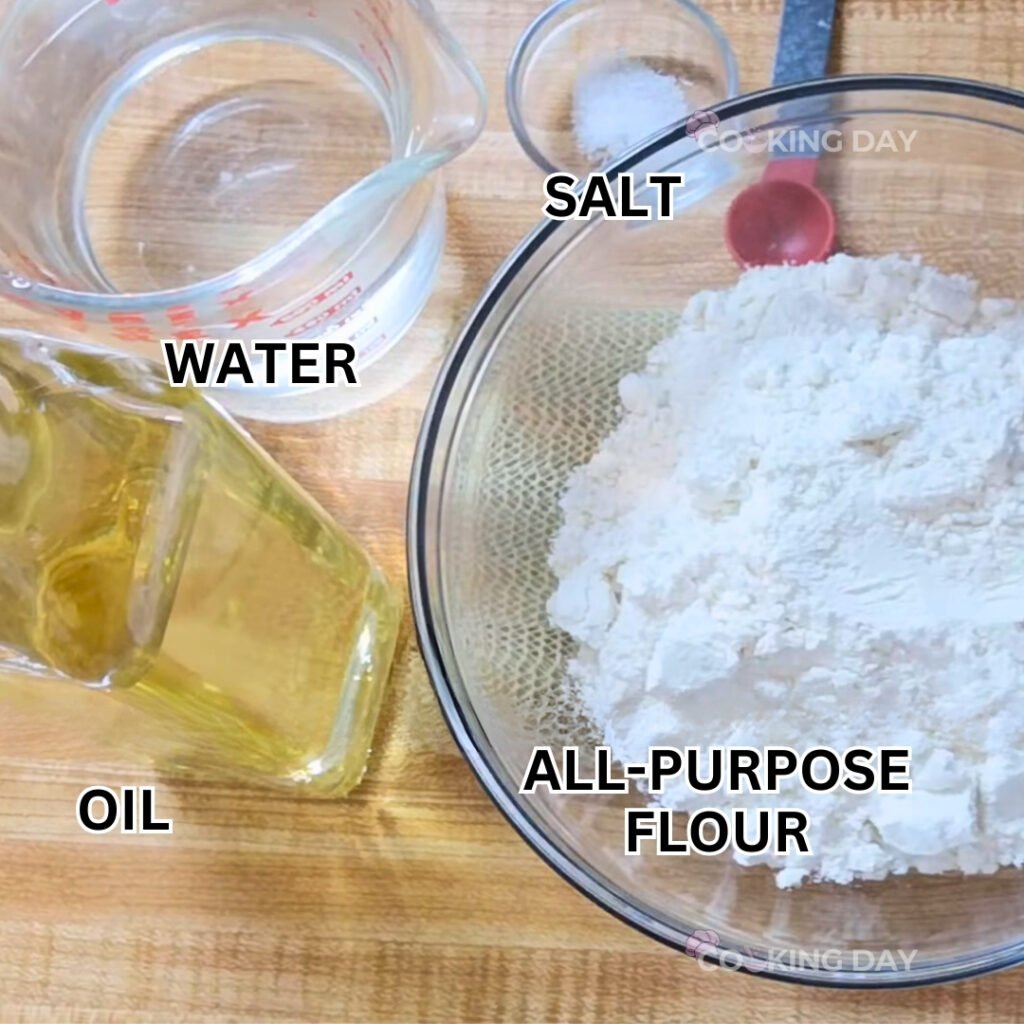
Ingredients
- 2 cups all-purpose flour
- 1½ cups water
- ½ teaspoon salt
- ½ teaspoon oil (optional)
Pro Tip: Adding oil helps create more pliable wrappers, perfect for wrapping without cracking.
Step-by-Step Instructions
Step 1: Prepare the Batter
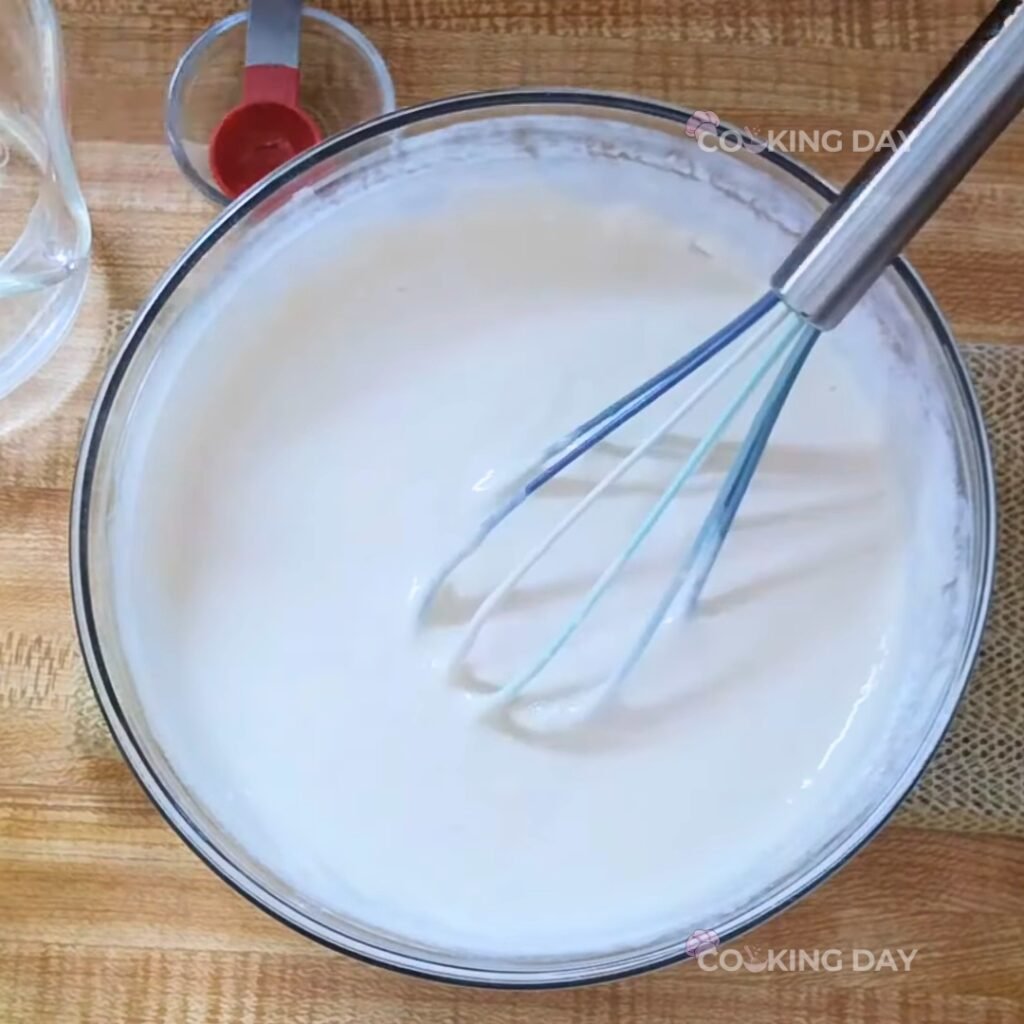
In a large mixing bowl, whisk together the flour and salt.
Gradually pour in the water while whisking continuously to prevent lumps from forming.
Add the oil if using.
Continue whisking until the batter becomes smooth and lump-free.
The batter should be thin and pourable, similar to a light crepe batter.
Consistency Tip: If the batter is too thick, add a little more water. If it’s too runny, add a bit more flour.
Step 2: Let the Batter Rest
Allow the batter to rest for about 10 minutes.
This simple step helps the flour fully absorb the liquid and often results in smoother wrappers.
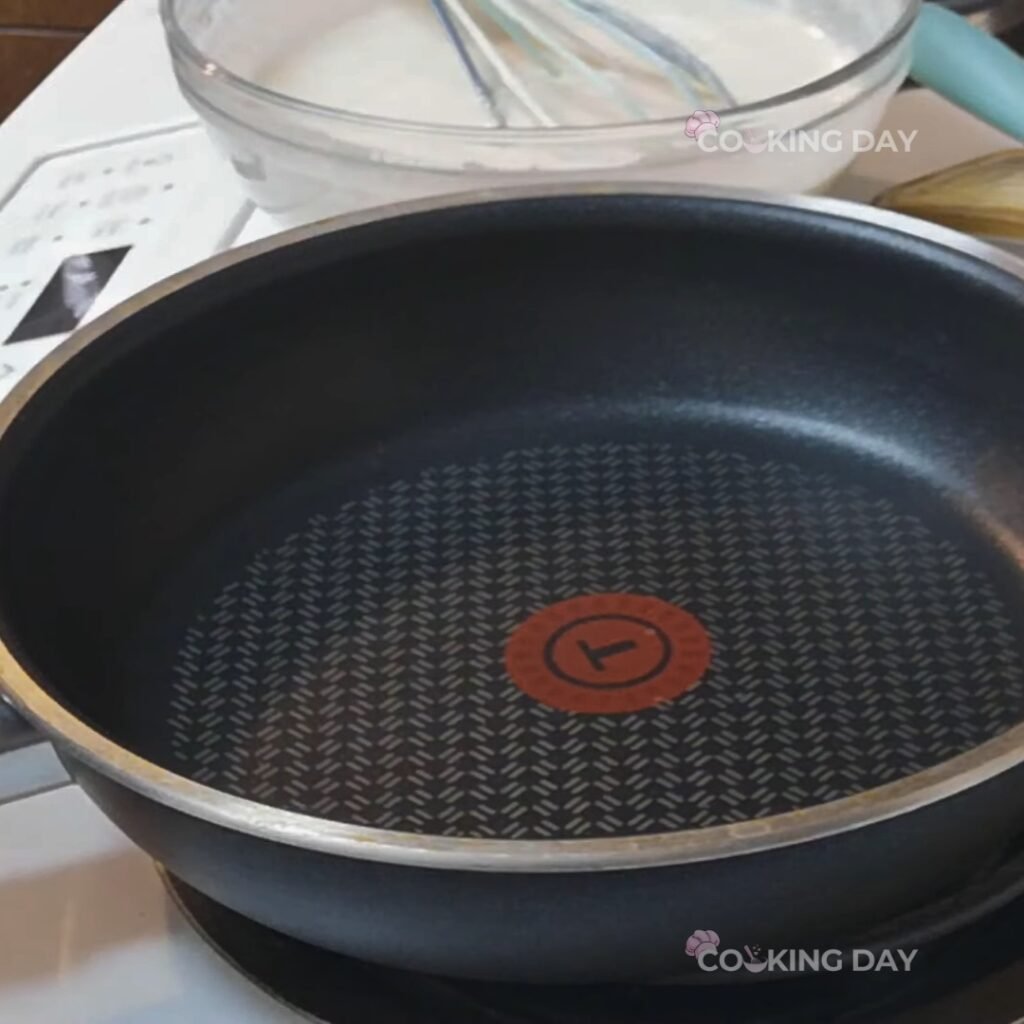
Step 3: Heat the Pan
Place a non-stick pan over low heat.
There is no need to grease the pan.
The surface should be warm but not overly hot.
Why Low Heat? This allows the batter to cook evenly without becoming too dry or crisp.
Step 4: Apply the Batter
Dip a pastry brush into the batter.
Using gentle circular motions, brush a thin layer of batter onto the surface of the pan.
Try to create an even circle with no large gaps.
The thinner the layer, the more flexible the finished wrapper will be.
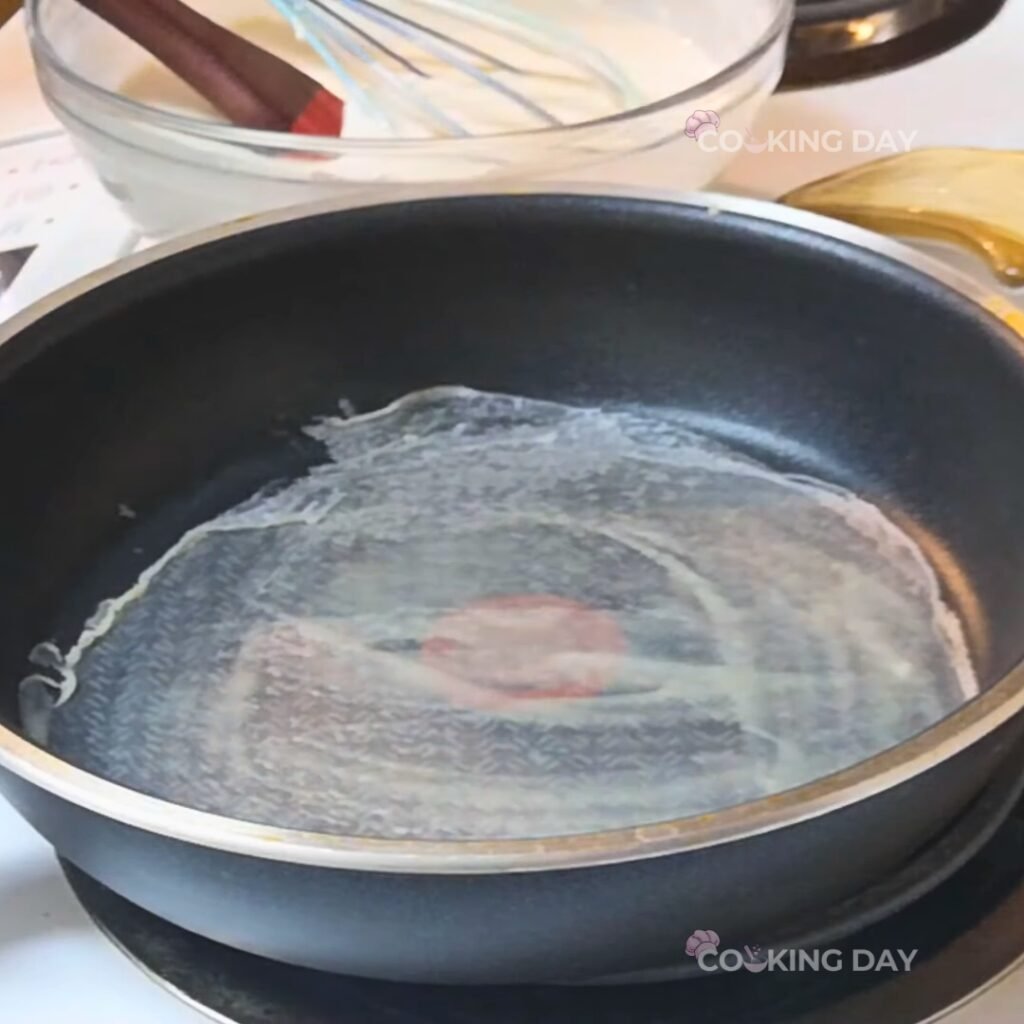
Step 5: Cook the Wrapper
Allow the wrapper to cook for about 30 to 40 seconds.
As it cooks, you’ll notice the edges beginning to lift away from the pan.
The surface should look dry but remain soft.
Step 6: Remove the Wrapper
Carefully lift one edge and gently peel the wrapper away from the pan.
The wrapper should release easily without sticking.
If it tears frequently, the batter may need a little more flour.
Step 7: Continue Making Wrappers
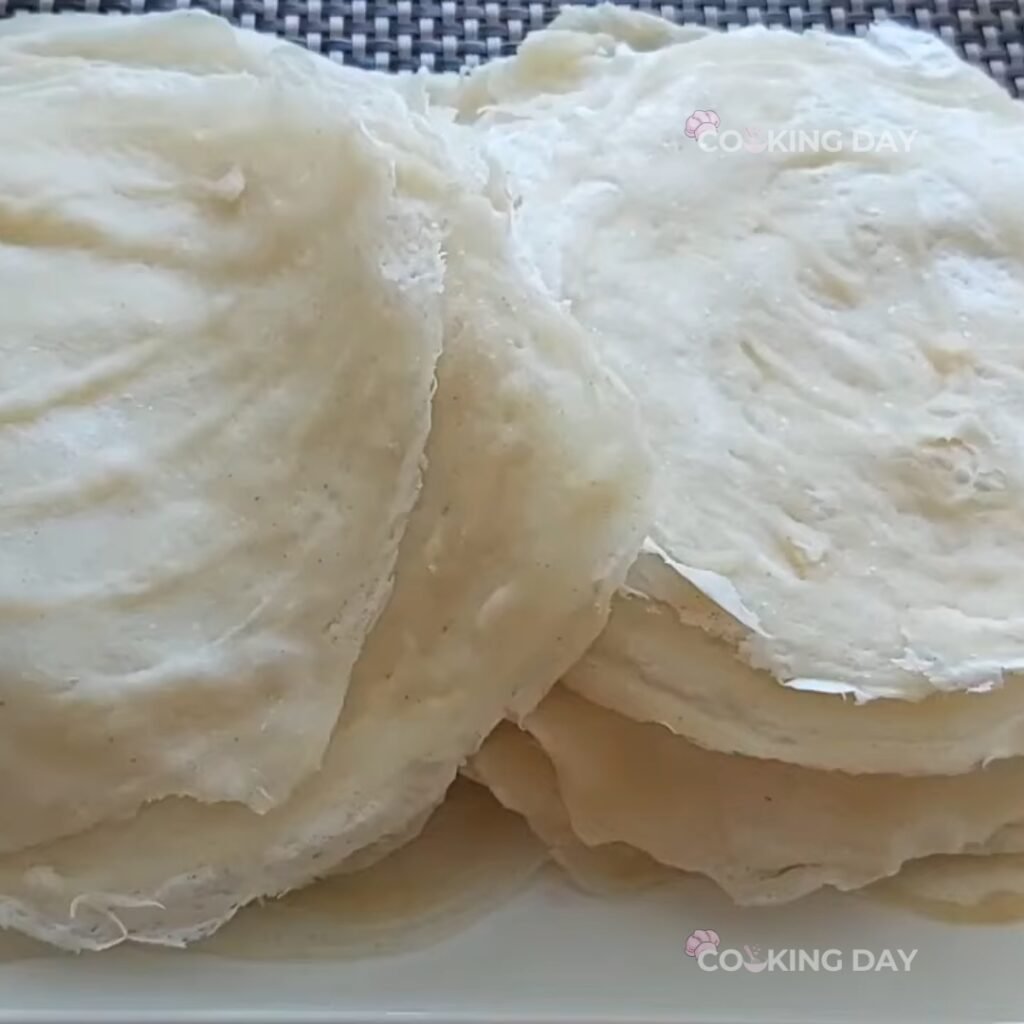
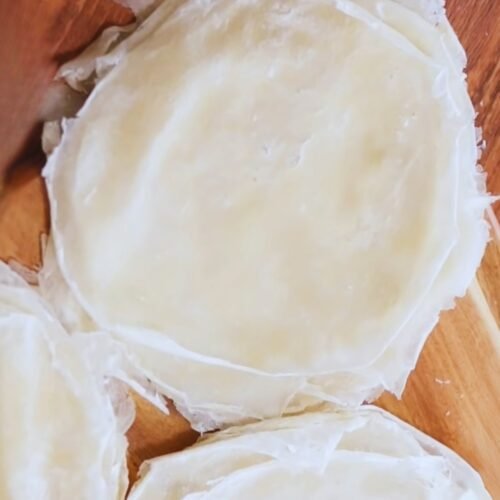
Transfer the finished wrapper to a plate.
Repeat the process with the remaining batter until all wrappers are cooked.
tep 8: Keep Them Soft
Cover the finished wrappers with a clean kitchen towel or paper towel while cooking the rest.
This prevents them from drying out and helps maintain flexibility.
Tips for Best Results
- Use a quality non-stick pan
- Keep the heat low throughout cooking
- Stir the batter occasionally while cooking
- Cover cooked wrappers immediately
- Allow the batter to rest before using
One thing I learned after making homemade lumpia wrappers several times is that the first wrapper is usually a test wrapper. If it feels too thick when rolled, simply thin the batter with a tablespoon or two of water before making the rest.
Taking a few extra seconds to adjust the batter early can make the entire batch easier to work with.
Common Mistakes to Avoid
Using High Heat
High heat can dry out the wrappers and make them brittle.
Making the Batter Too Thick
A thick batter produces wrappers that are heavy and difficult to roll.
Applying Too Much Batter
Thin layers create the best texture and flexibility.
Leaving Wrappers Uncovered
Fresh wrappers can dry out surprisingly fast if left exposed.
Skipping the Batter Rest Time
Allowing the batter to rest helps create smoother, more consistent wrappers.
Variations
Fresh Lumpia Wrappers
Make slightly larger wrappers for Lumpiang Sariwa.
Extra-Thin Lumpia Wrappers
Use a slightly thinner batter and spread very lightly.
Whole Wheat Wrappers
Replace part of the flour with whole wheat flour for a nuttier flavor.
Larger Spring Roll Wrappers
Brush larger circles for bigger lumpia varieties.
Ingredient Substitutions
- All-purpose flour → Cake flour for a softer wrapper
- Water → Part water and part milk for a slightly richer texture
- Oil → Vegetable oil or canola oil
- Salt → Fine sea salt
What to Use Homemade Lumpia Wrappers For
These wrappers are incredibly versatile and work well with many Filipino recipes.
Try using them for:
- Lumpiang Shanghai
- Lumpiang Gulay
- Lumpiang Sariwa
- Fresh vegetable spring rolls
- Chicken lumpia
- Cheese Turon (Cheese Banana Lumpia)
- Traditional Simple Banana Lumpia (Turon)
I especially enjoy using homemade wrappers for Lumpiang Sariwa because the soft texture complements the fresh fillings beautifully.
Storage Instructions
Allow the wrappers to cool completely before storing.
Stack them neatly and keep them covered with plastic wrap, parchment paper, or a slightly damp paper towel.
Store in an airtight container or sealed plastic bag in the refrigerator for up to 3 days.
Freezing Instructions
Place parchment paper between each wrapper to prevent sticking.
Transfer the stack to a freezer-safe bag or airtight container.
Freeze for up to 2 months.
Thaw overnight in the refrigerator before using.
Frequently Asked Questions
Why are my lumpia wrappers tearing?
The batter may be too thin, or the wrappers may be cooked too briefly. A slightly thicker batter often solves the problem.
Can I make lumpia wrappers ahead of time?
Yes. Homemade wrappers can be prepared several days ahead and stored in the refrigerator.
Why are my wrappers sticking to the pan?
The pan may not be fully non-stick, or the heat may be too high.
Can I freeze homemade lumpia wrappers?
Absolutely. Separate them with parchment paper before freezing to prevent sticking.
How thin should lumpia wrappers be?
They should be thin enough to roll easily while still being strong enough to hold the filling without tearing.
Can I fry these homemade lumpia wrappers?
Yes. Once filled and rolled, these wrappers fry beautifully and become crisp and golden. They are perfect for Lumpiang Shanghai and other fried lumpia varieties.
Can I use these wrappers for fresh lumpia?
Yes. These wrappers work very well for Lumpiang Sariwa and other fresh spring roll recipes.
Do I need a special pan?
No. A regular non-stick skillet works perfectly for making homemade lumpia wrappers.
Final Thoughts
Making your own Homemade Lumpia Wrappers may seem intimidating at first, but it’s actually a simple skill that becomes easier with practice.
With just a few pantry ingredients, you can create soft, flexible wrappers that work beautifully for a wide variety of Filipino dishes. Once you understand the batter consistency and brushing technique, the process becomes surprisingly straightforward.
One of the most rewarding parts of Filipino cooking is learning how foundational recipes like this come together from scratch. Homemade wrappers not only taste fresh, but they also give you complete control over the final texture.
Once you master homemade lumpia wrappers, you’ll have the foundation for countless Filipino favorites, from crispy Lumpiang Shanghai to fresh Lumpiang Sariwa. It’s a simple kitchen skill that pays off every time lumpia is on the menu.
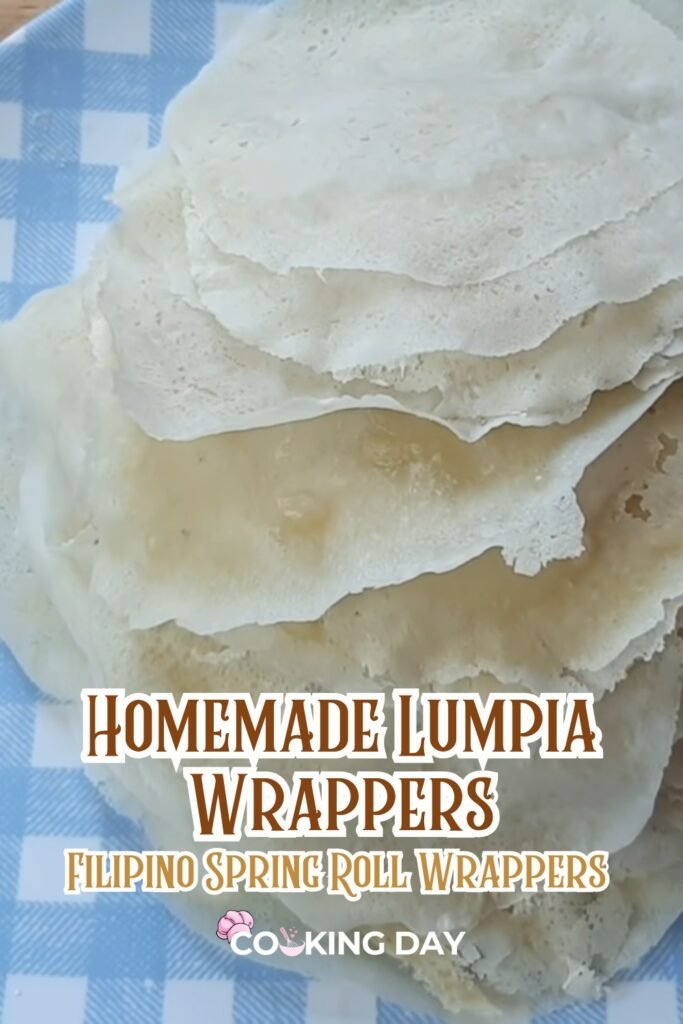
Homemade Lumpia Wrappers (Filipino Spring Roll Wrappers)
Equipment
- Mixing bowl
- Whisk
- Non-stick pan
- Basting brush or pastry brush
- Clean cloth or paper towel (for covering wrappers)
Ingredients
- 2 cups all-purpose flour
- 1½ cups water
- ½ teaspoon salt
- ½ teaspoon oil (optional, for flexibility)
Instructions
- Step 1: Prepare the Lumpia BatterIn a mixing bowl, whisk together flour and salt until well combined.Gradually add water while stirring continuously to prevent lumps.Add oil (if using) and mix until the batter is smooth and has a runny but not too watery consistency. It should be light and slightly sticky, but not thick.
- Step 2: Heat the PanHeat a non-stick pan over low heat. There is no need to grease the pan, as the batter is naturally non-stick.
- Step 3: Cook the WrappersUsing a basting brush or pastry brush, dip the brush into the batter and lightly brush a thin layer onto the pan. Use circular motions to form an even, round wrapper.Once the edges begin to lift and pop up, gently peel off the wrapper from the pan. This should take about 30-40 seconds per wrapper.If you prefer a thicker wrapper, apply another thin layer of batter over the first layer before peeling off.
- Step 4: Keep Wrappers Soft & FlexiblePlace cooked wrappers on a plate and cover with a clean cloth or paper towel to prevent drying out.Repeat the process with the remaining batter until all wrappers are cooked.
Notes
💡 Pro Tips for the Best Lumpia Wrappers
✔ Use a non-stick pan – This ensures smooth, even cooking without the need for oil.✔ Control the consistency – If the batter is too thick, add a little more water; if too runny, add a bit more flour.
✔ Keep the heat low – Cooking on low heat prevents the wrappers from drying out or cooking too quickly.
✔ Brush lightly – Applying too much batter at once can create thick, uneven wrappers. Use gentle, circular motions with the brush.
✔ Cover cooked wrappers – Keep them soft and pliable by covering them with a clean cloth while you cook the rest.