Some links on this page are affiliate links. This means we may earn a commission at no additional cost to you if you click through and make a purchase, you can check our Affiliate Disclosure. Thank you for your support!
Looking for a quick and easy dessert that’s perfect for kids and adults alike? These classic Rice Krispies treats are a timeless favorite! With just three simple ingredients—marshmallows, butter, and Rice Krispies cereal—you can whip up a batch of gooey, crispy goodness in no time. Perfect for parties, lunchbox snacks, or a sweet treat any time, this no-bake recipe is as fun to make as it is to eat!
Why You’ll Love This Recipe:
- Only 3 Ingredients: Butter, marshmallows, and Rice Krispies cereal—simple and pantry-friendly!
- No-Bake & Quick: Ready in under 10 minutes of prep, this is a perfect last-minute dessert.
- Kid-Friendly: Kids will love helping to make these treats and enjoy their sweet, crunchy texture.
Ingredient Highlights:
- Butter: Adds a rich, creamy flavor to balance the sweetness of the marshmallows.
- Marshmallows: Melt into gooey perfection, binding the cereal together for that iconic Rice Krispies treat texture.
- Rice Krispies Cereal: The crunch and crispiness make these treats extra delicious!

Nutritional Benefits of the Key Ingredients:
- Rice Krispies Cereal: A whole-grain cereal that adds a light crunch without overwhelming the sweetness.
- Marshmallows: While they provide the fun, gooey factor, they also offer a quick energy boost thanks to their sugar content.
Detailed Instructions:
Melt the Butter:
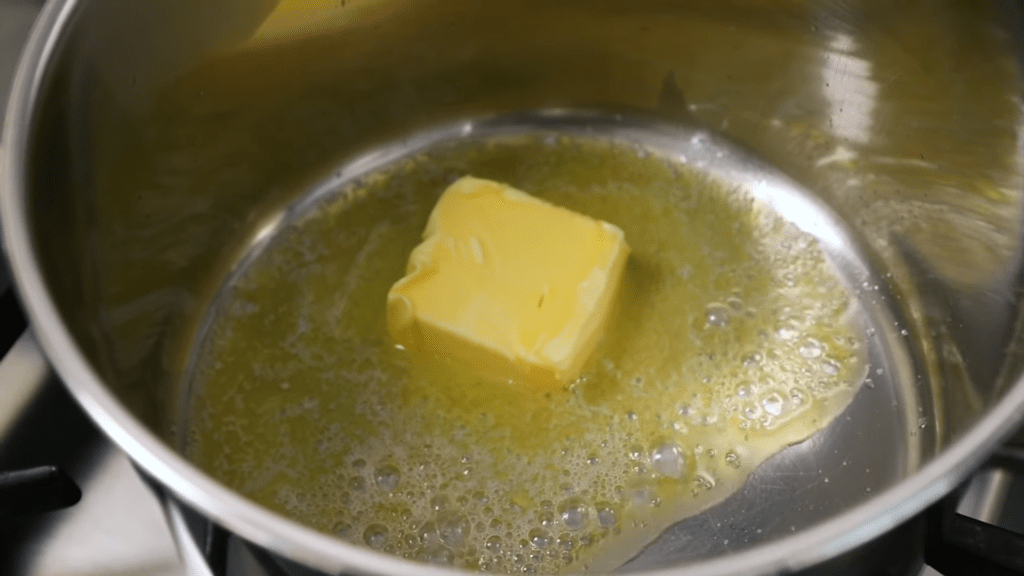
In a medium saucepan, melt the butter over low heat, making sure not to brown it. Low heat prevents burning and ensures a smooth, silky texture.

Add the Marshmallows:
Once the butter is melted, add the marshmallows to the pan.

Stir continuously until they’re completely melted and smooth. This is the base of your gooey mixture, so make sure there are no lumps!

Stir in the Rice Krispies:
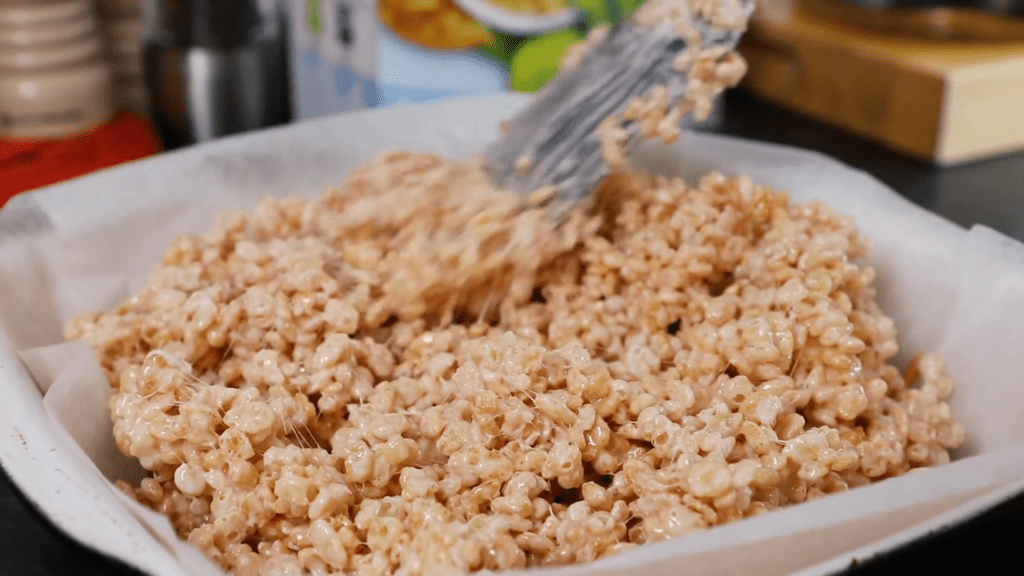
Keeping the pan over low heat, fold in the Rice Krispies cereal until every piece is coated in the marshmallow-butter mixture. Be gentle while stirring to avoid crushing the cereal.

Transfer to a Dish:
Remove from heat and pour the mixture into a prepared dish lined with parchment or greaseproof paper. Press down lightly with a spatula to spread the mixture evenly.

Level the Mixture:
Use a spatula or knife to flatten and level the top of the mixture, making sure it’s packed evenly for consistent squares.

Set the Treats:
Let the Rice Krispies treats sit in a cool place or in the fridge until firm. This usually takes about 30 minutes.
Cut into Squares:
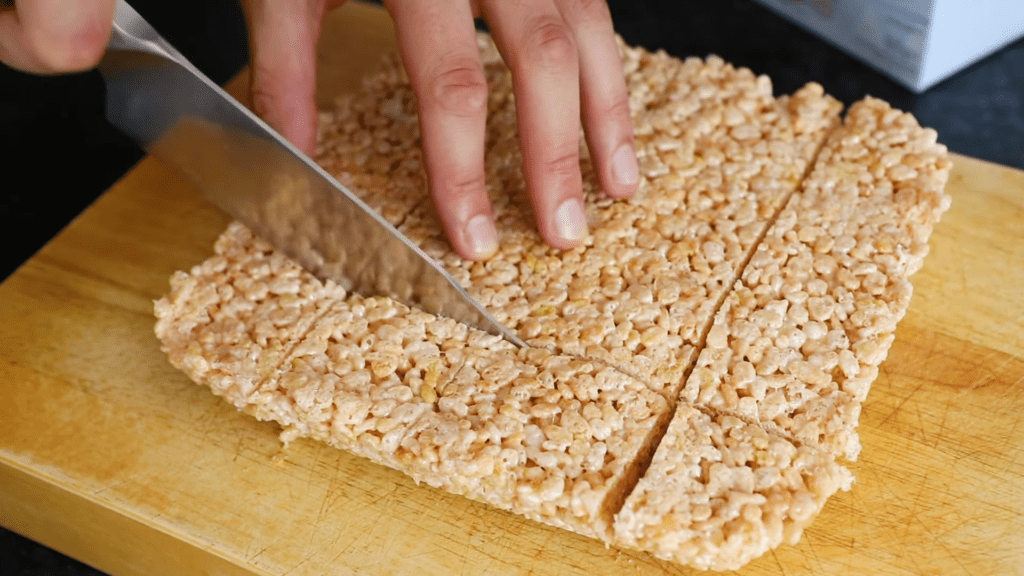
Once set, lift the mixture out of the dish using the parchment paper, and slice into 12 squares. Enjoy!

Cooking Tips & Techniques:
- Stir Constantly: When melting the marshmallows and butter, keep stirring to prevent burning and ensure a smooth, gooey mixture.
- Press Gently: When spreading the mixture into the dish, don’t press too hard. This helps keep the treats light and airy instead of dense.
- Non-Stick Tip: Grease your spatula or hands with a bit of butter or oil to make it easier to spread the mixture without sticking.
How to Perfect the Recipe: Common Mistakes to Avoid:
- Don’t Overheat the Marshmallows: Overheating can cause the marshmallow mixture to become too hard, making your treats tough instead of chewy.
- Avoid Packing Too Tight: Press the mixture down firmly, but not too tight. Over-pressing can result in dense, hard treats.
How to Serve It:
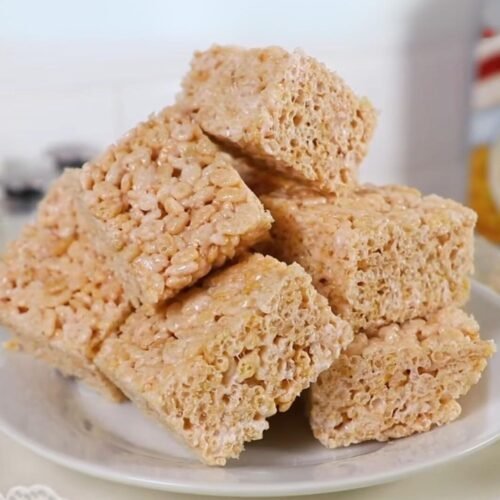
Serve these classic Rice Krispies treats at room temperature, cut into squares or fun shapes using cookie cutters. They’re perfect for birthday parties, holiday gatherings, or as a quick after-school snack!
ALSO READ: Party Perfect: Discover 25+ Finger Foods and Appetizers to Wow Your Guests!
Diet-Friendly Options:
- Gluten-Free: Use certified gluten-free Rice Krispies cereal for a gluten-free version.
- Dairy-Free: Substitute the butter with a dairy-free alternative like coconut oil or vegan butter.
Best Ways to Store and Reheat:
- Storage: Store your Rice Krispies treats in an airtight container at room temperature for up to 3 days to maintain their freshness.
- Reheating: These treats are best enjoyed at room temperature, but if needed, you can warm them slightly in the microwave for about 5-10 seconds to bring back the gooey texture.
Recipe Variations:
- Chocolate Rice Krispies Treats: Add 1/2 cup of chocolate chips to the melted marshmallow mixture or drizzle melted chocolate over the top for an extra indulgent treat.
- Sprinkle Fun: Mix colorful sprinkles into the marshmallow mixture or sprinkle them on top before the treats set for a festive touch.
- Peanut Butter Twist: Stir 1/4 cup of peanut butter into the marshmallow mixture for a delicious peanut butter flavor.
Common Questions Answered:
- Can I use mini marshmallows? Yes, mini marshmallows melt faster, making them a great option for this recipe.
- Can I freeze Rice Krispies treats? It’s best to enjoy these treats fresh, but you can freeze them by wrapping individual squares tightly in plastic wrap and placing them in a freezer-safe bag for up to 1 month.
- How do I prevent the treats from sticking to my hands? Lightly grease your hands with butter or oil before pressing the mixture into the dish to prevent sticking.

Classic Rice Krispies Treats: The Easiest 3-Ingredient No-Bake Recipe!
Equipment
- Medium saucepan
- Spatula or knife
- Oven dish lined with greaseproof or parchment paper
Ingredients
- 45 g butter
- 250 g marshmallows
- 165 g Rice Krispies cereal
Instructions
- Melt the Butter:In a medium saucepan, melt the butter over low heat on the stove.
- Add the Marshmallows:Once the butter is melted, add the 250g of marshmallows to the saucepan. Stir continuously until the marshmallows have fully melted and the mixture is smooth and gooey.
- Stir in the Rice Krispies:Keeping the pan over low heat, gently fold in the 165g of Rice Krispies cereal. Stir until the cereal is fully coated with the marshmallow mixture.
- Transfer to a Dish:Remove the pan from heat. Pour the marshmallow-coated Rice Krispies into a dish lined with greaseproof or parchment paper.
- Level the Mixture:Use a spatula or the back of a knife to evenly spread and compact the Rice Krispies mixture in the dish until the top is flat.
- Set the Treats:Let the Rice Krispies treats set. You can either place them in the fridge to chill or leave them in a cool, covered place until firm.
- Cut into Squares:Once the treats have set, peel back the parchment paper and cut the giant Rice Krispies square into 12 smaller squares.
Notes
- Feel free to get creative by adding extra ingredients like chocolate chips, sprinkles, or a drizzle of melted chocolate on top for added flavor and fun.
- Store any leftover Rice Krispies treats in an airtight container for up to 3 days.

