Some links on this page are affiliate links. This means we may earn a commission at no additional cost to you if you click through and make a purchase, you can check our Affiliate Disclosure. Thank you for your support!
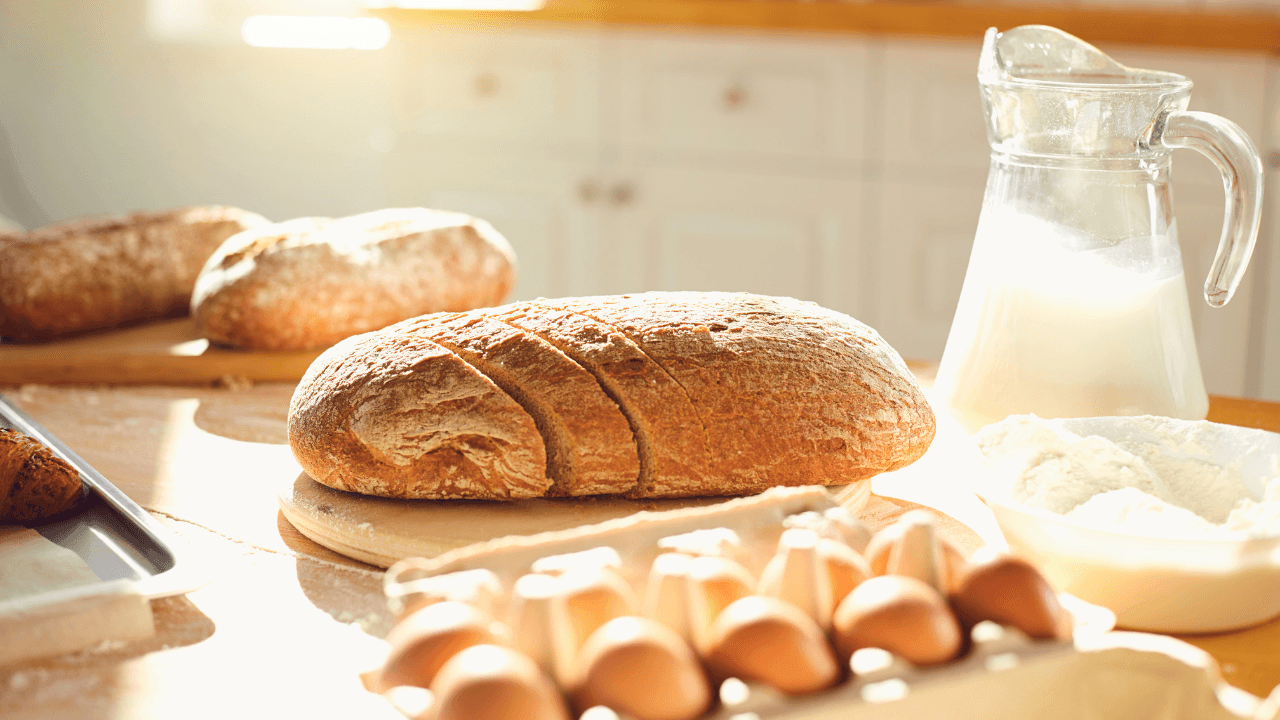
Has the smell of freshly bake bread ever seemed so inviting and warm in your kitchen?
Baking bread from scratch is not only deeply satisfying but also adds a touch of homemade love to your meals. If you’re a newbie to the world of bread-making, you’re in for a treat! In this beginner’s guide, we’ll dive into the simple joy of learning to bake bread.
Although baking bread is an art, anyone can become proficient at it with some practice. Think about it: with just a few basic ingredients, you can create a variety of breads – from a crusty baguette to a soft, fluffy loaf.
Plus, there’s nothing quite like the taste of bread that you’ve baked yourself. It’s fresher, healthier, and, let’s be honest, way more rewarding than store-bought.
So, are you ready to embark on this delicious journey? Let’s get started with our focus on how to bake bread, especially designed for beginners like you. Trust me, by the end of this, you’ll be baking bread like a pro! 🌟
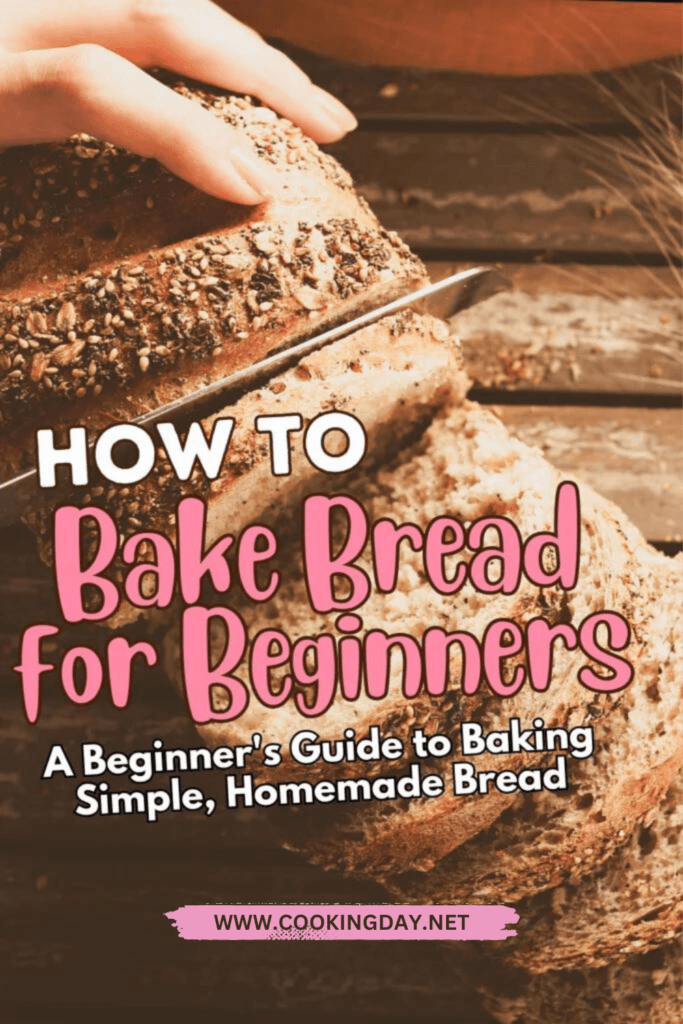
Understanding the Basics of Bread Making
When you decide to bake bread, knowing the basic ingredients and tools is like having a roadmap – it makes the journey smoother and more enjoyable. Let’s get to know these essentials!
Key Ingredients in Bread Making
Flour: This is the main building block of your bread. It gives structure. Most recipes use all-purpose or bread flour, but feel free to experiment with whole wheat for a healthier twist. 🌾
Yeast: Think of yeast as the magic ingredient that makes your bread rise and get fluffy. There’s active dry yeast and instant yeast – both work well, so pick what’s handy.
Salt: Salt does more than just add flavor; it also controls the yeast activity and strengthens the dough. Just a pinch does the trick!
Water: Water activates the yeast and binds everything together. The amount can vary, so follow your recipe closely. 💧
Optional Ingredients: Want to jazz up your bread? Add-ins like seeds, nuts, or dried fruits can turn a simple loaf into a gourmet treat.
Essential Tools and Equipment to Bake Bread

Baking bread doesn’t need fancy gadgets. Here are some basics to get you started:
Mixing Bowls: Where all your ingredients come together. One or two large bowls should be enough.
Measuring Cups and Spoons: Baking requires precision, so measure your ingredients carefully.
Baking Pans: Depending on what bread you’re making, you might need a loaf pan, a baking sheet, or even just a flat tray.
Dough Scraper: This is handy for handling and dividing dough, but if you don’t have one, a good old spatula or even your hands will work.
Kitchen Scale (Optional): A kitchen scale can be your baking best friend if you’re a precise person.
With these ingredients and tools at the ready, you’re all set to start your bread-making adventure. Remember, baking is fun, so relax and enjoy the process on how to bake bread.
Preparing Your Dough
Now that we’ve got our ingredients and tools ready, it’s time to get your hands doughy! Don’t worry, preparing dough is easier than you might think. Let’s break it down into two main steps: mixing the ingredients and kneading the dough.
Mixing the Ingredients
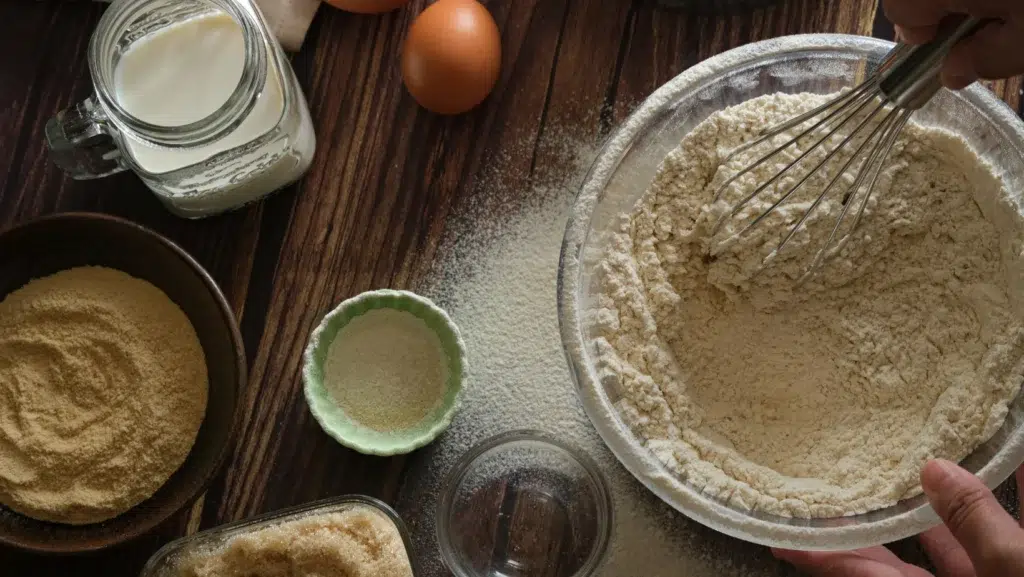
Start Simple: First, in a large bowl, combine your flour and salt. Mix these dry ingredients well.
Activate the Yeast: In another bowl, gently mix the yeast with warm water. Not too hot, or you’ll upset the yeast! Think baby-bath warm.
Combine and Mix: Pour the yeast-water mixture into your flour. Use a sturdy spoon (or your hands) to mix until everything starts to come together.
Check the Consistency: Your dough should be a bit sticky, but not too wet. If it’s too dry, add a splash more water. Too sticky? Sprinkle in a little more flour.
Kneading the Dough
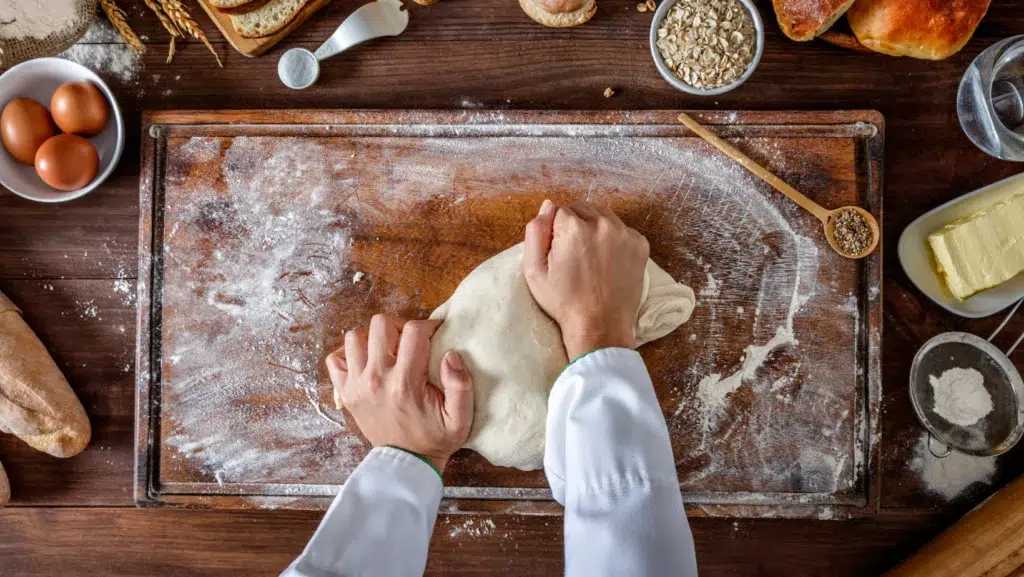
Flour Your Surface: Sprinkle some flour on your clean countertop or a large cutting board.
Let’s Knead: Place your dough on the floured surface. Push it forward with the heel of your hand, then fold it back on itself. Turn it a bit, and repeat. Keep going for about 10 minutes. You’re looking for a smooth, elastic texture.
Don’t Rush: Kneading develops gluten, which gives bread its texture. If your arms get tired, take a short break, but keep at it.
First Timer Tip: If the dough sticks to your hands or surface, add a little more flour. But just a little – too much can make the bread dense.
Kneading might feel a bit challenging at first, but it’s super rewarding. Think of it as a mini-workout before you get to eat delicious, homemade bread! 🍞💪
Remember, baking bread is about enjoying the process as much as the result. So, take your time, follow these steps, and you’ll be a dough pro in no time!
The First Rise
After mixing and kneading, it’s time for your dough to take its first nap, also known as the first rise. This step is where the magic of yeast fermentation turns your dough into a light and airy delight.
Understanding Yeast Fermentation
The Role of Yeast: Yeast is a tiny powerhouse. When it eats the sugars in your flour, it produces carbon dioxide gas. This gas gets stuck in the dough, which makes it rise and get fluffy.
The Rising Process: For now, just put the dough you worked with in a bowl that has been greased.After that, put a clean cloth or plastic wrap over it and let it sit. Yeast works best in a warm, draft-free spot.
Tips for a Successful First Rise
Right Temperature: Yeast loves warmth (around 75-85°F or 24-29°C). Too cold, and it’ll be sluggish. Too hot, and it might get killed. A cozy spot in your kitchen should do the trick.
Time is Key: Patience is important. The first rise usually takes about 1-2 hours, but don’t clock-watch. Instead, look for the dough to double in size.
Check the Size: To see if it’s risen enough, gently poke the dough with a finger. If the indentation stays, it’s ready for the next step. If it springs back quickly, give it more time.
Avoid Drafts: Keep your rising dough away from open windows or doors. Sudden cold drafts can make yeast unhappy.
Remember, the first rise is your dough’s time to develop flavor and texture. So, let it rise peacefully and it will reward you with delicious bread.
Shaping and Second Rise
Alright, your dough has risen beautifully, and it’s time to shape it and let it rise again. This part is where you can really start to see your bread take shape – literally! Let’s get those loaves or rolls ready for the oven.
How to Shape Your Bread
Gently Deflate: First, take your dough out of the bowl and give it a gentle press to deflate it a bit. This helps to even out the air bubbles.
Shape Your Loaf: For a basic loaf, shape your dough into a rectangle, then roll it up tightly, tucking the ends under. For rolls, divide the dough and roll each piece into a ball or your desired shape.
Be Gentle: When shaping, handle the dough softly. You want to keep some of those air bubbles for a light and fluffy texture.
Preparing for the Second Rise
Transfer to a Pan: After shaping the dough, put it in a loaf pan that has been greased or on a baking sheet if you want to make rolls.
Cover and Rest: Cover the dough with a clean cloth or plastic wrap again. This keeps the surface from drying out.
Let it Rise Again: Now, let the dough rise until it’s nearly doubled in size. It takes between 30 minutes and an hour, but keep an eye on it. When the dough is puffy and fills the pan well, it’s ready.
Check the Temperature: Like the first rise, keep your dough in a warm, draft-free spot for the best results.
Patience is Key: Don’t rush this step. The second rise makes your bread lighter and ensures it doesn’t collapse when baked.
And there you go! You’re now ready to bake bread that not only tastes great but looks amazing too. Remember, baking is all about enjoying the process, so have fun shaping and watching your dough transform!
Baking Your Bread
Now comes the most exciting part – baking your bread! This is where you transform your dough into a golden, delicious loaf. Follow these simple steps to ensure your bake bread comes out perfectly.
Preheating and Baking

Preheat the Oven: Before you do anything else, get the oven ready. The temperature usually ranges between 350°F to 475°F (175°C to 245°C), depending on your recipe.
Position Your Dough: Place your dough in the middle of the oven. This helps in even baking. If you’re making rolls or a smaller loaf, keep an eye on them, as they might bake faster.
Set a Timer: Baking time varies. A small loaf can take about 30 minutes, while a larger one might need up to an hour. Trust your recipe’s timing as a guide.
Create Steam (Optional): For a crispier crust, some bakers like to create steam by placing a pan of water in the oven or spraying the oven walls with water right before baking.
How to Tell When Your Bake Bread is Done
Golden Brown Color: Look for a golden brown crust. This usually indicates your bake bread is done.
Tap the Bottom: Carefully take the bread out (it’s hot!) and tap the bottom. If it sounds hollow, it’s ready.
Check the Internal Temperature: If you have a food thermometer, the bread should be between 88°C and 99°C (190°F to 210°F) on the inside.
Cooling is Crucial: After taking your bread out, let it cool on a wire rack. Cutting into hot bread can release steam and make the inside gummy.
And that’s it! You’ve just baked your own bread. Remember, every oven is different, so it might take a few tries to get it perfect. But trust me, the smell of freshly baked bread in your kitchen is totally worth it!
Cooling and Storing Your Bake Bread
After you’ve mastered baking bread, it’s crucial to know how to cool and store it properly. These steps ensure your bread stays as delicious as the moment it came out of the oven. Let’s dive into the best practices for cooling and storing your homemade bake bread.
Proper Cooling Techniques
Use a Wire Rack: Once your bread is baked, transfer it to a wire rack. This lets air circulate all around the bread, cooling it evenly.
Resist the Temptation to Cut Immediately: I know, it’s tough, but wait for at least 20-30 minutes before slicing. Cutting too soon can result in a gummy texture.
Cool Completely for Storage: If you plan to store the bread, let it cool completely. This can take a couple of hours but is essential to prevent moisture build-up in your storage container or bag.
Storage Tips for Freshness
Wrap it Up: Once cool, wrap your bread in a clean cloth or a bread bag. Plastic bags can be used, but they might soften the crust.
Avoid the Fridge: While it seems like a good idea, refrigerating bread actually makes it go stale faster. Room temperature is best for short-term storage.
Freeze for Longer Shelf Life: If you won’t finish the bread within a few days, freezing is a great option. Slice it first, then freeze in airtight bags. Slices can be toasted right from the freezer!
Revive Stale Bread: If your bread does go a bit stale, don’t worry! Refresh it in the oven at 350°F (175°C) for about 10 minutes, or make some amazing French toast or croutons.
By following these cooling and storing tips, your homemade bread will stay fresh and tasty for longer.
Troubleshooting Common Bread Baking Problems
Baking bread can sometimes feel like a bit of a mystery, but don’t worry! If you encounter a hiccup along the way, it’s usually something that can be easily fixed. Let’s go through some common bread baking issues and how to solve them, so your next bake bread is even better!
ALSO READ: Deliciously Moist Pecan Zucchini Bread Recipe You Must Try
Identifying and Fixing Common Issues
Dense or Heavy Bake Bread
The Cause: Often, this is due to under-kneading or not enough yeast.
The Fix: Make sure you knead your dough enough to develop the gluten. Also, check your yeast’s expiration date to ensure it’s still active.
Bread Not Rising
The Cause: This could be because of old yeast, or the environment might be too cold.
The Fix: Always proof your yeast if you’re unsure about its activity. Also, find a warmer spot for your dough to rise.
Bake Bread Rises and Collapses
The Cause: Over-proofing is usually the culprit here.
The Fix: Keep an eye on your dough during the second rise. If it doubles in size, it’s time to bake!
Crust is Too Hard
The Cause: Over-baking or too high oven temperature can cause this.
The Fix: Use an oven thermometer to check your oven’s accuracy and follow the recommended baking time.
Uneven Baking
The Cause: This can happen due to uneven oven temperature or incorrect placement of the bread in the oven.
The Fix: Rotate your bread halfway through baking, and make sure it’s placed in the center of the oven.
Crumbly Bread
The Cause: This might be because of too much flour or under-hydration.
The Fix: Don’t guess how much to add; if the dough feels too dry as you mix it, add a little more water.
Remember, baking bread is a learning process. Each bake teaches you something new. So, don’t get discouraged if things don’t turn out perfect the first time. With practice, you’ll soon be baking bread like a pro!
ALSO READ: How to Make Homemade Ice Cream Without a Machine
Simple Recipes to Get You Started
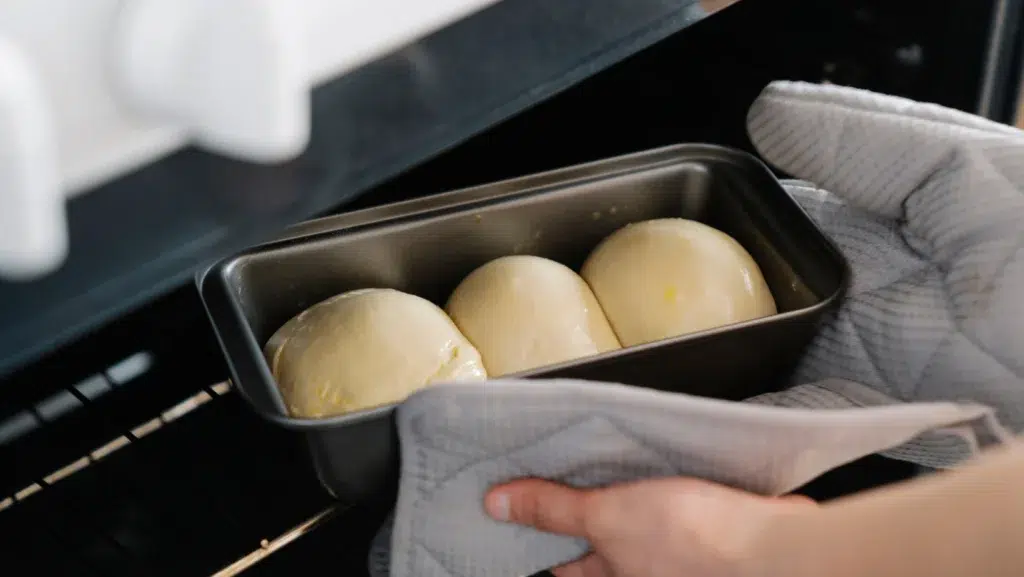
Ready to put your new bread-baking skills to the test? Here are two simple yet delicious recipes to get you started. Whether you’re a fan of classic white bread or looking to try something a bit healthier with whole wheat, these recipes are perfect for beginners. Let’s bake bread!
Basic White Bake Bread Recipe
Ingredients:
3 cups all-purpose flour
1 tablespoon sugar
1 teaspoon salt
1 packet (2¼ tsp) active dry yeast
1 cup warm water
2 tablespoons olive oil or melted butter
Instructions:
Mix Dry Ingredients: Mix the yeast, sugar, salt, and flour in a large bowl.
Add Water and Oil: Stir in warm water and olive oil until a dough forms.
Knead the Dough: Work the dough on a floured surface for ten minutes.
First Rise: Place plastic wrap over the dough and let it rise until it grows twice as big. This should take about one to two hours.
Shape and Second Rise: It’s time to let the dough rise again. Put it in a loaf pan that has been greased and let it sit for about 30 minutes.
Bake: For 25 to 30 minutes, or until the bread turns golden brown, heat the oven to 190°C (375°F).
Whole Wheat Bake Bread Variation
Ingredients:
2 cups whole wheat flour
1 cup all-purpose flour
1 tablespoon sugar
1 teaspoon salt
1 packet (2¼ tsp) active dry yeast
1¼ cups warm water
3 tablespoons olive oil or melted butter
Instructions:
Mix Ingredients: Combine the flours, sugar, salt, and yeast in a bowl.
Add Liquids: Mix in warm water and oil or butter to form a dough.
Knead: Knead on a floured surface for about 10 minutes.
First Rise: Cover and let the dough rises in a bowl that has been greased until it doubles in size.
Shape and Second Rise: Shape into a loaf, place in a loaf pan, and let it rise again.
Bake: Warm the oven up to 190°C (375°F) and bake for 30 minutes.
Congratulations, you’re now ready to bake bread at home! Remember, these recipes are just starting points. Feel free to experiment with different flours, add-ins like seeds or nuts, and shaping methods. The beauty of bread baking is that even if it doesn’t turn out perfect, it’s often still delicious. Enjoy the process, learn from each bake, and have fun on your bread-making journey!

